background image


Flat Bed Foil Printer

 User Guide 


   Peleman Industries 


73 

10


APPENDICES 


10.1


List of Keyboard Shortcuts 

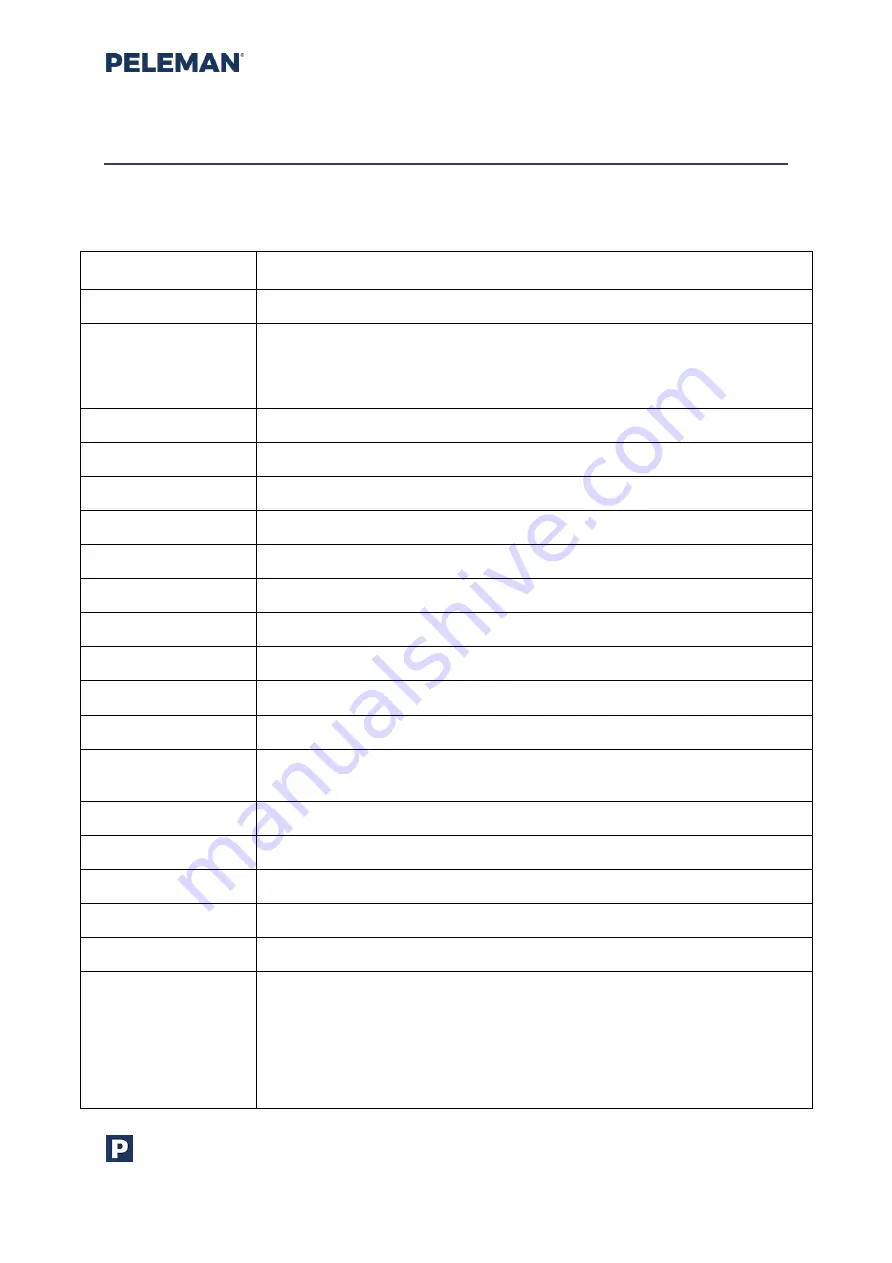
Table 4: Keyboard Shortcuts 

KEYBOARD 

SHORTCUTS 

DESCRIPTION 

Backspace 

To delete the character before the cursor in the selected text box 

Ctrl + A 

To select all text in the currently selected text box, if text editing is active 

To  select  all  design  elements  on  the  currently  active  layer,  when  text 
editing is not active 

Ctrl + B 

To make the characters bold / unbold in the selected text box 

Ctrl + C 

To copy the selected text / design element to the clipboard 

Ctrl + E 

To centre align the selected lines of text in the selected text box 

Ctrl + I 

To make the characters italic / unitalic in the selected text box 

Ctrl + L 

To left align the selected lines of text in the selected text box 

Ctrl + N 

To create a new Flat Bed Foil Printer design 

Ctrl + O 

To open an existing Flat Bed Foil Printer design 

Ctrl + P 

To print currently active Flat Bed Foil Printer design 

Ctrl + R 

To right align the selected lines of text in the selected text box 

Ctrl + S 

To save currently active Flat Bed Foil Printer design 

Ctrl + Shift + P 

To open multi-print dialog box for currently active Flat Bed  Foil Printer 
design 

Ctrl + T 

To open tools 

Ctrl + U 

To underline / non-underline characters in the selected text box 

Ctrl + V 

To paste the copied / cut text / design element from the clipboard 

Ctrl + X 

To cut the selected text / design element to the clipboard 

Ctrl + Z 

To undo last performed action 

Delete 

To delete the character after cursor in the selected text box,  when text 
editing is active 

To  delete  the  selected  elements  in  the  active  print  area,  when  text 
editing is not active or the selected element is not in a text box 

If no element is selected, then delete the selected print area 

Summary of Contents for Flat Bed Foil Printer

Page 1: ...USER GUIDE Flat Bed Foil Printer Version 2 21 August 2019 Flat Bed Foil Printer PC Tool version 1 2 x 0 Firmware version 2 47...

Page 2: ...ow To Insert The Foil 22 4 4 How To Remove The Foil 23 5 FLAT BED FOIL PRINTER PC TOOL 24 5 1 Introduction 24 5 2 What s New From Version 1 2 0 0 24 5 2 1 Key features 24 5 2 2 Printhead calibration 2...

Page 3: ...ol Panel 62 5 9 3 Uninstallation Using Installation Setup 63 6 MAINTENANCE 64 6 1 Basic maintenance 64 6 1 1 Accessories 64 6 2 Advanced maintenance 65 6 2 1 Advanced maintenance by technician 65 7 TR...

Page 4: ...ting Settings for Foils and Materials 78 10 4 Custom material grid 80 10 5 Default Template Specifications 82 10 5 1 Preset Margins 82 10 5 2 Factory Set 82 10 6 What s new 85 10 6 1 Version 1 0 0 63...

Page 5: ...Figure 22 Design Toolbar Group 1 Functions 33 Figure 23 Design Toolbar Group 2 Tools 34 Figure 24 Design Toolbar Group 3 Edit Functions 34 Figure 25 Design Toolbar Group 4 Text Editing 35 Figure 26 D...

Page 6: ...ad tab 56 Figure 57 Calibration Start Screen 57 Figure 58 Torque Sensor Test 58 Figure 59 Service Menu in Tools 60 Figure 60 About Flat Bed Foil Printer 60 Figure 61 Built In Software Help 61 Figure 6...

Page 7: ...Groups 20 Table 4 Keyboard Shortcuts 73 Table 5 Settings for group A Gold Silver Red and Blue Foils 78 Table 6 Settings for group B Gold Silver Red and Blue Foils 78 Table 7 Settings for group C Gold...

Page 8: ...Flat Bed Foil Printer User Guide Peleman Industries 7...

Page 9: ...peleman com en be machine unifoilprinter This manual is divided into sections based on the different subject matters to provide users with all the necessary information in an easily accessible way Se...

Page 10: ...ontract or even yourself in a meeting with the Flat Bed Foil Printer your work always stands out Flat Bed Foil Printer is an innovative digital printer that prints text and images with foil directly f...

Page 11: ...L 615mm x W 503mm x H 295mm in home position L 690mm Printer table dimensions 600 mm x 310 mm Printable area 450 mm x 300 mm older versions 410 mm x 280 mm Active printhead area strokes of 57 mm Resol...

Page 12: ...r signature enforcement o Latest versions can in some cases be installed on early Windows versions not fully supported Maximum template size 480 mm x 480 mm Importable file formats PDF JPG TIFF PNG GI...

Page 13: ...nsportation to the selected location open the box by cutting the binding strips as shown in figure 3 First lift the lid after that you can remove the cardboard sheets from between the buffers Continue...

Page 14: ...3 Quickguide SPUP0000104 Lock removal instructions SPUP0000107 Screwdriver SPUP0000111 Spine support set UFPRSUP0002 3 4 5 Empty core UFPR0000005 USB drive Flat Bed Foil Printer SPUP0000144 Paper ring...

Page 15: ...l video Make sure you remove the locking tool and supports first before connecting the printer to power supply Remove the lock tool completely with supplied screwdriver Do not lose those items as they...

Page 16: ...uter has a grounded connection to the power supply Attention Make sure the printing table is clear of objects and the lock tool has been removed Plug the power adapter into an electrical outlet to pow...

Page 17: ...ic sheet and foam pad give the best support for the most known materials Replace them for new on regular basis Use acrylic plate on top when printing on Smooth paper clear covers flex covers and other...

Page 18: ...UFPR0000021 You can use it to fasten your substrate It can be used as a clamp to hold the substrate or as an end stop to avoid covers from moving during printing Attention be careful with printing ne...

Page 19: ...d Foil Printer works correctly we recommend using only the original foil The printhead can be damaged when using by non original foil especially foils for hot stamping Foils are categorised based on t...

Page 20: ...Guide Peleman Industries 19 Picture Item Code New Name Group UFPR00000IG Metal Gold B UFPR0000020 Metal Blue B UFPR0000019 Metal Red B UFPR0000012 Metal Silver C UFPR0000013 Metal Gold C UFPR0000006 B...

Page 21: ...as well as material qualities Therefore it is not possible to test all existing materials and material manufactures The list is being updated on a regular basis Please feel free to contact us to shar...

Page 22: ...d contact safe N A N A N A V V Scratch resistance Gasoline resistance N A N A N A N A Ethanol resistance N A N A N A N A Storage temperature 10 up to 35 C 10 up to 35 C 10 up to 35 C N A 5 up to 35 C...

Page 23: ...oils using the adhesive layer or use a piece of tape Wind a few turns of foil to the empty core until the adhesive layer is covered The foil must be straight and smooth Figure 10 Connecting the Coils...

Page 24: ...e The Foil To change or remove the foil gently pull both rolls at the same time If you would like to remove one of the sides cut the foil replace empty core or replace foil with another colour Make su...

Page 25: ...ual have been specifically selected for Microsoft Windows 10 Thus they may slightly differ for other versions types of operating systems 5 2 What s New From Version 1 2 0 0 5 2 1 Key features To revie...

Page 26: ...he R value deviation from the ideal value of 3000 and generate print results that are consistent between different printers The differences between printheads can be equalized by providing the R value...

Page 27: ...ation section In Downloads you will find software version s for download and installation Download the zip file and unpack the folder or use supplied USB drive to get the installation files The instal...

Page 28: ...Printer PC Tool as shown in figure 13 Figure 13 Available Options in All Programmes of Start Menu for Launching Application A new application will be launched as shown in the figure 14 Figure 14 Flat...

Page 29: ...int object matches the selected template Failure to do so can cause severe damage to the printer Figure 16 Display for Selection of Appropriate Template Associated object Orientation Once a template h...

Page 30: ...for more information on the toolbars 5 5 1 Object Orientation Important notes about object orientation Due to the printhead width each section of the design box is 57 mm high Printing is done from lef...

Page 31: ...cation After a power cycle the machine will auto calibrate on a bit different direction Recheck the spine location first before printing on actual cover When set up correctly the centre of the head wi...

Page 32: ...int areas are non printable black or white windows that are used to add printable elements in a design By default a print area is placed on every editable side of an object when a new design is opened...

Page 33: ...epeatedly up to 10 times on the same spot It is recommended to have thick foil layer on the same object or to make multiple prints on different objects 5 5 5 Print Margins In order to ensure the quali...

Page 34: ...is a brief description of the toolbar options Group 1 Functions Figure 22 Design Toolbar Group 1 Functions Save Design Save changes modifications for the design Add Print Area Add a new print area to...

Page 35: ...d element Drag the element to rotate it See section 5 5 10 for more information Vertical Text Change horizontal text line to a vertical text line without changing text direction angle Show Hide Variab...

Page 36: ...ily Available font types that can be used in text boxes Font of the selected text boxes will change according to the user s preferred font Bold Make the text of selected text boxes bold Font Size Sele...

Page 37: ...of selected elements to the same location Align Right Align the right side of the selected elements to the same location Align Top Align the top side of selected elements to the same location Align M...

Page 38: ...on of the selected element or print area Y Coordinate Indicates the Y location of the selected element or print area Units of XY Coordinates May be either mm or inch based on the selected setting in T...

Page 39: ...re information about Save and Save As toolbar buttons 5 5 8 Inserting Text and Images Text and images can be inserted in the displayed print areas They will appear inside the dotted line boxes with ha...

Page 40: ...preferred print area for the image before proceeding with the Import Image option Upon pressing the Import Image button a dialog box will appear enabling search for image files Please note that only t...

Page 41: ...e to drag and move the image to the desired location Figure 32 Image of palm tree placed inside print area When Threshold is selected the image is black and white without any contrast The threshold ca...

Page 42: ...ments can also be moved using arrow keys on the keyboard An element may be aligned to the top middle or bottom side vertically and to the left centre or right side horizontally within its design area...

Page 43: ...e information 5 5 11 Foil Colour Layers The Flat Bed Foil Printer supports all foil colours discussed in section 4 1 Each colour is handled as a separate layer These layers are shown in a separate lay...

Page 44: ...tivate or deactivate the visibility and print function for each layer by choosing the appropriate checkboxes for each layer New layers can be added existing layers can be deleted as well as rearranged...

Page 45: ...he available tools The default unit for displaying measurements on the rulers is millimetre mm Users may change the units to display measurements on the rulers from the Settings tab in the available t...

Page 46: ...in the toolbar to create the TXT or CSV database file The database will appear in a new tab next to design window tab Step 4 You can edit the database file in the PC Tool software go to step 5 or anot...

Page 47: ...e 35 Zoom Slider Buttons 5 6 Open Design To reopen a design click on the Open option The menu items are provided at the top of the application window A dialog box will appear to select the design file...

Page 48: ...in Flat Bed Foil Printer PC Tool These additional tools are related to different settings updates service request calibrating the Flat Bed Foil Printer creating and managing templates and more A brief...

Page 49: ...s on Figure 40 Setting in Tools for Automatic Search for Updates Enable All Messages Enable all Flat Bed Foil Printer messages Messages can disabled by choosing the Don t display this message again op...

Page 50: ...or your material without leaving indentations Printing speed must be from 5 to 25 The value of printing speed is converted to actual speed in such a way that for example a value of 25 will mean a spee...

Page 51: ...rove temperature spreading in the printhead making it possible to print large and complex images without burning the foil Figure 45 Settings in Tools for Smart Temperature Control Printhead Calibratio...

Page 52: ...connected to the designated server through Internet network connection to check and download updates from the server Figure 47 Tools to Check for Updates If the associated printing device is not conn...

Page 53: ...vailable current and new firmware and software versions will be displayed next to the respective buttons used to update these Please note that it is possible to receive error messages of unsuccessful...

Page 54: ...oduct cannot be found please check for updates or create a new template Go to section 5 8 3 to read more about updating the Flat Bed Foil Printer PC Tool New templates must be based on a printable obj...

Page 55: ...n 5 8 1 Enter the exact dimensions of the print object If the entered dimensions are not supported by the Flat Bed Foil Printer warning messages will appear If the dimensions are correct the desired t...

Page 56: ...sting templates cannot be used for new templates Click on Save button to create a new template Figure 55 Screen for Selecting Material Softness and Name of New Template After the successful creation o...

Page 57: ...be found on the printhead as indicated in the picture below Once the R value is provided in the software AND the printhead calibration function is activated the software will adjust the R value devia...

Page 58: ...m accurate compared to the design on the screen for machines with serial number below PU063xxxxx To perform calibration correctly first print the circle and measure the distance to the edges with high...

Page 59: ...r or technician may ask you to preform a test before considering a replacement or intervention Basic test 1 Klick on read torque sensor button after the foil is removed 2 Torque Value Must be below 20...

Page 60: ...r Y home position sensors functionality during troubleshooting Or move the machine to a specific location for motor testing The foil motor can be also tested using this tab 5 8 6 7 Move to extremes Th...

Page 61: ...the performance and counters related to different hardware activities Printed length and printing sessions may be a very interesting indicator for maintenance or counting the amount of work that was d...

Page 62: ...ayed This is the first help manual that you ll need in case of questions User guide contains basic information about the printer and software For more information please contact our distributer in you...

Page 63: ...he screen to complete the uninstallation process Figure 62 Uninstall Option in Start Menu 5 9 2 Uninstallation Using Control Panel To uninstall the software application go to Programs and Features wit...

Page 64: ...n Setup Launch setup exe using the installation source media that was used to install the software Select Remove Flat Bed Foil Printer PC Tool from the given options as shown in figure 64 and then cli...

Page 65: ...per year Figure 65 Printer Statistics 6 1 1 Accessories The condition and presence of accessories must be checked on a weekly basis At least a general review should be undertaken after every 10 000 t...

Page 66: ...rst a All cables connections and sensors should be inspected at every check up b Screws especially on printhead assembly can be checked fastened at every check up Inspect the paly in components c Prin...

Page 67: ...print sessions we recommend to change motor and spindle in x y and z SPUP0000007 SPUP0000008 SPUP0000009 Otherwise there will be too much play which will cause incorrect print position and printer is...

Page 68: ...h another foil If another foil colour prints better with same settings on same material contact your local dealer to request a foil change f Increase the temperature of the medium for a better result...

Page 69: ...libration may be needed Function in Testing and Calibration tab can be used to test calibration a Perform calibration test Use build in function in testing and calibration tab to first print a circle...

Page 70: ...for main windows installation folder will be C Windows on some architectures or C WINNT on some architectures of the Windows operating system c Check if any other application is currently connected to...

Page 71: ...o power supply Retry printing b Inspect printhead for mechanical damage If there is mechanical damage on printhead it must be replaced c Contact our local representative and include a video of the iss...

Page 72: ...ing information 1 Go to Settings Move to transport attention the head will start to move 2 Remove USB and power cables within 30 seconds 3 Connect the locking tool firmly with 4 supplied screws 4 Plac...

Page 73: ...t is important to clean the printhead and metal bars with our cleaning wipes item SPUP0000138 on a regular basis After a few years use grease item SPUP0000122 to lubricate the spindle and check for lo...

Page 74: ...t box Ctrl N To create a new Flat Bed Foil Printer design Ctrl O To open an existing Flat Bed Foil Printer design Ctrl P To print currently active Flat Bed Foil Printer design Ctrl R To right align th...

Page 75: ...o move the cursor right in the selected text box when text editing is active To move right the selected element selected print area when text editing is not active Shift Down Arrow Select text from cu...

Page 76: ...currently selected print area if no design element is selected 10 2Supported Template Dimensions Printer table dimensions 600 mm x 600 mm Good to know Printer table dimensions 600 mm x 310 mm Maximum...

Page 77: ...of Double Side Cover with Window Page height cannot be larger than 350 mm Window cannot be wider or larger than the object Window cannot be placed outside the object If any of the following checks ap...

Page 78: ...printed area up to 300mm b max length 480 mm printed area up to 450mm c 0 1 mm max 25 mm Figure 69 Dimensions of Single Side Cover Page height cannot be larger than 480 mm If any of the following chec...

Page 79: ...160 Dark Green 235 2200 10 30 160 Dark Blue 235 2200 10 30 160 Black 235 2200 10 30 160 PU Coated Material 225 2050 10 30 160 Leather 225 2400 8 25 160 Matt 170 1700 10 30 160 Clear 160 1600 10 30 160...

Page 80: ...Blue 240 1650 10 30 160 Black 240 1650 10 30 160 PU Coated Material 225 2400 8 25 160 Leather 225 2400 8 25 160 Matt 120 2500 10 30 160 Clear 160 1600 10 30 160 Use the correct tools for printing on...

Page 81: ...10 Custom Material Grid Material Foil group Torque Burn Time Print Speed Motor speed Extruded Acrylic A 60 100 1200 1300 8 25 PU Coated materials A 225 2050 10 30 PU Coated materials D 225 2400 8 25...

Page 82: ...10 30 Adhesive clear film A 100 1600 10 30 Semi matt cardboard A 100 1600 10 30 Adhesive white vinyl A 150 200 2200 5 30 Transfer film A 100 1900 5 30 CM 300 gr coated paper A 225 2400 8 25 Lessebo 30...

Page 83: ...Portrait 40 Hard Portrait 304 199 199 15 3 UniCover Hard A4 Portrait 60 Hard Portrait 304 199 199 17 4 UniCover Hard A4 Portrait 80 Hard Portrait 304 199 199 20 5 UniCover Hard A4 Portrait 80 Wrapped...

Page 84: ...t 286 205 205 46 25 PhotoBook A4 Landscape Hard Landscape 217 286 26 PhotoBook LS Landscape Hard Landscape 222 268 27 Certificate Cover A4 Portrait Hard Portrait 310 220 220 15 28 Certificate Cover LS...

Page 85: ...43 UniCover Plus Flex LS Portrait 80 Soft Portrait 281 204 204 18 44 UniCover Plus Flex LS Portrait 100 Soft Portrait 281 204 204 20 45 UniCover Plus Flex LS Portrait 120 Soft Portrait 281 204 204 21...

Page 86: ...nature for windows 10 Improved text management functionalities Selecting text or a part of the text can now be done with the Ctrl A Shift Home Shift End and Shift left right Up Down arrow keys To sele...

Page 87: ...ete functionality Printhead Calibration New Foil groups materials Improved coordination system Increased maximum print area and template dimensions Image dimensions for import and in the template Upgr...

Page 88: ...lver ribbon UFPR0000002 Group A Metal Gold ribbon UFPR0000006 Group D Black ribbon UFPR0000018 Group B Metal Silver ribbon UFPR00000IG Group B Metal Gold ribbon UFPR0000003 Group A Metal Blue ribbon U...

Reviews: