Flat Bed Foil Printer
User Guide
Peleman Industries
41
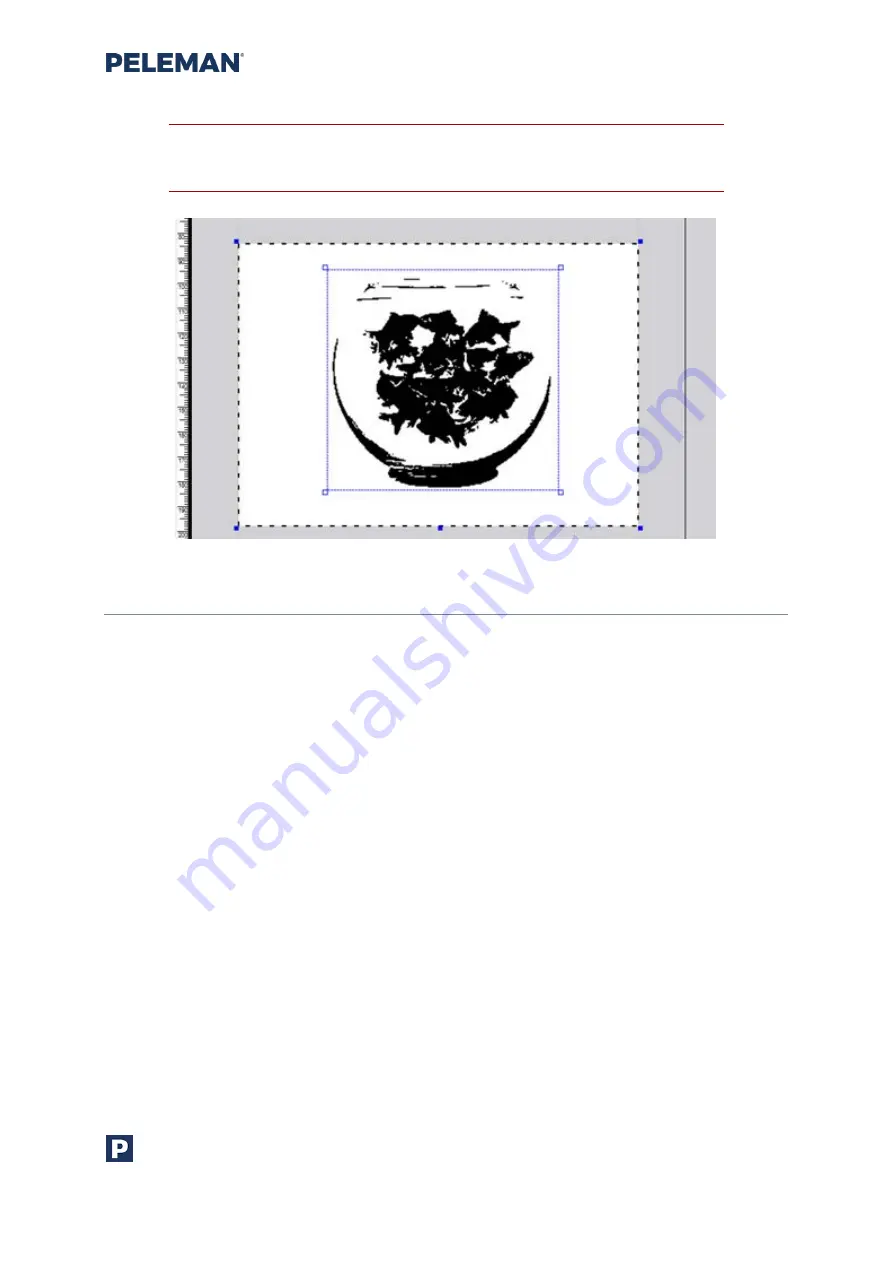
Tip: Drag down the dotted line to open the print area for images larger
than 57 mm.
5.5.9
Selection, Movement and Alignment of Elements
An element may be selected by clicking on the
Select
tool shown as an arrow in
and then clicking on the element. To select multiple elements, hold down the
Shift
key on
the keyboard and then click on the elements one by one.
An element may be moved by selecting it with the mouse and then dragging it to the
desired location, while holding down the mouse button. A borderline helps to avoid the
element to be placed completely outside the print areas. This limit is 50% of the element to
be placed outside the print area. When moving an element outside the print area, only the
part inside the print area remains visible and will be printed. Elements can also be moved
using arrow keys on the keyboard.
An element may be aligned to the top, middle or bottom side vertically and to the left,
centre or right side horizontally within its design area by selecting the element and then
clicking on the appropriate element alignment button shown in
. Similarly, an
element may be dragged to a specific location by clicking on the element with the mouse
after selection, and then dragging it to the required position within its design area while
holding down the mouse button. Section 5.5.12 of this document may be referred to for
more information about aligning elements with guidelines.
When multiple elements are selected and aligned using the toolbar shown in
, all
elements will get aligned according to the first selected element. For example, if multiple
elements need to be aligned to the left, then all elements will move except the first
selected element, in such a way that the left side of all elements will be aligned to the left
side of the first selected element.


