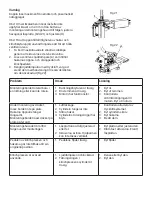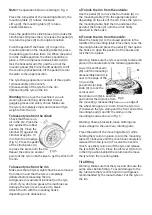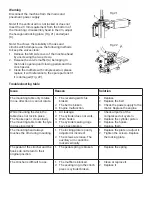
Rim lock and pump tires:
Warning! Tyres can explode due to the following:
1. The rim and the tyre are not the same size.
2. The tyre or rim is defective.
3. The tyre pressure is above max. pressure
recommended by the manufacturer.
4. The operator fails to comply with the safety
regulations.
Pump the tire
Check that the tyre is in good condition and make
sure that there is no damage before you start
pumping. Keep your hands and body as far away
from the tyre as possible. Install the valve core if it
has been removed. To inflate the tire, connect the
air filler nozzle to the tyre valve stem. Make sure
that the air filler nozzle is completely depressed
over the threads of the valve stem. When the air
filler nozzle is in place, lock it to the valve stem by
releasing the locking device. As soon as the tyre
has reached the correct tyre pressure, loosen the
air filler nozzle from the valve stem and screw on
the valve cap. The tyre is inflated with short
inflations while checking the tyre pressure.
Note:
1. Failure to follow all warnings and instructions
could result in serious injury or death to the
operator or attendant. Never exceed 3.5 bar
(50 psi) when attaching clinch or inflatable
tires.
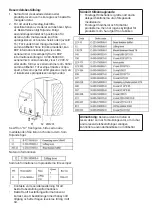
2. If higher tyre pressure is necessary, remove the
wheel from the tyre changer and continue the
inflation procedure with the wheel inside a
special protective cover. Never exceed the
maximum air pressure specified by the tyre
manufacturer.
3. Only specially trained persons may perform
these operations. Do not allow others to use or
be near the tyre changer.
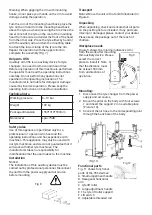
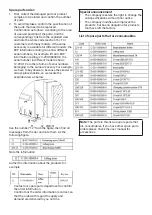
Moving the machine
Use a forklift to move the machine. Disconnect the
tyre changer from the mains and the pneumatic air
supply, lift the base plate and insert the feet of the
forklift trucks. Then mount the tyre changer to a
new position and fix it properly.
Note! The location chosen for fixing the tyre
changer must comply with the safety regulations.
Maintenance
Warning: Only professionals
can perform maintenance. To
extend the life of the
machine, maintain the
machine carefully according
to the operating instructions.
Otherwise, it will affect the
reliability of the machine or
even damage the operator
and others nearby.
Warning: Before performing maintenance,
disconnect the tyre changer from the mains, power
supply and pneumatic air supply, and depress the
hooks so that they are open and close the
mounting table pedal. Depress 3 ~ 4 times to
evacuate all compressed air from the machine.
Damaged parts must be replaced by professionals
with spare parts provided by the manufacturer.
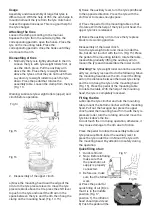
• Clean the machine once every day after the
operation. Clean the dirt on the mounting table
with diesel oil once a week and lubricate the
slides and clamps.
• Subsequent maintenance must be done at least
once a month: Check the oil level in the oil feed
machine, top up with SAE30 # oil if
necessary.
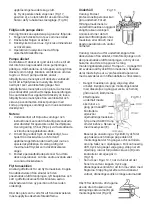
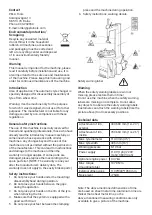
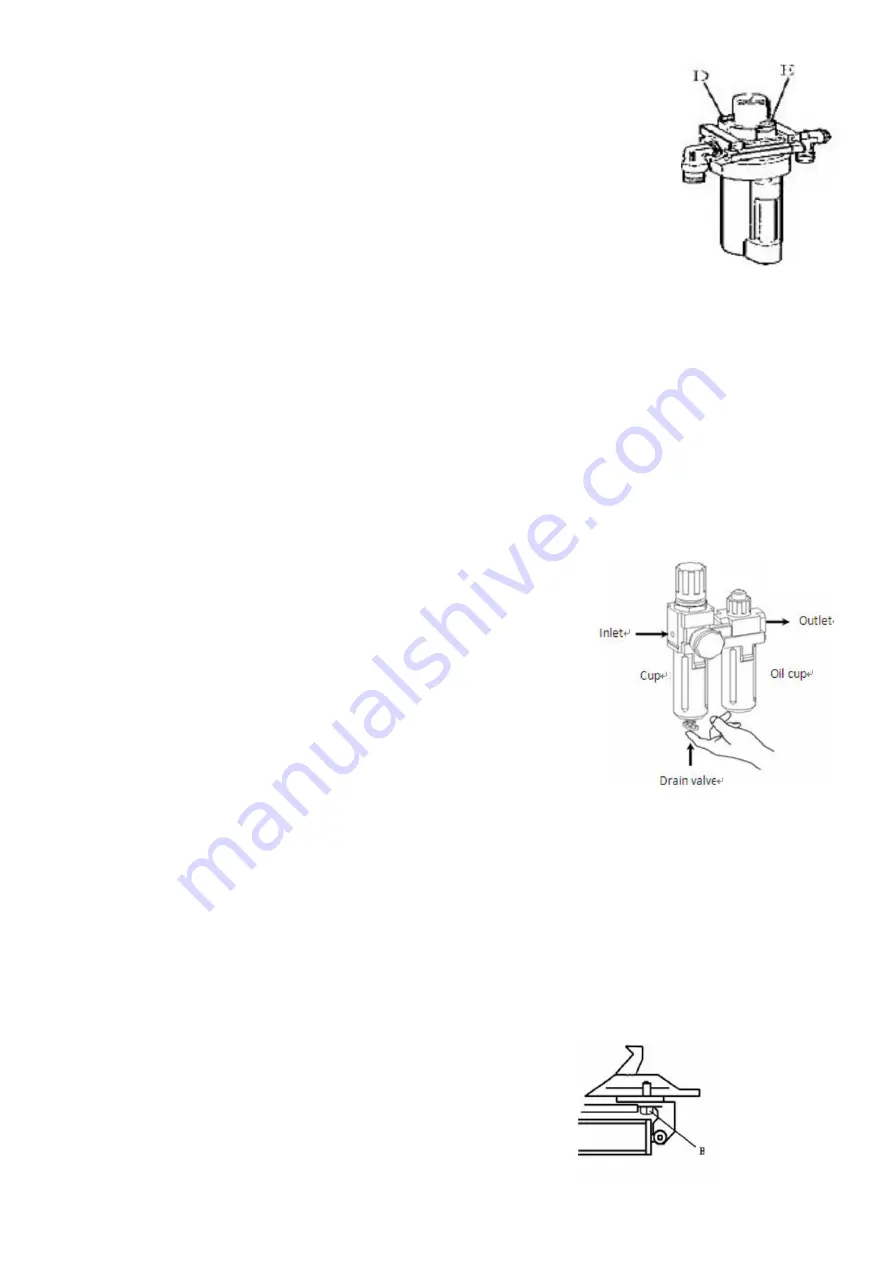
Unscrew with Allen
key (E). Based
on the
connection of
compressed
air, first push up
the hooks and step
on the pedal to the
assembly table 5-6
times, and check if oil
falls into the oil cup. For continuous operation,
press twice each time, drop an oil drop,
otherwise adjust the screw (D) that checks that
the oil enters (Fig. 19).
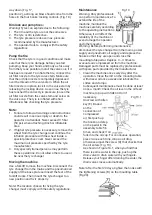
• As shown in Figure 19-1, when you find that
there is some water in the cup, push up the
drain valve to drain water with your fingers.
Release your finger after draining the water, the
drain valve closes automatically.
Note! After the first 20 days, tighten the hooks with
the tightening screws (B) on the mounting table
(Fig 20).
Fig 19
Fig 19.1
way down (Fig. 17,
position 2), a strong air blow should come from the
holes in the four hooks’ locking controls. (Fig. 18)
Summary of Contents for 507083
Page 1: ...Tyre changer U 6656AT Däckmaskin U 6656AT en hastighet Item No 507083 ...
Page 10: ......
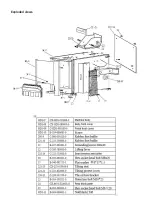
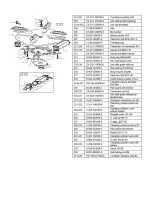
Page 19: ...Exploded views ...
Page 20: ......
Page 21: ......
Page 22: ......
Page 23: ......
Page 24: ......
Page 25: ......
Page 26: ......
Page 27: ......
Page 28: ......
Page 29: ......
Page 30: ......
Page 31: ...Wiring diagram ...
Page 32: ......

