background image

3.5  ISOLATE THE DRIVE 

using branch circuit protection or circuit breaker (

8

). Install the 3-phase fuses (

6

). Re-instate 

branch circuit protection or circuit breaker (

8

IMPORTANT


Do not change any of the previously made calibration settings once the main contactor is energised. 

MAIN & AUXILIARY POWER ARE CONNECTED AT THIS STAGE 

3.6 

Use a Voltmeter that conforms to IEC 61010 (CAT III or higher). 


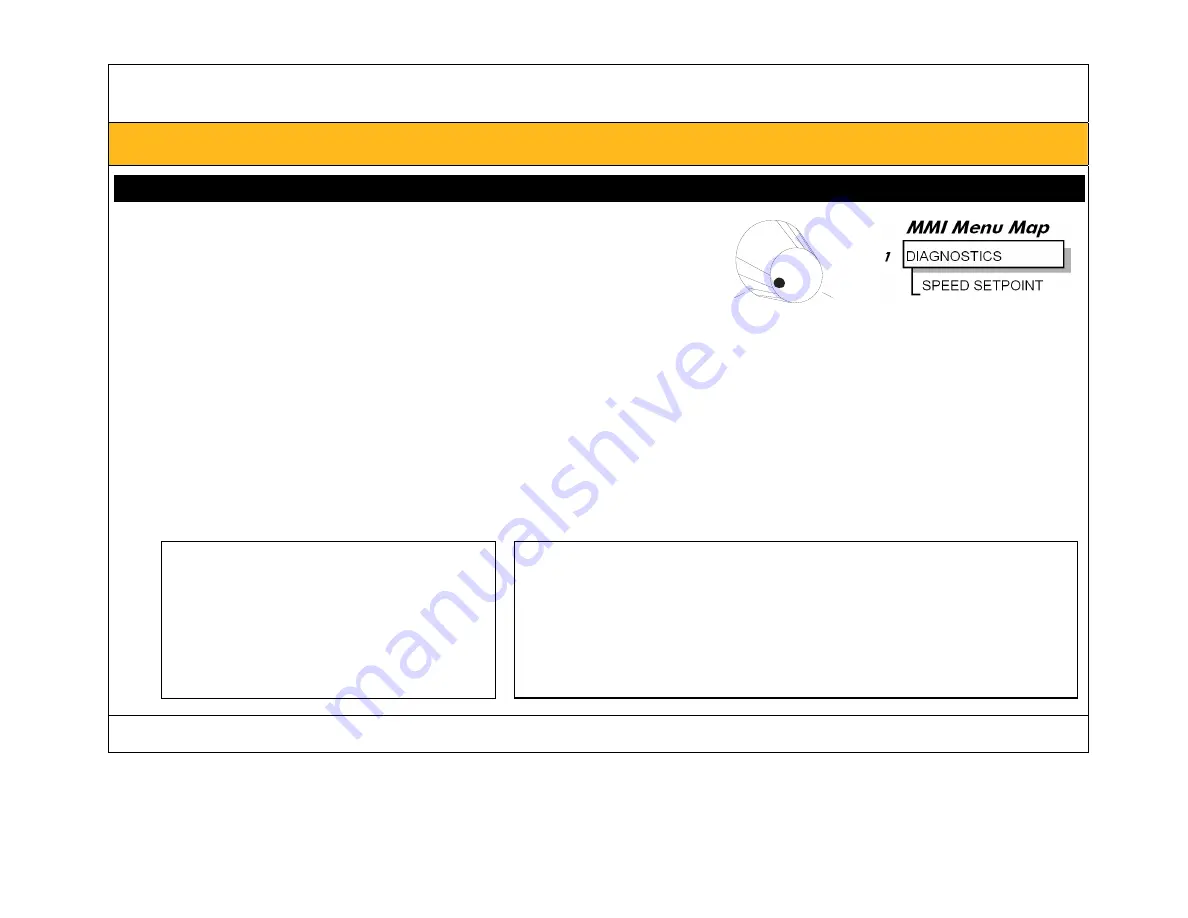
Set the uni-directional speed potentiometer to zero 

(check that the value of SPEED SETPOINT parameter = 0 %) 


Apply the "Start/Run" command to C3. 


Ensure that "Enable" (C5) is ON. 

0

+100

Zero speed = 

Terminal A1, 

0V input 


  Check that 3-phase mains is applied to the power terminals L1, L2 and L3. 

  Check the correct field voltage appears between the field output terminals D3 and D4.

 This is high voltage DC. 

Proceed with caution.


  If the Field Voltage is incorrect do not continue. Switch off all supplies and check connections. 


3.7 

Check that all six MMI LEDs are now lit, indicating that the motor is capable of rotating. 

START (C3 = 24V) 

The drive can run provided that: 

B8 & B9 are TRUE (+24V) 
C5 “Enable” is ON (+24V) 
MAIN CURR. LIMIT 

 0 

Speed Setpoint 

 0 

STOP (C3 = 0V) 

At 20% setpoint: 

the 590C drive (4Q) 

can stop in approximately 2 seconds (the drive 

decelerates the motor to zero speed at a rate determined by the 

STOP TIME and MAIN CURR.LIMIT parameter values) 

the 591C drive (2Q) 

can coast stop


Summary of Contents for DC590C Series

Page 1: ...that You have read and understood the Safety Information provided separately I S S U E 1 Q Qu ui ic ck kS St ta ar rt t WARRANTY Parker SSD Drives warrants the goods against defects in design material...

Page 2: ...air clearances to be maintained above and below drives and other equipment additive when two units are mounted together Overall Dimensions Fixing Centres Frame Current Rating A Weight Kg lbs Width Hei...

Page 3: ...em of more than one drive connect all clean earth rails together and only connect to the dirty earth rail 2 at one point Motor Earth Ground Connect an earth ground wire to the motor from the dirty ear...

Page 4: ...t Breaker 9 3 Power Supply Cable 10 Terminal Rail 11 Dirty Earth Ground Rail A 1 Pole MCB B Control Transformer C 2 Pole MCB D Fan Fuses E Motor Overload Protection F Emergency Stop Relay G Double Ins...

Page 5: ...ust be closed for the drive to run Speed Demand Uni directional A1 A4 B3 The 10K potentiometer adjusts the speed setpoint Zero speed Terminal A1 0V input Maximum forward speed 100 Terminal B3 10V inpu...

Page 6: ...the Drive Motor Field D3 F D4 F Connect shield between motor and earth rail These terminals provide an internal motor field supply fused by 10A fuses If the motor has no field connections is a permane...

Page 7: ...8 Disconnect the load from the motor shaft if possible If there is any doubt about the integrity of a particular installation insert a high wattage resistor i e fire elements in series with the motor...

Page 8: ...tting a higher value than this results in 0A Armature Voltage VA CAL Set this using the 4 way switch SW7 The switch sets voltage according to the table The illustration shows a VA CAL setting of 200V...

Page 9: ...the Start Run command from C3 The main 3 phase contactor should open and remain de energised IMPORTANT The main contactor should never be operated by any means other than the drive s internal controls...

Page 10: ...Terminal A1 0V input Check that 3 phase mains is applied to the power terminals L1 L2 and L3 Check the correct field voltage appears between the field output terminals D3 and D4 This is high voltage...

Page 11: ...4 Autotuning This process tunes the drive to the connected motor Initial conditions must be Main contactor open i e terminal C3 0V Program Stop terminal B8 Coast Stop terminal B9 and Enable terminal...

Page 12: ...ions below to make the installation application specific CHAPTER 3 Connection Diagrams Control Connections Optional Equipment CHAPTER 4 Selecting Speed Feedback Initial Start up Routine the full routi...

Page 13: ...RM VOLTS FBK 1 ANALOG TACH 2 ENCODER 3 ENCODER ANALOG for Parker SSD Drives use Refer to SPEED LOOP ENCODER LINES 24 10 to 5000 The number of lines must be set to match the type of encoder being used...

Page 14: ...available is 200 for 10 seconds 150 for 30 seconds Power Supply Details 3 Phase Supply 3 phase 50 60Hz earth referenced TN and non earth referenced IT Operating Suppy Tolerance 10 Voltage Ranges 220 t...

Reviews: