


February 2003
2-23
1010-A2-GN21-00
2. Windows Environment
Step 13
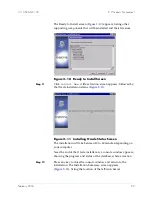
Press any key to close the console window and return to the
installation. the following dialog box appears, asking if you want
to replace the older files.
Step 14
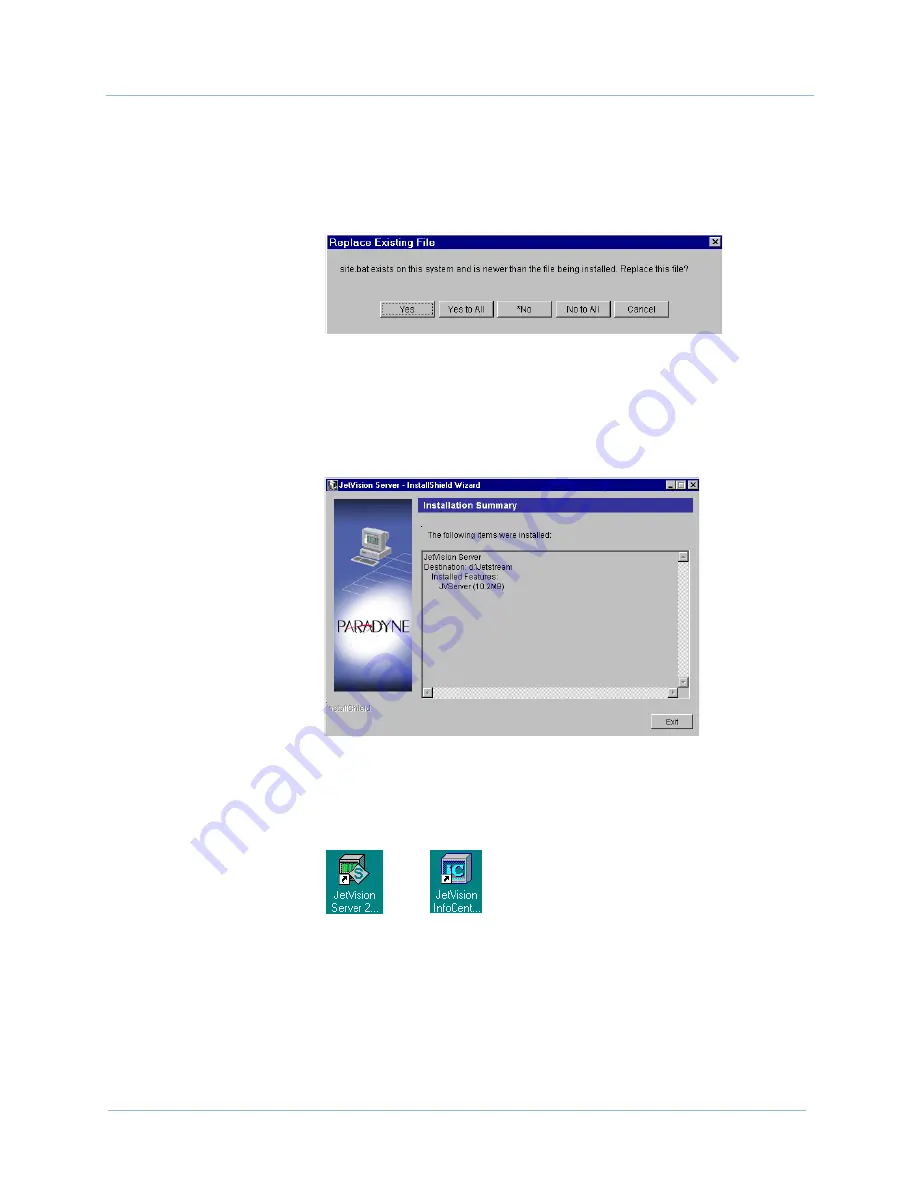
Click
Yes to All
. A console windows appears in the
background, showing the files binding process. The Installation
Summary screen appears (
Figure 2–30
), listing the location of the
JetVision Server.
Figure 2–30. Installation Summary Screen
Step 15
Click
Exit
. Both the JetVision Server and JetVision InfoCenter
icons with the latest version number appears on your desktop.
Step 16
Reboot your computer or, if you are installing JetVision Client on
the same computer, continue to install the JetVision Client, and
reboot later.


