


February 2003
2-15
1010-A2-GN21-00
2. Windows Environment
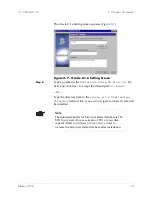
Step 9
Click
Next
to accept the default path:
C:\Jetstream\
.
– Or –
Type the directory path in the
Destination
field or click
Change
to navigate to where JetVision Client will be installed.
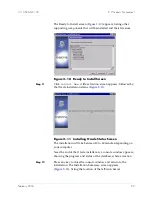
The Ready to Install for JetVision Client screen appears
(
Figure 2–19
).
Figure 2–19. Ready to Install Screen
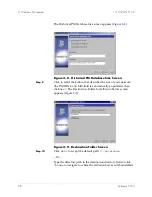
Step 10
Click
Install Now
. A screen appears, showing the file extraction
progress. After the files are extracted, the Installation Summary
screen appears (
Figure 2–20
), listing the installed applications and
their locations.
Figure 2–20. Installation Summary Screen


