


118
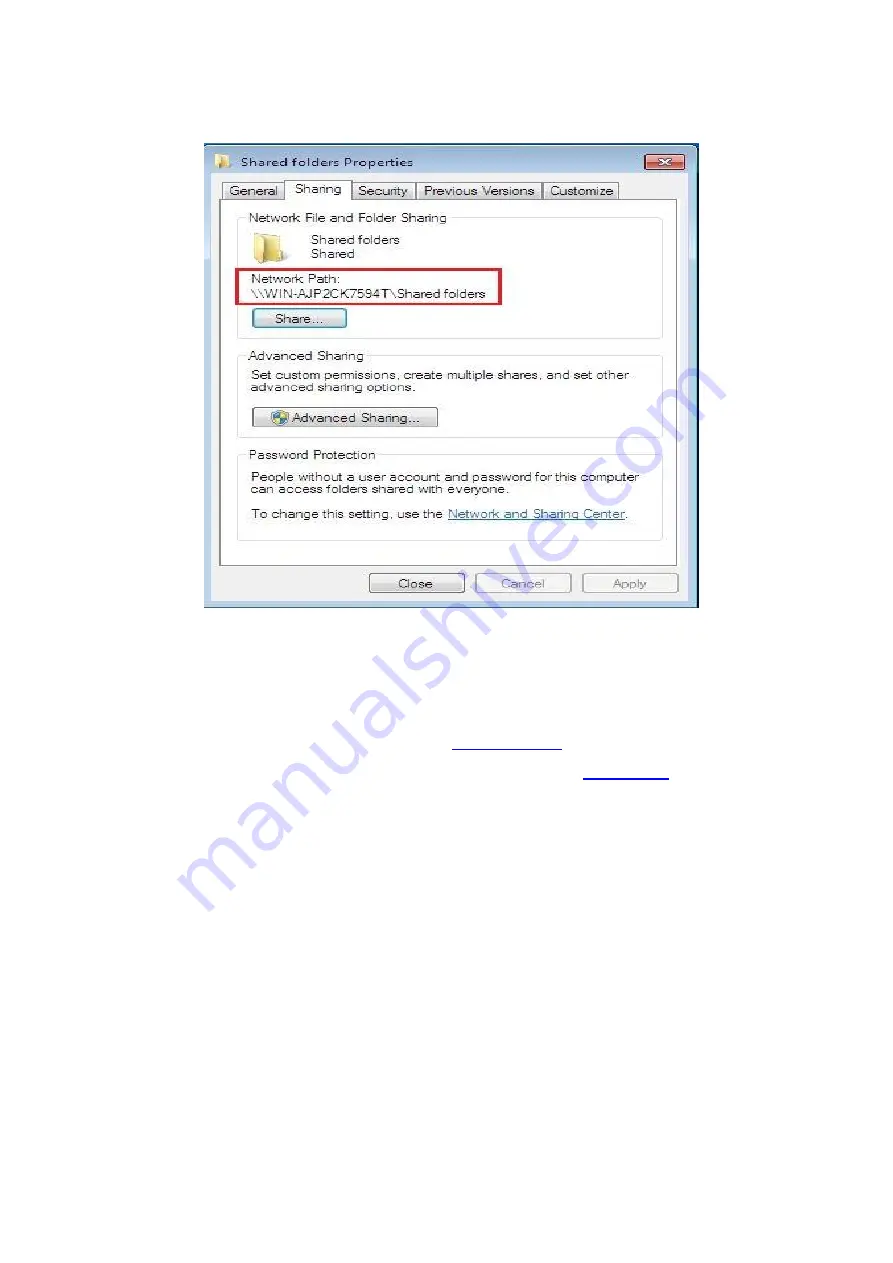
5. If your shared folder path is displayed at the network path, it means it is successfully shared.
9.3.5.2. “Scan to SMB” configuration
1. Be sure the printer and the computer are both switched on and connected with each other
properly.
2. To configure SMB address book, please see
3. Put an original on the glass platen or into the ADF (please see
original).
4. Press “Scan” on the control panel to enter the scanning interface.
5. Press “▲” or “▼” to select “Scan to SMB” - “SMB Address Book”, then press “OK”.
6. Press “▲” or “▼” to select the server, then press “OK”.
7. Press "Menu" and then "OK" to enter the "Scan Setting" interface.
8. Select scanning parameters according to your needs, then press “Start” to start scanning.
9.4. Cancel Scan Job
During the scanning, two ways are available to cancel the job:
1. Press "Cancel" button on the control panel to cancel the job.
2. Click Cancel button on the scan progress bar interface of the computer to cancel the job.
Summary of Contents for BM5100 Series
Page 150: ...135 6 Open the auto feed tray and wipe the pickup roller gently with dry lint cloth...
Page 163: ...148 2 Gently pull the jammed paper out 3 Install paper tray...
Page 167: ...152 3 Open the fuser door using the handles on both sides 4 Gently pull the jammed paper out...
Page 192: ......


