20
How to Operate
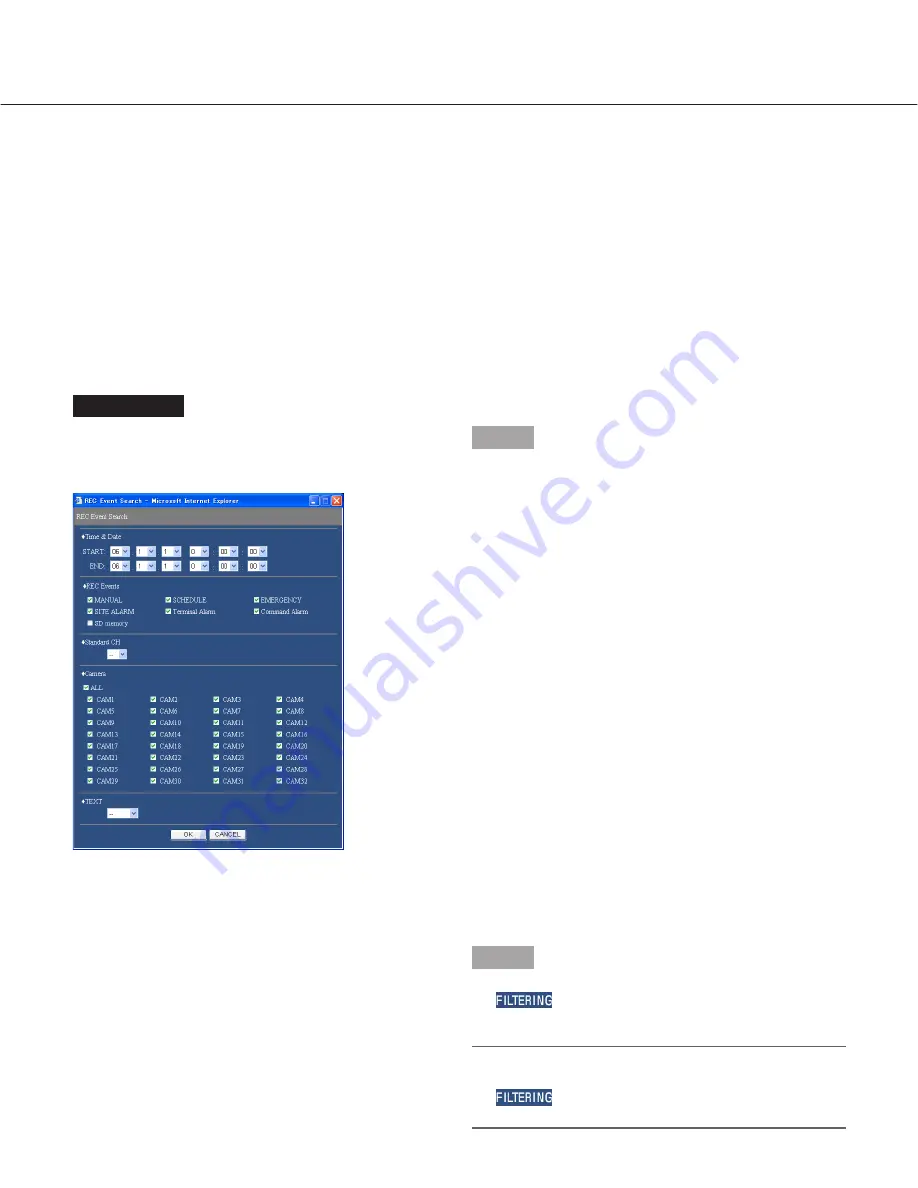
Screenshot 1
Click the [Search] button in the [Search] box of the
[Control] tab. The "REC Event Search" window is dis-
played.
Step 1
Select searching conditions
• "Time & Date"
Filter by time and date. Select a start time and an end
time by clicking the [
i
] button.
• "REC Events"
Filter by recording event. Click to select the desired
recording event to be displayed when filtering by record-
ing events.
• "Standard CH"
Determine which camera channel is to be used as a
standard time zone when searching.
(It is necessary to determine the primary time and date
by selecting a camera channel when cameras are
installed in two or more countries. When both this unit
and the camera to be used as "Standard CH" are
installed in the same time zone, select "--".)
• "Camera"
Filter by camera channel. Check the radio button of the
desired camera channel to be searched for.
• "TEXT"
Filter by with/without text information. Select "Added" or
"None" by clicking the [
i
] button.
When "--" is selected, searching will be performed with-
out filtering by with/without text information.
Step 2
Click the [OK] button.
→
will be displayed in the status display area.
The filtered result will be displayed.
Note:
Click the [All List] button to cancel the filtering.
will go off and all recording events will be
listed.
TRM:
Recording at a terminal alarm occurrence
COM:
Recording at a command alarm occurrence
CAM:
Site alarm
PRE:
Pre-event recording
SD:
SD memory data
TEXT:
When text information is attached to the record-
ed image, "Added" will be displayed. When text
information is not attached to the recorded image,
"None" will be displayed.


