background image

5. Select ON or OFF for SETUP-SW LOCK. The default setting is OFF.

OFF: 

Enables the SET button to open the back-focus adjustment screen while the cam-

era picture is displayed.

ON: 

Disables the SET button from opening the back-focus adjustment screen.

6. To reset the back focus to the default setting, press L and R simultaneously.

Notes:

• Select FIX or PRESET and adjust manually the back-focus when automatic adjustment

is hindered by the following conditions.

1. Dirt or a water drip attached to window glass 

This causes defocus on the object beyond the glass.

2. Objects in low lighting conditions
3. Objects extremely bright 
4. Flat contrast objects such as white wall or fine felt
5. Objects placed on the outskirts of the scene
6. More than one object placed with a certain depth
7. An object having a certain depth
8. Objects continuously moving such as busy streets
9. Objects extremely flickering

10. Objects consisting of parallel horizontal lines such as a window shade

• Matsushita Electric Industrial Co., Ltd shall not be responsible for any inconvenience,

damage or loss caused by or attributed to inappropriate settings for the ABF function.

17. Special Menu (SPECIAL SETUP)

Select SPECIAL on the WV-CP480 TOP menu and press SET.

The SPECIAL SETUP menu opens.

17-1. Chroma Level Setting (CHROMA

GAIN)

While observing the vectorscope or color
video monitor, move the "I" cursor to adjust
the chroma level.

17-2. Aperture Gain Setting (AP GAIN)

While observing the waveform monitor or
color video monitor, move the "I" cursor to
adjust the aperture gain level.
Lower the level when moire (a kind of noise, optical interference) appears on the screen
as part of minute crosshatch pattern, etc.

17-3. Pedestal Level Setting (PEDESTAL)

While observing the waveform monitor or color video monitor, move the "I" cursor to
adjust the pedestal level (black level).

17-4. Chroma Phase (Hue) Setting (HUE)

1. Move the cursor to HUE.
2. While observing the vectorscope or color video monitor, move the "I" cursor to adjust the

hue (chroma phase) level.

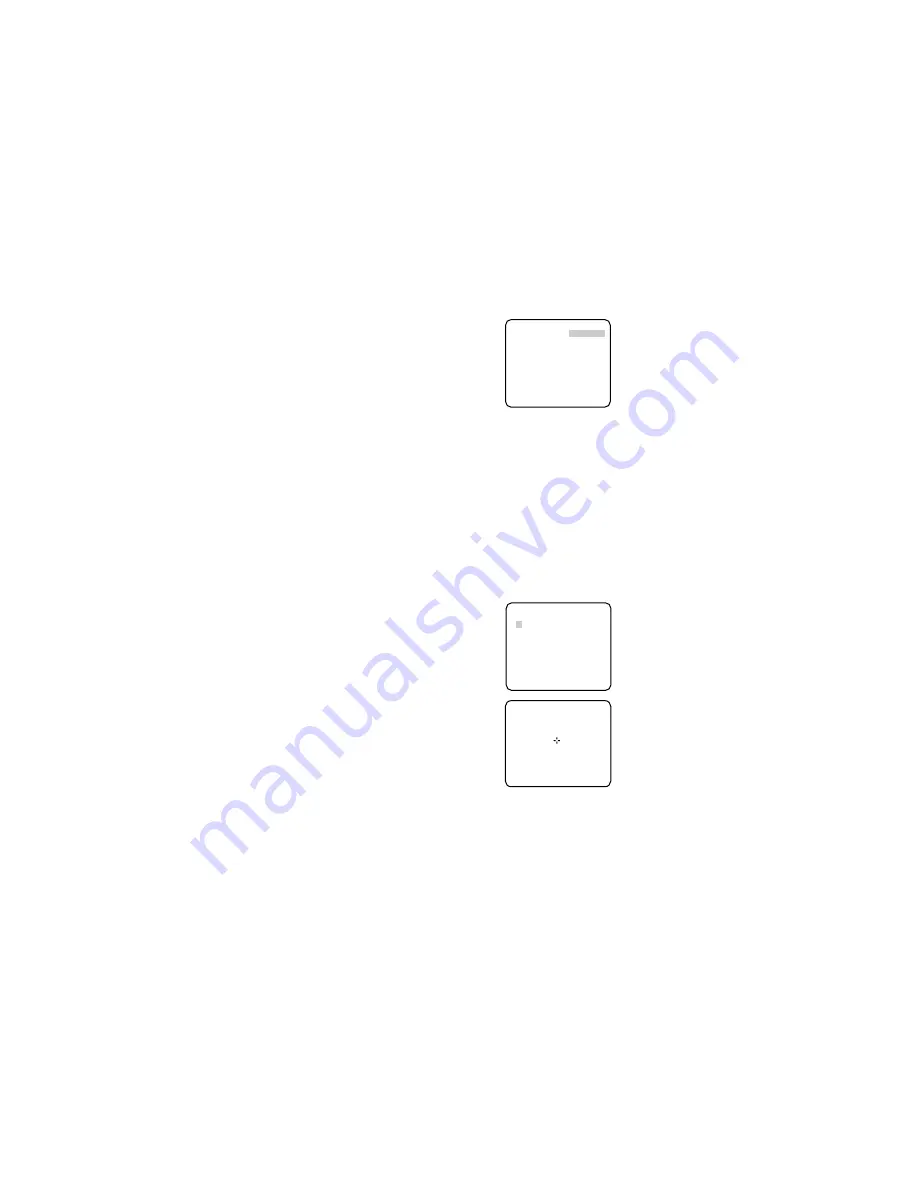
17-5. Pixel Compensation Setting (PIX OFF)

Perform settings to compensate a maximum of 16 blemish pixels on the pickup device.

1. Select PIX OFF and press SET.

The PIX OFF menu opens with numbers
from 1 to 16.

2. Select a number and press SET.

The PIX OFF assignment screen opens
with a + cursor.

3. Move the cursor to the center of a blemish

position until its appearance becomes less
obvious. Finally, press SET.

The horizontal and vertical positions
(coordinate) of the blemish will be dis-
played with a 6-digit number on the sec-
ond bottom line.

The blemish position is registered to be
compensated. 

The screen returns to the PIX OFF menu
that displays the number followed by an
asterisk if it has been registered.

4. Repeat above steps as necessary.

5. To cancel a registration, select an asterisked number in the PIX OFF menu and press

SET. 

The PIX OFF assignment screen opens. 

Hold down the L and R buttons simultaneously for 2 seconds. 

The PIX OFF menu appears displaying the number without an asterisk if its registration
has been cancelled.

17-6. Communication (COMMUNICATION)

Select a communication mode depending on whether the camera is connected with a
Receiver (WV-RC100, WV-RC150). The default setting is COAX.

COAX:

Is set when the camera is not connected with a Receiver.

COAX (RCV):

Is set when the camera is connected with a Receiver.

17-7. To reset to the default settings (CAMERA RESET)

1. Select CAMERA RESET. 

The PUSH SW is highlighted.

2. While holding down 

L

and 

R

, press 

SET

for 2 seconds or more. 

The camera will return to the default settings.

Note:

PIX OFF setting cannot be initialized.

17-8. The serial number of the camera will be displayed.

   **SPECIAL SETUP** 
CHROMA GAIN   .....I...
AP GAIN       ...I.....
PEDESTAL      .....I...
HUE           ....I....
              –       +
PIX OFF
COMMUNICATION COAX
CAMERA RESET 

PUSH SW

 SER.NO. XXXXXXXX
 RET TOP END

      **PIX OFF**  

  1     2     3     4   
  5     6     7     8   
  9    10    11    12   
 13    14    15    16   

                        
 000 000

 RET TOP END

Summary of Contents for Super Dynamic III WV-CP480

Page 1: ...y and if not installed and used in accor dance with the instruction manual may cause harmful interference to radio communications Operation of this equipment in a residential area is likely to cause harmful interference in which case the user will be required to correct the interference at his own expense FCC Caution To assure continued compli ance example use only shielded interface cables when c...

Page 2: ... IN GND WV CP480 WV CP484 q e w r t y u i q e w r ty u o 0 1 UP LEFT RIGHT DOWN SET FAR ABF MENU Hi Z G L75Ω NEAR o 0 1 The side panel is provided for the WV CP480 only Slide the panel to the left until it locks Panasonic s WV CP480 series cameras introduce a new level of high picture quality by use of Super Dynamic 1 3 inch CCD and digital signal processing LSIs Super Dynamic 128x with zone free ...

Page 3: ...der etc Specifications are open collector output 16 V DC 100 mA max OFF High inactive ON Low active DAY NIGHT IN Connect an external device such as an optical sensor Specifications are pulled up input 5 V DC 2 mA min OFF Open contact inactive ON Closed contact active Notes To validate the sensor inputs select EXT for BW on the BW MODE menu Use a relay unit if the voltage or current of the connecte...

Page 4: ...s Mount Adapter C mount Less than 13 mm 1 2 CS mount Less than 8 mm 5 16 Lens Mount NEAR FAR I INDICATOR 9999 Not larger than ø20 mm ø13 16 Hints Before Back focus Adjustment Adjustment procedures vary depending on the lens Refer to the instructions includ ed with the lens Reset the back focus by pressing the L and R buttons simultaneously on the cam era and adjust the back focus Move the lens foc...

Page 5: ...ble Disable the menu 2 Move the cursor to SETUP DISABLE ENABLE press SET Scroll up or down the page Hold down or Notes NA Not Applicable 1 Reset all is an irrevocable procedure that resets all settings to the default values The PIX OFF setting will not be reset We recommend that you take note of settings before executing this command except the PIX OFF settings 2 Before operating the menu change S...

Page 6: ...or Chinese language up to 8 char acters can be entered 4 To specify the ID display position 1 Select POSI and press SET The entered camera ID will be highlighted on the screen 2 Move it into the appropriate position and press SET The position is determined and the screen will return to the CAMERA ID menu Note Keep pressing any of L R U D for a second or more to move the camera ID faster as necessa...

Page 7: ...c gain control mode This setting raises the gain and brightens the image under low light conditions The default setting is ON HIGH Available modes ON HIGH high ON MID medium ON LOW low OFF 5 Electronic Sensitivity Enhancement SENS UP Select a proper enhancement rate when the camera is set to ALC mode The higher rate you select the brighter the picture will be The default setting is OFF AUTO Sets A...

Page 8: ...Adjustable range From zero to 2 0 microseconds SC Sub carrier Phase Adjustment Connect the camera to a special effect generator SEG and supply the output of the SEG to a monitor Select a proper COARSE phase from 4 steps 90 degrees step while observing the original scene and the scene on the monitor to make these colors similar Select a proper FINE phase so that these colors match as closely as pos...

Page 9: ...images 10 Resolution Setting RESOLUTION Select a horizontal resolution mode The default setting is HIGH NORMAL Resolves more than 480 TV lines HIGH Resolves typically 540 TV lines though noise may increase when SENSE UP is activated in low lighting conditions 11 Black and White Mode Setting BW MODE 1 Select BW MODE on the CAMERA SETUP menu and press SET The BW MODE menu opens 2 Select a mode for B...

Page 10: ...N some effective pixels on the edge of the CCD are used by the stabi lization function This may result in a small reduction in resolution and a narrower angle of view After activating the image stabilizer function check that the field of view is correct Image stabilization may not function where there is excessive camera movement or when the scene is low light or low contrast objects 16 Back focus...

Page 11: ... black level 17 4 Chroma Phase Hue Setting HUE 1 Move the cursor to HUE 2 While observing the vectorscope or color video monitor move the I cursor to adjust the hue chroma phase level 17 5 Pixel Compensation Setting PIX OFF Perform settings to compensate a maximum of 16 blemish pixels on the pickup device 1 Select PIX OFF and press SET The PIX OFF menu opens with numbers from 1 to 16 2 Select a nu...

Page 12: ...ANUAL AUTO PRESET FIX Special Chroma Aperture Pedestal HUE adjustable Ambient Operating Temperature 10 C 50 C 14 F 122 F Ambient Operating Humidity Less than 90 Power Source and Power Consumption WV CP480 120 V AC 60 Hz 4 8 W WV CP484 24 V AC 60 Hz 4 7 W WV CP484 12 V DC 410 mA Dimensions without lens WV CP480 70 mm W x 65 mm H x 129 mm D WV CP480 2 3 4 W x 2 9 16 H x 5 1 16 D WV CP484 67 mm W x 6...

Reviews: