Denver WCT-5005, Instruction Manual
The Denver WCT-5005 is a high-quality audio device designed to deliver crystal-clear sound. With its sleek design and user-friendly interface, this product is perfect for music enthusiasts. To get the most out of your Denver WCT-5005, simply download the free Instruction Manual from our website.
Share
Download


Reviews:
No comments
Related manuals for WCT-5005

CONCEPT 4G LTE
Brand: NITEforce Pages: 52

WildlifeCam
Brand: WingScapes Pages: 8

WCM-5003
Brand: Denver Pages: 12

Trophy Cam 119636C
Brand: Bushnell Pages: 36

Smart Scouter
Brand: ERS Pages: 23

GoCam GV-W4Gb
Brand: Spartan Pages: 18

HUNTING 480C
Brand: PNI Pages: 83
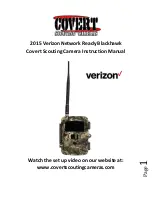
blackhawk
Brand: Verizon Pages: 67
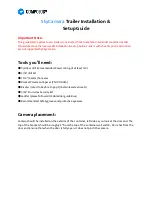
SkyCamera
Brand: COMPOLOGY Pages: 4
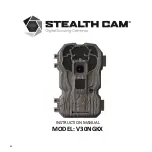
V30NGKX
Brand: Stealth Cam Pages: 34
STC-AD2
Brand: Stealth Cam Pages: 48

57660
Brand: Braun Pages: 105

Remote VideoEye
Brand: Pix Controller Pages: 10
119902
Brand: Bushnell Pages: 19
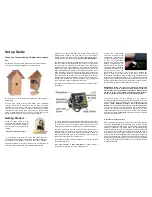
Nest Box Camera System
Brand: Gardenature Pages: 2

NC701G
Brand: Green Feathers Pages: 20
WCB-00116
Brand: WingScapes Pages: 24

MPE6
Brand: Covert Pages: 24


