Summary of Contents for Trophy Cam 119636C
Page 1: ...I N S T R U C T I O N M A N U A L Model 119636C 03 14 ...
Page 35: ......
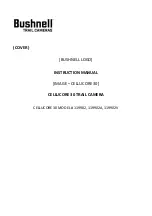
The Bushnell Trophy Cam 119636C is a state-of-the-art wildlife camera that captures high-quality images and videos. To ensure optimal usage, it comes with a comprehensive Instruction Manual. You can effortlessly download the user manual for free from our website, providing you all the necessary guidance to maximize your experience with this exceptional camera.
Page 1: ...I N S T R U C T I O N M A N U A L Model 119636C 03 14 ...
Page 35: ......