Stealth Cam STC-AD2, User Manual
The Stealth Cam STC-AD2 user manual is essential for maximizing your trail camera's capabilities. Easily download this comprehensive manual absolutely free at manualshive.com, providing detailed instructions on setup, operation, and troubleshooting. Unlock the full potential of your Stealth Cam and capture the perfect shots with confidence.
Share
Download


Reviews:
No comments
Related manuals for STC-AD2

CONCEPT 4G LTE
Brand: NITEforce Pages: 52

WildlifeCam
Brand: WingScapes Pages: 8

WCM-5003
Brand: Denver Pages: 12

Trophy Cam 119636C
Brand: Bushnell Pages: 36

Smart Scouter
Brand: ERS Pages: 23

GoCam GV-W4Gb
Brand: Spartan Pages: 18

HUNTING 480C
Brand: PNI Pages: 83
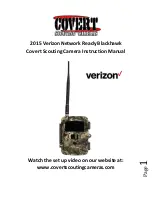
blackhawk
Brand: Verizon Pages: 67
SkyCamera
Brand: COMPOLOGY Pages: 4
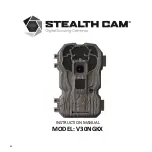
V30NGKX
Brand: Stealth Cam Pages: 34

WCT-5005
Brand: Denver Pages: 14

57660
Brand: Braun Pages: 105

Remote VideoEye
Brand: Pix Controller Pages: 10
119902
Brand: Bushnell Pages: 19

Nest Box Camera System
Brand: Gardenature Pages: 2

NC701G
Brand: Green Feathers Pages: 20

WCB-00116
Brand: WingScapes Pages: 24

MPE6
Brand: Covert Pages: 24


