Chapter 4
Settings — [PICTURE] menu
88 - ENGLISH
Operation
Adjustment
Range of adjustment
Press
w
.
The intermediate tome becomes brighter.
-8 - +7
Press
q
.
The intermediate tone becomes darker.
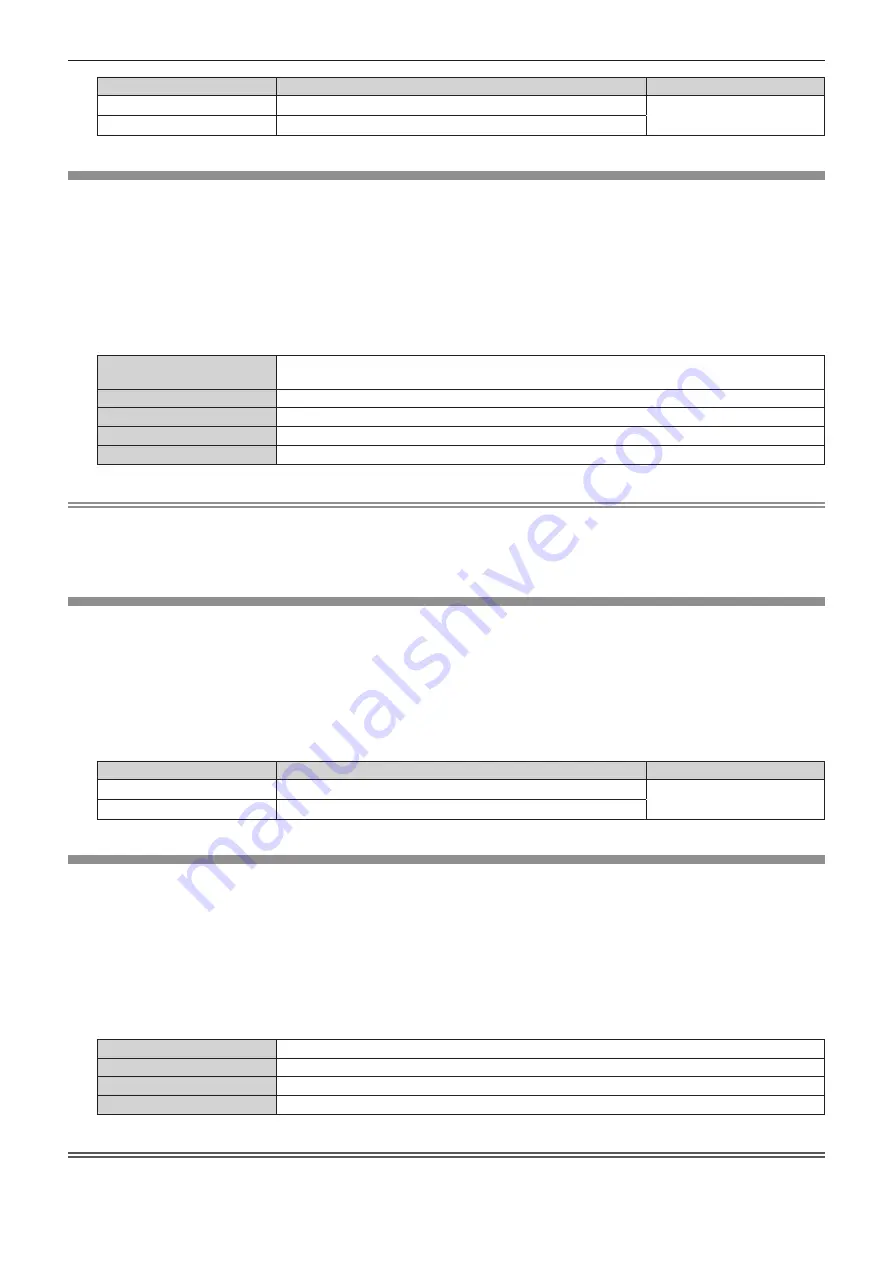
[DAYLIGHT VIEW]
You can correct the image to the optimal vividness even if it is projected under a bright light.
1) Press
as
to select [DAYLIGHT VIEW].
2) Press
qw
or the <ENTER> button.
f
The
[DAYLIGHT VIEW]
individual adjustment screen is displayed.
3) Press
qw
to switch the item.
f
The items will switch each time you press the button.
[AUTO]
Detects the brightness of the installed environment by the luminance sensor, and automatically
corrects the vividness of the image.
[OFF]
No correction.
[1]
Corrects the image to weaken vividness.
[2]
Corrects the image to medium vividness.
[3]
Corrects the image to high vividness.
Note
f
[AUTO] cannot be selected when the [PROJECTOR SETUP] menu
→
[FRONT/REAR] of [PROJECTION METHOD] is set to [REAR].
f
The luminance may not be detected correctly when an object is placed on top of the projector, blocking the luminance sensor. In such a
case, this function may not operate properly even if it is set to [AUTO].
f
When the [PICTURE] menu
→
[PICTURE MODE] is set to [DICOM SIM.], the factory default value is [OFF].
[SHARPNESS]
You can adjust the sharpness of the projected image.
1) Press
as
to select [SHARPNESS].
2) Press
qw
or the <ENTER> button.
f
The
[SHARPNESS]
individual adjustment screen is displayed.
3) Press
qw
to adjust the level.
Operation
Adjustment
Range of adjustment
Press
w
.
Contours become sharper.
0 - +15
Press
q
.
Contours become softer.
[NOISE REDUCTION]
You can reduce noises when the input image is degraded and noise is occurring in the image signal.
1) Press
as
to select [NOISE REDUCTION].
2) Press
qw
or the <ENTER> button.
f
The
[NOISE REDUCTION]
individual adjustment screen is displayed.
3) Press
qw
to switch the item.
f
The items will switch each time you press the button.
[OFF]
No correction.
[1]
Slightly corrects the noise.
[2]
Moderately corrects the noise.
[3]
Strongly corrects the noise.
Attention
f
When this is set for an input signal with less noise, the image may look different from the original image. In such a case, set it to [OFF].


