


14
VQT2Z87
Photo playback settings
You can make the settings for image quality for photo
playback, settings for slideshow playback method, etc.
according to your preferences.
Basic operation
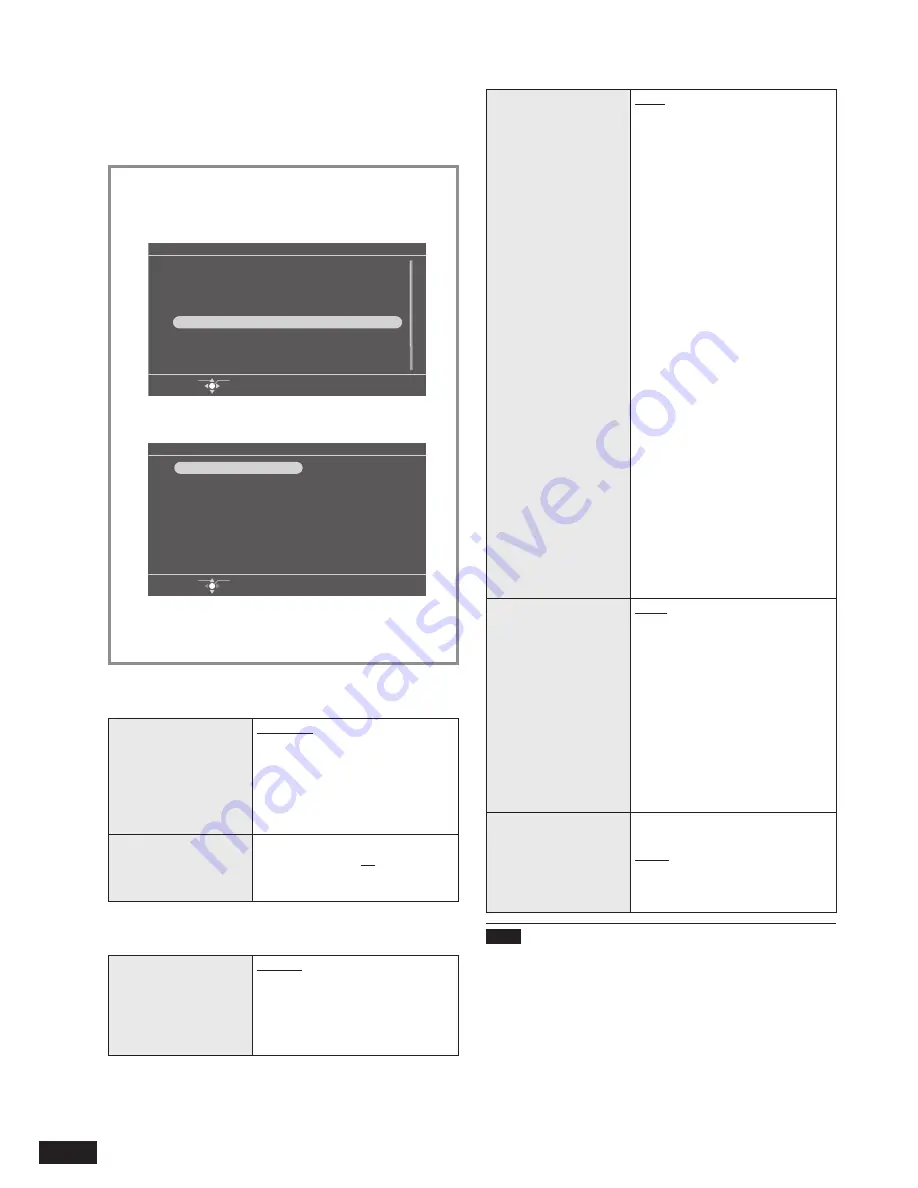
1. Press [MENU].
2. Press [
e
,
r
,
w
,
q
] to select “Photo Menu” and
press [OK].
Menu
Select Item
OK
Slideshow
Single View
Select Photos
Clock
Photo Menu
iPod Play/Pause
iPod Display
iPod Play Menu
3. Press [
e
,
r
] to select “Image Quality Settings” or
“Photo Playback Settings” and press [OK].
Photo Menu
Select Item
OK
Photo Playback Settings
Copy Photo
Edit Photo
Image Quality Settings
4. Press [
e
,
r
] to select the item (
¼
below, right)
and press [
w
,
q
] to select the setting.
5. Press [MENU] to close the menu screen.
Image quality settings
Factory settings are indicated with underlines.
Image Quality Mode
Standard:
Standard image quality
Soft:
Eye-friendly image quality
Dynamic:
Vivid image quality with clear
distinction of bright and dark
Adjust Brightness
Brightness is adjusted with the
range from “
1
” to “
10
”.
When setting “
1
”, Panasonic
Logo automatically turns off.
•
Photo playback settings
Factory settings are indicated with underlines.
Slideshow Order
Normal:
Photos in the selected category
are played in order of
fi
le names.
Random:
Photos in the selected category
are played at random.
Slideshow Effects
Fade:
Photos are switched gradually.
Motion:
Plays while enlarging and moving
the photo up and down, right and
left, and in the diagonal direction.
When “Motion” is set, the
“Slideshow Interval” setting is
disabled.
Slide-in:
Photos are switched with
fl
owing
movement either from right or left.
Wipe 1/Wipe 2:
The displayed photo is switched
to the next photo in wiping motion.
Dissolve:
Photos are switched as the next
photo gradually overlaps the
currently displayed photo.
Center Cross:
Cross-shaped switching from
center toward outside
Blind:
The photos are switched by the
horizontal band from top to bottom.
Checker Wipe:
Check-shaped switching from left
to right
Random:
Various slideshow effects are used
randomly for switching photos.
•
Slideshow Interval
5 sec/10 sec/30 sec/1 min/
5 min/10 min/30 min/
1 hour/3 hours/12 hours/24 hours
Change On The Hour:
Photos are switched on the hour
every hour.
Change Daily:
Photos are switched when the
calendar date is changed.
Sync Music:
Photos are switched every time
“Music” or “Videos” on the
iPod/iPhone is switched.
Color Effects
Setting a color tone of photo for the
single view or slideshow playback.
Color/Black and White/Sepia
When photos are displayed with the
thumbnail view, they are displayed
with the original color tone.
•
Note
When the display mode for “Slideshow” is set to “Multi” (
¼
P8),
the “Motion” and “Slide-in” effects cannot be selected.
When the “Slideshow Effects” is set to “Motion” or “Slide-
in” with the display mode set to “Multi”, the “Fade” effect is
automatically assigned to “Motion” and “Slide-in”.
When the slideshow playback is performed for the small
number of photos with a short interval, the photos may not
be normally displayed.
Reading photos may require longer time than the set
slideshow interval. Also, when the display mode for
“Slideshow” is set to “Frame 1 to 3” (
¼
P8), it may require
longer time than the set slideshow interval.
•
•
•
•


