Panasonic MW20 - DIGITAL PHOTO FRAME Operating Instructions Manual Download Page 11

11

VQT2Z87

Operations

Selecting photos to vie

w

Note

The “SD Favorite” is classi

fi

 ed based on the DPOF 

setting information, which means the Favorite set on units 
other than Panasonic products may be classi

fi

 ed as “SD 

Favorite”.
A date for Date Search can be selected from January 2000 
to December 2099.
If photo shooting date information is not present for some 
photos, the Date Search classi

fi

 es such photos according 

to the updated date information of photo 

fi

 les.

The “LUMIX Scene Mode” categories displayed on this 
unit may differ from the “LUMIX Scene Mode” categories 
displayed on Panasonic digital camera LUMIX.
If photos have scene mode information which is not 
applicable, such photos are classi

fi

 ed as “Others” of 

“LUMIX Scene Mode”.

Operations during play back

Playing back 
slideshow

Press [SLIDESHOW] when 
displaying with the single view or 
thumbnail view.

You can also select from 
“Slideshow” in the “Menu” by 
pressing [MENU].

Viewing single

Press [OK] while playing the 
slideshow.

You can also select from 
“Single View” in the “Menu” by 
pressing [MENU].

Selecting photos

Press [

w

q

].

Selecting photos 
from the thumbnail

¼

2


view

1. Press [  RETURN]. 
2. Press [

e

r

w

q

] to select  

the photo and press [OK].

Selecting photos by 
scrolling

¼

3

Press and hold [

w

q

], when 

playing the photo or thumbnail 
view.

When you release your 

fi

 nger, 

scrolling stops and the photo 
displayed in the center is 
displayed with the single view.

Rotating photos

Press [ROTATE/-ZOOM], when 
displaying with the single view.

Each time you press, the photo 
rotates anticlockwise by 90°.

„

Zooming photos

When displaying with the single view
1. Press and hold [ROTATE/

-ZOOM] for more than 
1 second.

  (The photo is enlarged to ×1.5.)
2. Press [

4

 IN/VOL].

×2 

 ×3 

 ×4

While zoomed, you can move 
to preferred position using 
[

e

r

w

q

].

Press [

3

 OUT/VOL] to reduce 

the enlarged photo.

Con

fi

 rming media 

information

Press [SELECT PHOTOS].

The used capacity, remaining 
capacity and number of photos 
of the SD card and internal 
memory are displayed on the 
photo selection menu screen.

¼

2

 Thumbnail is a reduced image of multiple pictures to view 

them as a list.

¼

3

 Scrolling is a function to display images with right and left 

movement.

Note

When photos are being played back in display mode 
“Frame 1 to 3” or “Multi” and if you press [

w

q

] to switch 

photos, the combinations of photos are also changed.
If some images cannot be displayed with the thumbnail 
view, “ 

 ” is displayed. 

Depending on the photo, the scrolling thumbnail images 
may be displayed as “ ”.
Scrolling is not possible when the slideshow order is set to 
Random (

¼

P14). Also, [

w

] is disabled during playing back 

slideshow.
If the unit is turned off or SD card is removed, the image 
rotation setting for SD is canceled.
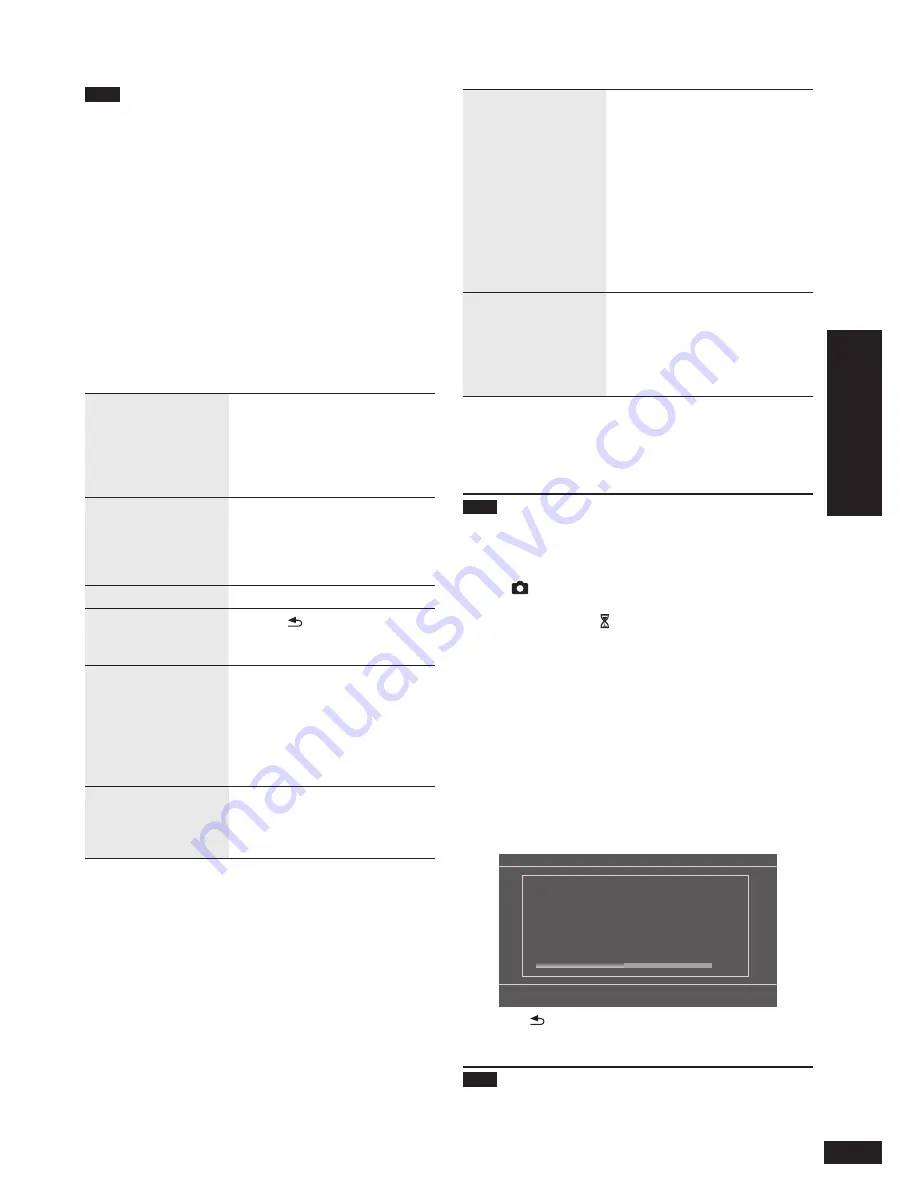
Searching screen

The searching screen may be displayed in the following 
cases till the photo is displayed.

When “Date Search” or “LUMIX Scene Mode” in the photo 
category is selected
When “Date Search” or “LUMIX Scene Mode” has been 
selected when the unit is turned on

Searching  photo  files. 

SD


50% 

Date Search 

[RETURN]:Cancel

Pressing [  RETURN] will stop the photo search and exit 
the above screen.

Note

When the unit is turned on, if the above screen is 
canceled, the 

fi

 rst photo in “All Photos” is automatically 

selected.

„

Summary of Contents for MW20 - DIGITAL PHOTO FRAME

Page 1: ...or adjusting this product please read the instructions completely Please keep this manual for future reference If you have any questions contact 1 800 211 PANA 7262 The warranty can be found on page 27 Supplied Accessories Please check and identify the supplied accessories Use numbers indicated in parentheses when asking for replacement parts Product numbers correct as of August 2010 These may be ...

Page 2: ...ound to comply with the limits for a Class B digital device pursuant to Part 15 of the FCC Rules These limits are designed to provide reasonable protection against harmful interference in a residential installation This equipment generates uses and can radiate radio frequency energy and if not installed and used in accordance with the instructions may cause harmful interference to radio communicat...

Page 3: ...rd SDXC memory card microSDXC card 48 GB 64 GB Formatted in exFAT format compliant with the SD standard Be sure to attach the dedicated adaptor when using on this unit Types of iPod iPhone that can be used on this unit as of August 2010 Name Memory size iPod touch 3rd generation 32 GB 64 GB iPod nano 5th generation video camera 8 GB 16 GB iPod touch 2nd generation 8 GB 16 GB 32 GB iPod classic 120...

Page 4: ...ロモヺ ヮヰュユ ンユヵヶンワ ヷヰロヶヮユ 14 13 12 7 6 8 9 4 10 11 2 3 1 15 16 5 Inserting an SD card B Face the side with the corner cut B up and insert straight to the end To remove an SD card Press the center of the SD card When the card slightly pops out pull it out with your fingers Never remove the SD card while the SD card is reading Otherwise the data may be destroyed Keep the Memory Card out of reach of chi...

Page 5: ...indows closed Remove the battery if the remote control is not going to be used for a long period of time Store in a cool dark place Keep the Button type battery out of reach of children to prevent swallowing For USA California Only This product contains a CR Coin Cell Lithium Battery which contains Perchlorate Material special handling may apply See www dtsc ca gov hazardouswaste perchlorate To us...

Page 6: ...n the switch is slid to the LOCK side it is not possible to write or delete data on the card and format it When the switch is unlocked these functions become available A Write protect B When recording editing A B Handling cautions Be sure to store the card in the case when not in use Do not disassemble or modify the card Do not remove the attached label Do not attach a new label or seal Do not tou...

Page 7: ...e set January 2000 to December 2099 There is a small precision error of the clock Periodical time correction is recommended Preparation for power source C AC adaptor terminal D AC adaptor E To household AC outlet Back of product C 2 1 E D Note While using this unit the AC adaptor may become a little hot This is not a malfunction The included AC adaptor is for use with this unit only Do not use it ...

Page 8: ...tos per slide Frame 4 Random Slideshow with random photos using the frame 1 to 3 Multi Slideshow with 2 or 3 photos per slide Clock 1 to 3 Slideshow with 1 photo per slide displaying the clock Calendar 1 to 3 Slideshow with 1 photo per slide displaying the calendar Normal Date Indication Slideshow with 1 photo per slide displaying the date of photo Full Screen Date Indication Slideshow with 1 phot...

Page 9: ...me photos the updated date information of photo files is displayed Photos are displayed vertically by switching the display mode 1 Press DISPLAY MODE 2 Press e r w q to select Normal Vertical or Full Screen Vertical in the Slideshow or Single View and press OK The photo is displayed vertically 3 Turn the unit off and remove the AC adaptor from the unit 4 Fold the stand part 5 Insert the stand for ...

Page 10: ...also select from Select Photos in the Menu Used 34 25MB Space 1 76GB Photos 118 F Internal Memory Photo Selection Menu Select Item OK Recently Imported Photos Date Search Folder Search Favorites LUMIX Scene Mode Switch to SD Card All Photos D E D Media E Media information P11 F To switch to the SD card 2 Press e r to select photo category below and press OK Repeat the above step as necessary 3 Pre...

Page 11: ... the photo rotates anticlockwise by 90 Zooming photos When displaying with the single view 1 Press and hold ROTATE ZOOM for more than 1 second The photo is enlarged to 1 5 2 Press 4 IN VOL 2 3 4 While zoomed you can move to preferred position using e r w q Press 3 OUT VOL to reduce the enlarged photo Confirming media information Press SELECT PHOTOS The used capacity remaining capacity and number o...

Page 12: ...s displayed on the selected photos Repeat the above step as necessary To cancel press OK again If you press MENU you can select Select All or Clear All of photos or switch to single view to select photos 6 Press MENU press e r to select Copy and press OK 7 Press w q to select Yes and press OK To stop copying Press RETURN Photos already copied remain in the SD or the internal memory Compressing dat...

Page 13: ...photos to cancel protection and press OK 2 Press MENU press e r to select End Protection Setting and press OK Note Even if protection is set to photos they will be deleted if the internal memory is formatted P21 The audio will be stopped paused automatically during playback Collecting favorite photos Only for the internal memory By registering photos to Favorite 1 to 10 you can play back registere...

Page 14: ...abled Slide in Photos are switched with flowing movement either from right or left Wipe 1 Wipe 2 The displayed photo is switched to the next photo in wiping motion Dissolve Photos are switched as the next photo gradually overlaps the currently displayed photo Center Cross Cross shaped switching from center toward outside Blind The photos are switched by the horizontal band from top to bottom Check...

Page 15: ...iPod and Made for iPhone mean that an electronic accessory has been designed to connect specifically to iPod or iPhone respectively and has been certified by the developer to meet Apple performance standards Apple is not responsible for the operation of this device or its compliance with safety and regulatory standards Please note that the use of this accessory with iPod or iPhone may affect wirel...

Page 16: ...menu screen etc Press e r to select and press OK Playing music on an iPod iPhone Operating this unit enables you to listen to the music on an iPod iPhone connected to this unit Turn down the volume of this unit Connect the iPod iPhone 1 Press iPod PLAY MENU You can also select from iPod Play Menu in the Menu by pressing MENU 2 Press e r to select Music and press OK iPod Menu h Select Item OK Video...

Page 17: ...playlist are played at random Shuffle Albums Albums in the album playlist are played at random The tracks in the album are played back in the proper order Note The settings for the playback position shuffle playback and repeat playback remain unchanged even if the iPod iPhone is disconnected from this unit Also the settings made on the iPod iPhone before connected to this unit remain unchanged If ...

Page 18: ...r Do you want to give priority to this timer and register it appears If Yes is selected other timers with the overlapped time are disabled If No is selected the previous screen is restored with the timer setting contents saved Timer 1 Settings Select Item OK Day Time Standby Enable Off Mon Tue Wed Thu Fri 7 00 AM 10 00 AM Audio Playback Confirm A A To set audio playback P19 12 Press MENU to close ...

Page 19: ...tep 6 P18 and press OK 2 Press e r to select Confirm and press OK To delete the timer setting 1 Select Initialize This Timer in step 6 P18 and press OK 2 Press e r to select Confirm and press OK When the timer is set When the unit is off the unit is automatically turned on at the timer start time and the timer playback starts At the timer end time the unit is automatically turned off If the audio ...

Page 20: ... be detected With the power save setting enabled when you set the unit at a place where light is difficult to reach the rear side of the unit such as in a cabinet or near a dark colored wall the screen may become dark automatically or the power may be turned off automatically even if the surrounding area is bright Power saving use Using the setup menu You can format the internal memory initialize ...

Page 21: ... OK 2 Select Yes again and press OK Format Card All the data in the SD card will be deleted 1 Select Yes in step 4 in the basic operation P20 and press OK 2 Select Yes again and press OK Format Internal Memory You can initialize format the internal memory All photo data in the internal memory will be deleted 1 Select Yes in step 4 in the basic operation P20 and press OK 2 Photos set as protected w...

Page 22: ...ection cable is removed this unit is turned off When switching the USB connection memory remove the USB connection cable once then reconnect it and perform from the beginning To exchange photo files with a computer Open the folder to exchange photo files on the computer Connect this unit to the PC Insert the SD card 1 Select Internal Memory or SD Card in step 4 left 2 Open Removable Disk in My com...

Page 23: ...ews for the fitting for wall mounting A length which supports the strength of 5 kg 11 1 lb or more must be kept for each screw At least 30 mm 13 16 5 32 4 mm 7 4 mm 19 64 to 9 4 mm 3 8 2 2 mm 3 32 to 3 mm 1 8 3 mm 1 8 to 4 mm 5 32 Use commercially available screws with the nominal diameter of 4 mm 5 32 or equivalent which are suitable for materials of the wall i e wood steel concrete etc Note Pana...

Page 24: ...to a wall Make sure to turn the power off to the unit and unplug the AC adaptor Remove the Universal Dock for iPod 1 Attach the screws for wall mounting according to the illustration below 105 mm 49 64 53 mm 23 32 2 Attach the screws for wall mounting Wall Wall A B 3 mm 1 8 to 4 mm 5 32 A Screw for wall mounting B Fix with the screws stuck out 3 mm 1 8 to 4 mm 5 32 from the wall Make sure to attac...

Page 25: ...prevent injury the unit must be securely attached to the wall in accordance with the installation instructions Do not install the unit where it cannot support the load If the mounting parts are not strong enough this may cause the unit to fall resulting in injury Do not use installation methods other than instructed This may cause the unit to fall and be damaged resulting in injury Do not install ...

Page 26: ...Confirm the iPod iPhone video settings The display of the iPod iPhone video playback shows an unexpected one Confirm the iPod iPhone video settings Example Set the TV signal to NTSC on the iPod iPhone video setting iPod iPhone videos cannot be played back Check your iPod iPhone version Only images on iPod iPhone videos cannot be displayed Select Videos in the iPod menu again Photo Photos are not d...

Page 27: ...T COVER normal wear and tear or cosmetic damage The warranty ALSO DOES NOT COVER damages which occurred in shipment or failures which are caused by products not supplied by the warrantor or failures which result from accidents misuse abuse neglect mishandling misapplication alteration faulty installation set up adjustments misadjustment of consumer controls improper maintenance power line surge li...

Page 28: ...RH No condensation 1 4 2 0 4 2 2 4 4 4 type base line JPEG 2 Refer to the list of compatible types 3 Factory setting or when playing the internal memory 4 Slideshow iPod iPhone charge and when playing back audio with maximum volume 5 Without iPod iPhone charge 6 For horizontal arrangement maximum open angle 75º of LCD panel Specifications are subject to change without notice Some characters are no...

Reviews: