1.
Press
Setting
or
Setup
.
2.
Press
[ ]
or
[ ]
to select "
Information Display
", and then press
[ENTER]
.
3.
Press
[ ]
or
[ ]
to select "
IP Address
".
4.
Press
[CANCEL]
.
2.
For authentication, enter your ID (username) and password, and then click
OK
.
Notice
•
The default ID for the User account is "user", and the default password is blank. The ID cannot be
changed from the Web user interface, but it can be changed through configuration file
programming.
•
When you log in as User to the Web user interface for the first time, the
[Change User
Password]
screen (
®
) will be displayed. Enter a new
password, and then perform authentication again with the new password to log in to the Web user
interface.
•
The default ID for the Administrator account is "admin", and the default password is "adminpass".
The ID cannot be changed from the Web user interface, but it can be changed through configuration
file programming.
3.
The Web user interface window is displayed. Configure the settings for the unit as desired.
4.
You can log out from the Web user interface at any time by clicking
[Web Port Close]
.
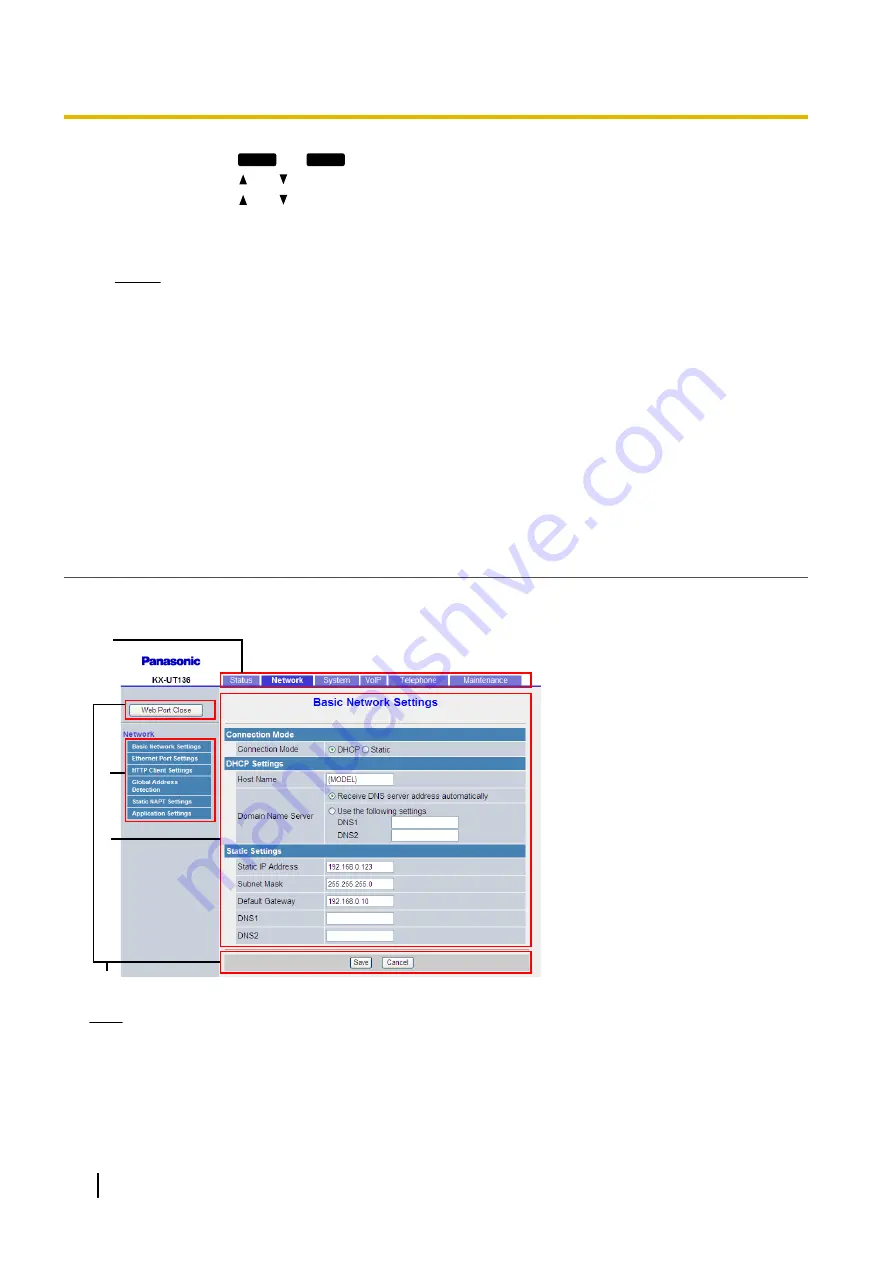
Controls on the Window
The Web user interface window contains various controls for navigating and configuring settings. The following
figure shows the controls that are displayed on the
[Basic Network Settings]
screen as an example:
A
C
D
B
Note
•
The screen shots shown are taken from the Web user interface of the KX-UT136 (or, in some cases,
KX-UT248), so the model name may differ from that shown on your PC.
•
Actual default values may vary depending on your phone system dealer.
•
When you log in to the Web user interface with the User account, the languages of messages displayed
on the configuration screen may differ depending on the country/area of use.
24
Administrator Guide
Document Version 2013-03
1.1.6 Web User Interface Programming
Summary of Contents for KX-UT123
Page 32: ...32 Administrator Guide Document Version 2013 03 1 2 2 Firmware Update...
Page 154: ...154 Administrator Guide Document Version 2013 03 4 7 6 Restart...
Page 270: ...270 Administrator Guide Document Version 2013 03 5 7 2 SIP Settings...
Page 286: ...286 Administrator Guide Document Version 2013 03 6 3 1 Flexible Button Settings...
Page 290: ...290 Administrator Guide Document Version 2013 03 7 4 Local Firmware Update...
Page 296: ...296 Administrator Guide Document Version 2013 03 8 1 Troubleshooting...
Page 297: ...Section 9 Appendix Document Version 2013 03 Administrator Guide 297...
Page 303: ...Index Document Version 2013 03 Administrator Guide 303...
Page 311: ...Document Version 2013 03 Administrator Guide 311 Notes...


