4. Caller ID
42
4.2 Viewing and calling
back using caller
information
You can easily view caller information and call
back. When calling back, we recommend you
use the optional handset unit.
Important:
L
Calling back will not be possible if the
caller information does not include a
telephone number.
L
If the area code of the received telephone
number is the same as yours, the area
code may need to be deleted before
calling back. This may only apply to some
areas. To edit the number, see page 42.
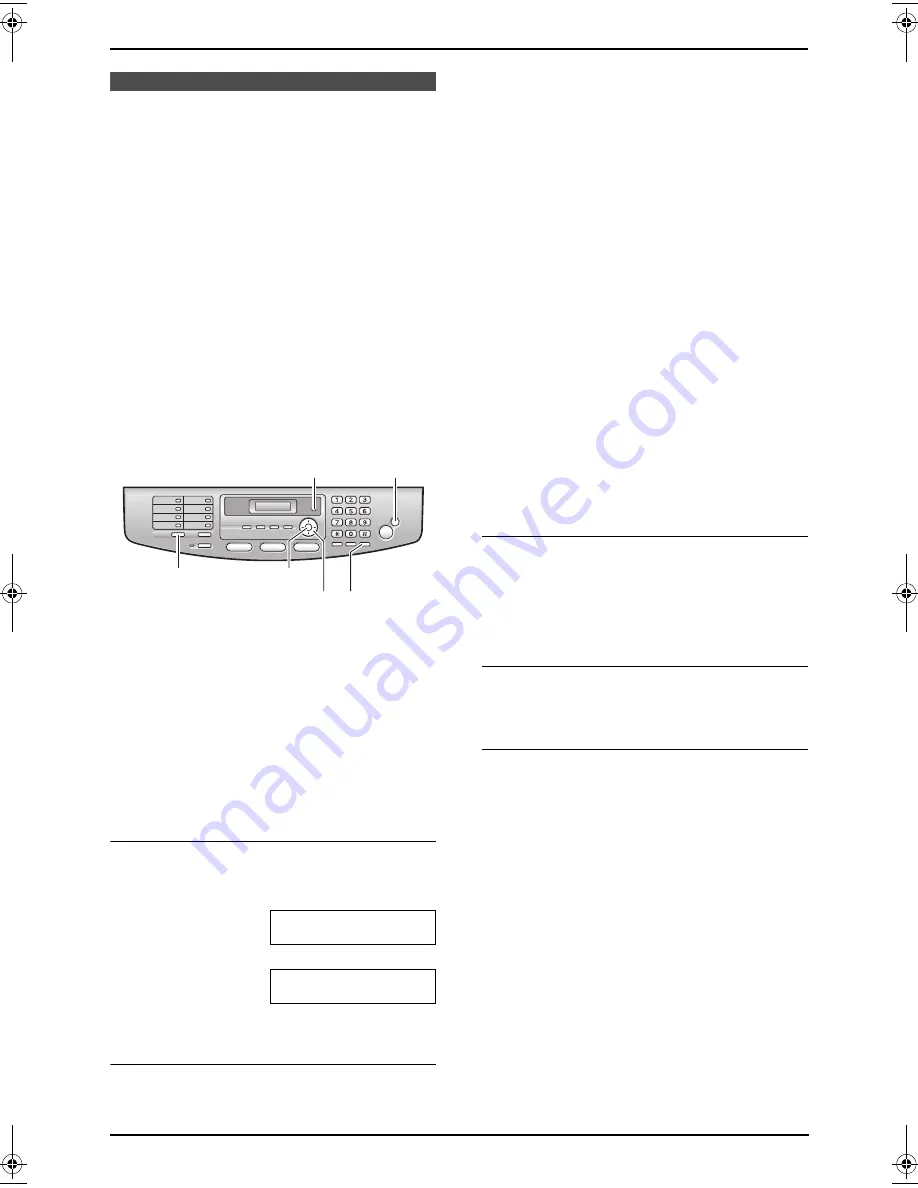
1
Press
{
CALLER ID
}
.
2
Press
{V}
to search from the recently
received caller information.
L
If you press
{^}
, the display order will be
reversed.
3
Press
{
MONITOR
}
to return the call.
L
The unit will start dialling automatically.
L
To send a fax using the auto document
feeder, see page 28.
To change the way caller information is
displayed
Press
{
CALLER ID
}
repeatedly after step 2.
Example:
SAM LEE
11:20AM 20 Jul.
,
b
1345678901
11:20AM 20 Jul.
,
L
A check mark (
,
) on the display means the
call has already been viewed or answered.
Display while viewing
L
When the unit could not receive a name, the
display will show
“
NO NAME RCVD
”
.
L
When no calls have been received, the
display will show
“
NO CALLER DATA
”
.
4.2.1 Editing a caller’s telephone
number before calling back
1
Press
{
CALLER ID
}
.
2
Press
{V}
or
{^}
repeatedly to display the
desired entry.
3
Press
{
CALLER ID
}
to display the telephone
number.
4
Press dial key (0 to 9) or
{*}
to enter the
editing mode and edit the telephone number.
5
Press
{
MONITOR
}
to call back the edited
number.
L
The unit will start dialling automatically.
L
To send a fax, insert the document FACE
UP and press
{
START
}
.
Note:
L
The edited telephone number will not be
saved in the caller information. To save in the
directory, see page 43.
To correct a mistake
1.
Press
{
<
}
or
{
>
}
to move the cursor to the
incorrect number.
2.
Press
{
STOP
}
to delete the number.
3.
Enter the correct number.
To delete a number
Press
{
<
}
or
{
>
}
to move the cursor to the
number you want to delete and press
{
STOP
}
.
To insert a number
1.
Press
{
<
}
or
{
>
}
to move the cursor to the
position to the right of where you want to
insert the number.
2.
Enter the number.
4.2.2 Erasing all caller
information
1
Press
{
MENU
}
repeatedly to display
“
CALLER SETUP
”
.
2
Press
{
SET
}
.
L
“
CALL LIST ERASE
”
will be displayed.
3
Press
{
SET
}
.
L
To cancel erasing, press
{
STOP
}
, then
{
MENU
}
.
4
Press
{
SET
}
.
{
SET
}
{
MONITOR
}
{
CALLER ID
}
{
MENU
} {
STOP
}
{
<
}{
>
}{V}{^}
FLB801E-PFQX2483ZA-en.book Page 42 Friday, March 31, 2006 6:40 PM
Summary of Contents for KX-FLB801E
Page 96: ...94 Notes ...
Page 97: ...95 Notes ...


