71
VQT2J46
S
e
tt
ing m
e
nus
[HDD]
[RAM]
Preparation
≥
Press [DRIVE SELECT] to select the HDD or DVD drive.
≥
[RAM]
Release protection (
>
70, Setting the protection).
After performing steps 1–3 (
>
70, Common procedures)
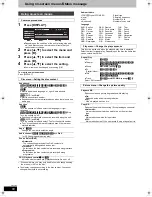
1
Press [
3
,
4
] to select “Delete all
titles” and press [OK].
2
Press [
2
,
1
] to select “Yes” and
press [OK].
3
Press [
2
,
1
] to select “Start” and
press [OK].
A message appears when finished.
4
Press [OK].
To return to the previous screen
Press [RETURN ].
To exit the screen
Press [EXIT].
≥
Once deleted, the recorded contents are lost and cannot be
restored.
Make certain before proceeding.
≥
Deleting all video titles will result in all Playlists (Video) also being
deleted.
≥
Still picture data (JPEG), Playlists (Picture), music data or
computer data cannot be deleted.
≥
Delete does not work if one or more titles are protected.
[HDD]
[RAM]
[-RW‹V›]
[+RW]
[-RW‹VR›]
[+R]
[+R]DL]
(New disc only)
[SD]
Preparation
≥
Press [DRIVE SELECT] to select the HDD, DVD or SD drive.
≥
[SD]
Release protection (
>
70, Setting the protection).
After performing steps 1–3 (
>
70, Common procedures)
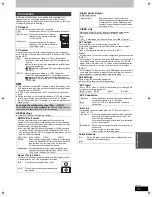
1
Press [
3
,
4
] to select “Format HDD”,
“Format Disc” or “Format Card” and
press [OK].
2
Press [
2
,
1
] to select “Yes” and
press [OK].
3
Press [
2
,
1
] to select “Start” and
press [OK].
A message appears when formatting is finished.
≥
Formatting normally takes a few minutes; however, it may
take up to a maximum of 70 minutes (
[RAM]
).
≥
Do not disconnect the AC mains lead while formatting.
This can render the disc or the card unusable.
4
Press [OK].
≥
When a disc or card has been formatted using this unit, it may not
be possible to use it on any other equipment.
≥
[-R]
[-R]DL]
[CD]
Formatting cannot be performed.
≥
You can format DVD-RW only as DVD-Video format on this unit.
≥
Sample pictures are restored when formatting HDD even if they
have been deleted.
To return to the previous screen
Press [RETURN ].
To exit the screen
Press [EXIT].
[-R]
[-R]DL]
[-RW‹V›]
[+R]
[+R]DL]
[+RW]
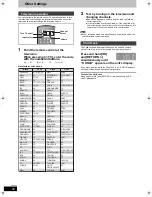
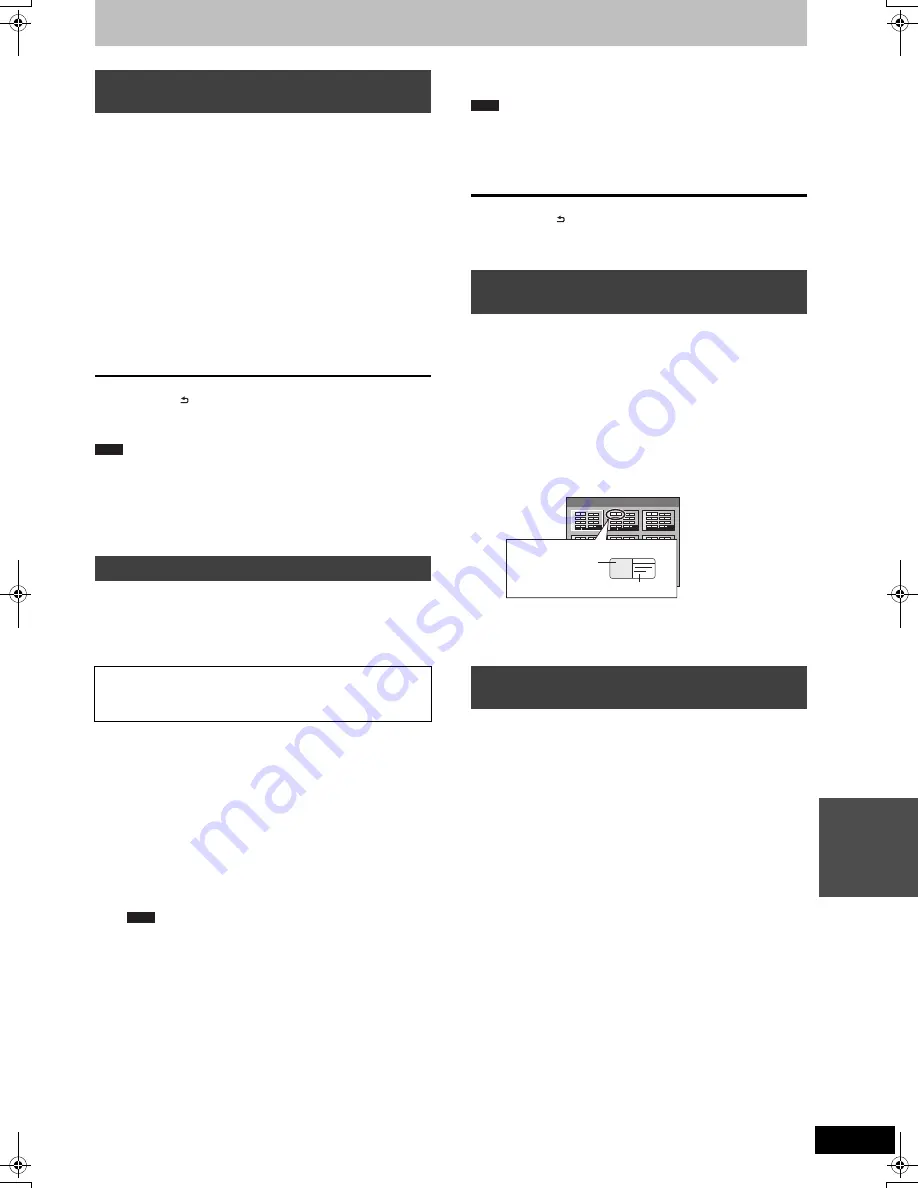
You can select the background that will be displayed as the DVD-
Video top menu after finalising or creating Top Menu (
[+RW]
).
Preparation
Press [DRIVE SELECT] to select the DVD drive.
After performing steps 1–3 (
>
70, Common procedures)
1
Press [
3
,
4
] to select “Top Menu”
and press [OK].
2
Press [
3
,
4
,
2
,
1
] to select the
background and press [OK].
≥
You can change thumbnails displayed in the top menu. (
>
51,
Change Thumbnail)
≥
[-R]
This function cannot be used for discs with still images
recorded on them.
[-R]
[-R]DL]
[-RW‹V›]
[+R]
[+R]DL]
[+RW]
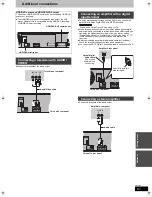
You can select whether to show the top menu after finalising.
Preparation
Press [DRIVE SELECT] to select the DVD drive.
After performing steps 1–3 (
>
70, Common procedures)
1
Press [
3
,
4
] to select “Auto-Play
Select” and press [OK].
2
Press [
3
,
4
] to select “Top Menu” or
“Title 1” and press [OK].
≥
[-R]
This function cannot be used for discs with still images
recorded on them.
Deleting all titles and
Playlists (Video)—Delete all titles
Deleting all the contents—Format
Formatting deletes all contents (including computer data),
and they cannot be restored. Check carefully before
proceeding.
The contents are deleted when you format a disc or
card even if you have set protection.
Note
Note
Selecting the background style—Top
Menu
Selecting whether to show the Top
Menu first—Auto-Play Select
Top Menu:
The top menu appears first.
Title 1:
The disc content is played without displaying
the top menu.
Note
1
4
7
8
5
2
9
6
3
Top Menu List
01
Display after finalising
Title Name
Thumbnail
(Still picture)
DMR-EX99VEG-VQT2J46_eng.book 71 ページ 2010年1月14日 木曜日 午前10時31分


