62
VQT2J46
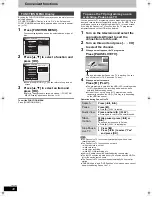
Copying titles or Playlists (Video)
[VHS]
>
[HDD]
[RAM]
[-R]
[-RW‹V›]
[+R]
[+RW]
Preparation:
≥
Insert a disc and video cassette that you can use for copying (
>
18).
≥
Confirm that there is enough remaining disc space.
≥
When copying an NTSC tape to a DVD, change the “TV System” to
“NTSC” in the Setup menu (
>
77). This unit cannot record NTSC
signals to discs that already have PAL signal recordings. (However,
both types of programmes can be recorded onto the HDD.)
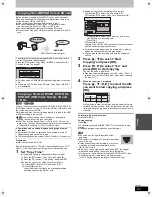
After performing steps 1–5 (“Format” is automatically set to “VHS-
Video”) (
>
60, Copying using the copying list–Advanced Copy)
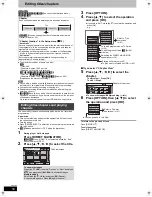
1
Set “Copy Time”.
≥
If you are not going to change the setting (
>
step 2)
1
Press [
3
,
4
] to select “Copy Time”, then press [
1
].
2
Press [
3
,
4
] to select “Time Setting”, then press [OK].
≥
Setting the unit to copy all the content on the video cassette
3
Press [
3
,
4
] to select “Off”, then press [OK].
4
Press [
2
] to confirm.
≥
Setting the unit to copy according to the set time
3
Press [
3
,
4
] to select “On”, then press [OK].
4
Press [
3
,
4
] to select “Copy Time”, then press [OK].
5
Press [
2
,
1
] to select “hour” and “min.”, then press
[
3
,
4
] to set the recording time.
6
Press [OK].
7
Press [
2
] to confirm.
≥
You can also set the recording time with the numbered
buttons.
2
Press [
3
,
4
] to select “Start
Copying”, then press [OK].
3
Press [
2
,
1
] to select “Yes” and
press [OK] to start copying.
≥
Copying continues until the set time even if the playback of
the programme you wish to copy finishes. Note that copying
is automatically stopped when the tape reaches the end or
the remaining capacity of the copy destination is filled.
[VHS]
>
[-R]
[-RW‹V›]
[+R]
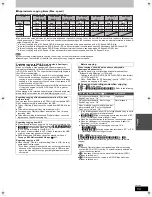
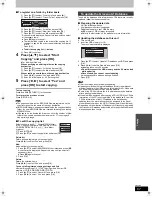
Press [
2
,
1
] to select “Copy &
Finalise” or “Copy Only” and press
[OK].
≥
If “Copy & Finalise” is selected
After finalising, the discs become play-only and you can also
play them on other DVD equipment. However, you can no
longer record or edit.
To stop copying
Press and hold [RETURN ] for 3 seconds.
(You cannot stop while finalising.)
To return to the previous screen
Press [RETURN ].
≥
To play DVD-R, DVD-R DL, DVD-RW (DVD-Video format), +R and
+R DL on other players, it is necessary to finalise them after copy.
About FR mode
When “Time Setting” is set to “Off” in step 1 (
>
left):
≥
The recording mode is automatically selected by estimating the
remaining capacity of the disc for copying of only the recorded
parts in the video cassette (unrecorded parts will not be recorded).
≥
When you press [OK] to start copy, the tape is automatically fast-
forwarded to the end and then fast-rewound to the beginning
before the copying is actually started. It may take time to start copy.
If the remaining capacity of the disc is insufficient, the copying will
be stopped in the middle.
≥
The recording is divided into titles every time the tape index signals
are detected.
When “Time Setting” is set to “On” in step 1 (
>
left):
≥
The recording mode is automatically determined by estimating the
remaining capacity of the disc for copying of the contents
equivalent to the recording time set from the start point of the
copying on the video cassette (unrecorded parts will also be
recorded).
≥
The recording is not divided into titles.
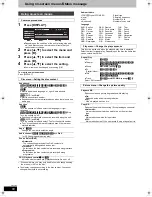
Motion pictures encoded in the MPEG2 format, which have been
taken by a Panasonic digital video camera with HDD etc, can be
copied from the camera’s HDD to this unit’s HDD or DVD-RAM.
(All the recordings on the same date become a title.)
≥
You cannot playback SD Video in the camera’s HDD with this unit.
You must copy the files to the HDD or a DVD-RAM.
≥
You cannot playback or record while copying SD Video.
Copying a video cassette
00
2
Cancel All
1
Copy Direction
min.
Copy
2
Copy Mode
3
Copy Time
VHS-Video SP
VHS DVD
hour
Set the time a few minutes
longer.
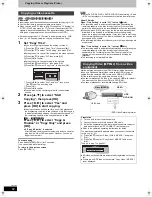
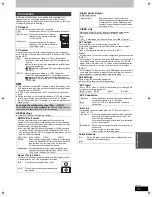
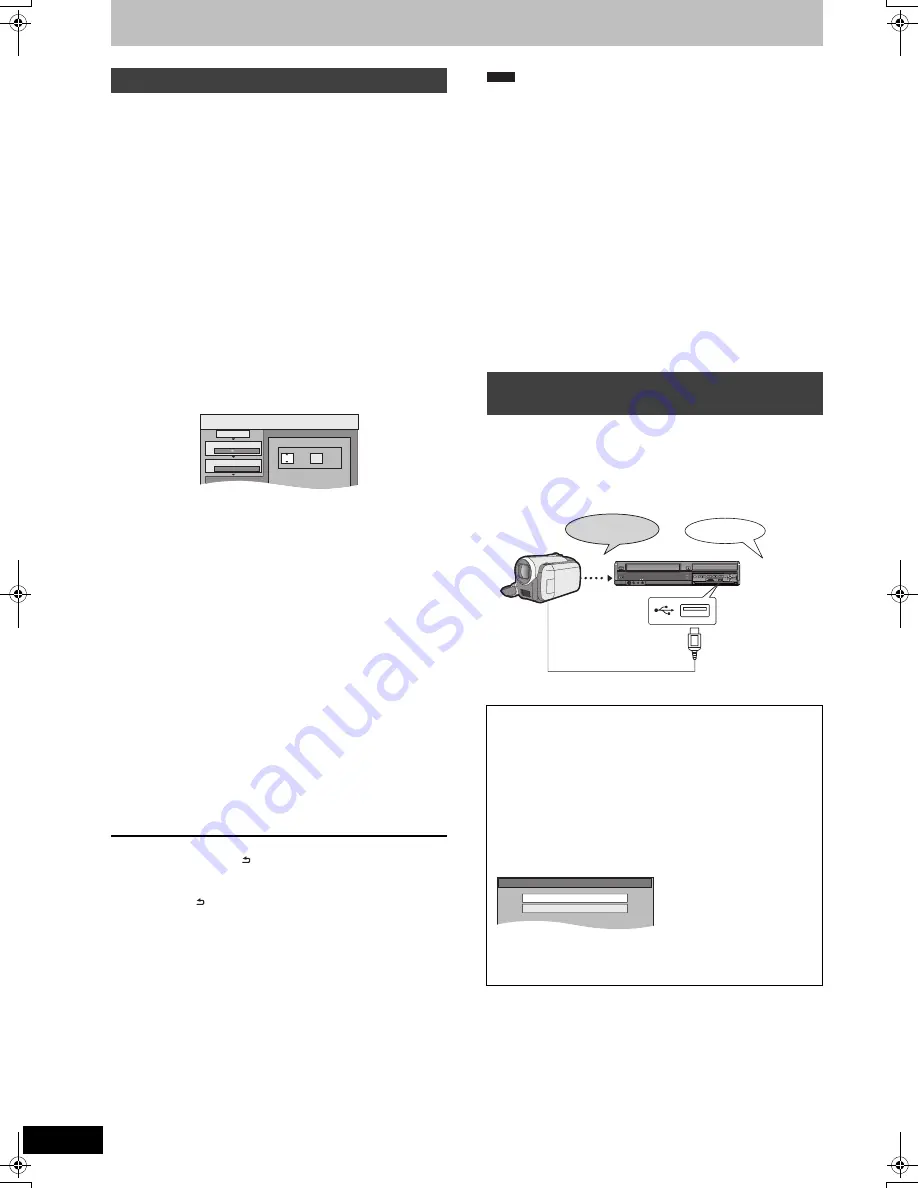
Copying Video (MPEG2) from a video
equipment
Preparation
1
Turn on both this unit and the camera.
2
Connect the camera to this unit with USB cable.
3
Select the appropriate mode that makes the camera ready for
data transfer (such as “PC CONNECT”) on the camera.
≥
Refer to the camera’s operating instructions for detail.
The display automatically appears when you connect the camera
to this unit. (
>
41)
1
Press [
3
,
4
] to select “Video ( DivX & MPEG2 )” and press
[OK].
2
Press [
3
,
4
] to select “Copy Video ( MPEG2 )” and press
[OK].
Then go to step 7 on page 61.
≥
SD Video on the camera are automatically registered on the copy
list.
≥
If there are no SD Video on the camera, “Copy Video ( MPEG2 )”
is not displayed.
Note
S VIDEO
IN 2
VIDEO
/MONO AUDIO R
L
S VIDEO VIDEO
/MONO AUDIO R
L
AV3 IN
DRIVE SELECT
REC
CH
CH
OPEN/CLOSE
EJECT
COPYING
COPYING
VHS
HDD
VHS
DVD
HDD
DVD-RAM
VIDEO
§
§
DVD Video Recording format
USB Cable
Video (MPEG2)
USB device
Play Video ( DivX )
Copy Video ( MPEG2 )
DMR-EX99VEG-VQT2J46_eng.book 62 ページ 2010年1月14日 木曜日 午前10時31分

