19
Getting Started
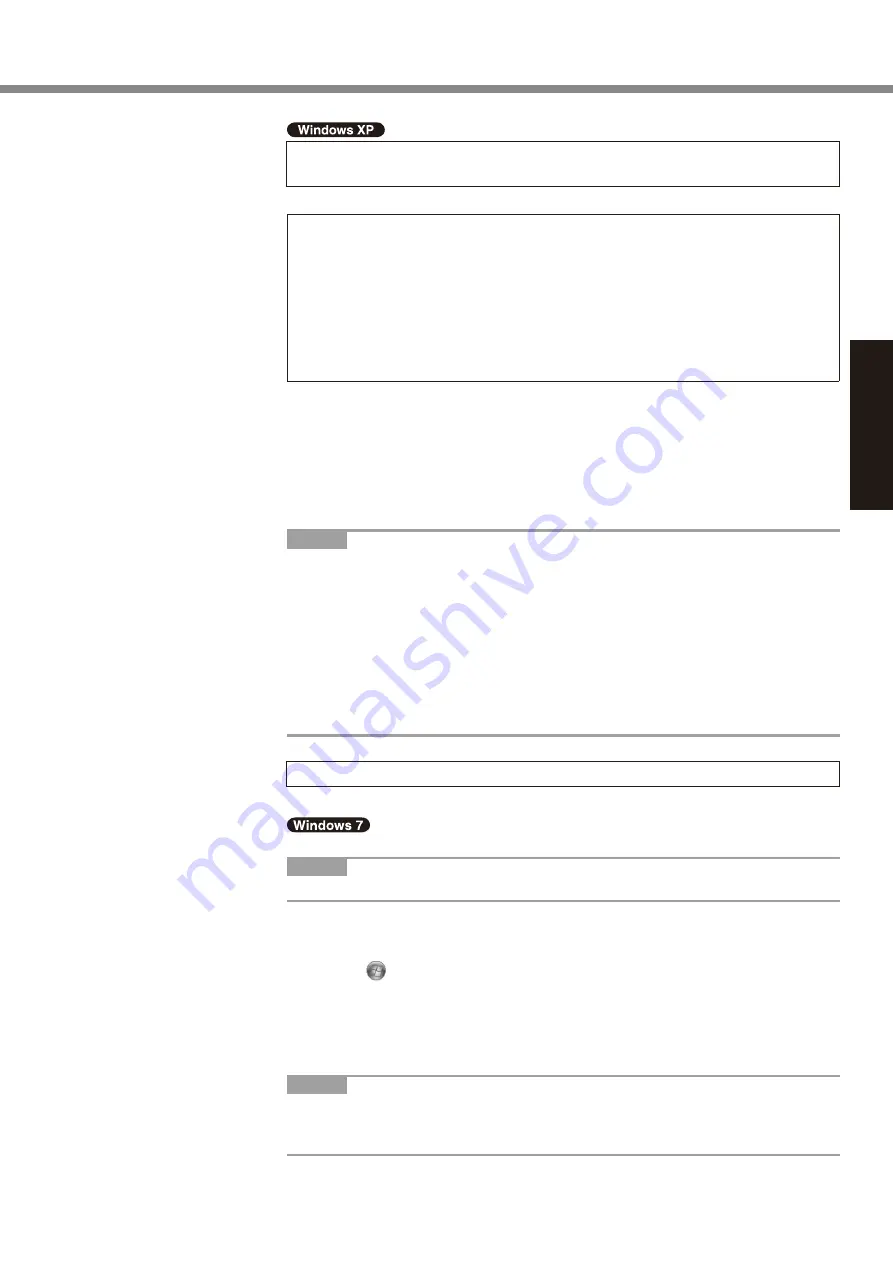
6 <For MUI OS model>
Change the language settings.
<Languages installed in this computer>
• English
• Arabic
• Bulgarian
• Chinese (Simplified)
• Chinese (Traditional)
• Croatian
• Czech
• Danish
• Dutch
• Estonian
• Finnish
• French
• German
• Greek
• Hebrew
• Hungarian
• Italian
• Japanese
• Korean
• Latvian
• Lithuanian
• Norwegian
• Polish
• Portuguese
• Portuguese (Brazilian)
• Romanian
• Russian
• Slovak
• Slovenian
• Spanish
• Swedish
• Thai
• Turkish
Change the language settings in the following menu.
[start] - [Control Panel] - [Date, Time, Language, and Regional Options] - [Regional
and Language Options]
[Regional Options] - [Standards and Formats]
[Languages] - [Language used in menus and dialogs]
[Languages] - [Details] - [Default input language]
[Advanced] - [Language for non-unicode Programs]
NOTE
l
When you use MUI OS and localized OS versions together on the same net-
work, use English computer names on localized versions of Windows.
l
Some UI (User Interface) strings remain in English even if the user’s UI is set to
another language.
l
For more information, refer to “c:\windows\mui\relnotes.txt”.
If you change the language in [Languages] - [Language used in menus and dia-
logs], the desktop color will be changed when logging on to Windows next time.
The desktop color can be changed by following the procedure below.
Click [start] - [Control Panel] - [Appearance and Themes] - [Display] - [Desktop]
and select color from [Color], then click [OK].
7 Perform the touchscreen calibration.
l
To calibrate the touchscreen, use the stylus.
l
Before performing the calibration, close Tablet PC Input Panel.
NOTE
l
At first, log on to Windows as an administrator and perform this calibration.
A
Open the Dashboard for Panasonic PC, and click [Change Settings] in
[Touch Calibration].
Alternatively, proceed with the following operation.
Click (Start) - [Control Panel] - [Hardware and Sound] - [Tablet PC Set-
ting].
B
Click [Calibrate].
C
Using the stylus, touch each of the “+” target marks one by one, and then
click [Yes].
D
Click [OK].
NOTE
l
After completing the calibration as an administrator, perform the calibration for
each user by the above steps.
Perform the calibration for the orientation to be used.


