19
Chapter
2 Register
ing Settings and Eff
ects
If the menu settings and created effects are stored in internal memory, the same settings and effects can be quickly
reproduced.
The settings made on the setting screen (
page Vol.1-20) are referred to as “events” on this unit, where up to 100 events
with numbers allocated can be registered in memory (event memory).
The settings of the [SETUP] menu (
page Vol.1-22) can be registered in up to eight files.
File operation [FILE]
In the [FILE] submenu of the [SETUP] menu, it is possible
to save the settings of the [SETUP] menu in a file and call
the file using the rotary 2 and 3 controls.
The following types of data are saved and called.
[SETUP] menu setting values
•
[AUDIO/VIDEO] input settings
•
X, Y, and Z position settings (individual settings for direct
•
patterns and common settings for other patterns)
Registration contents of direct patterns
•
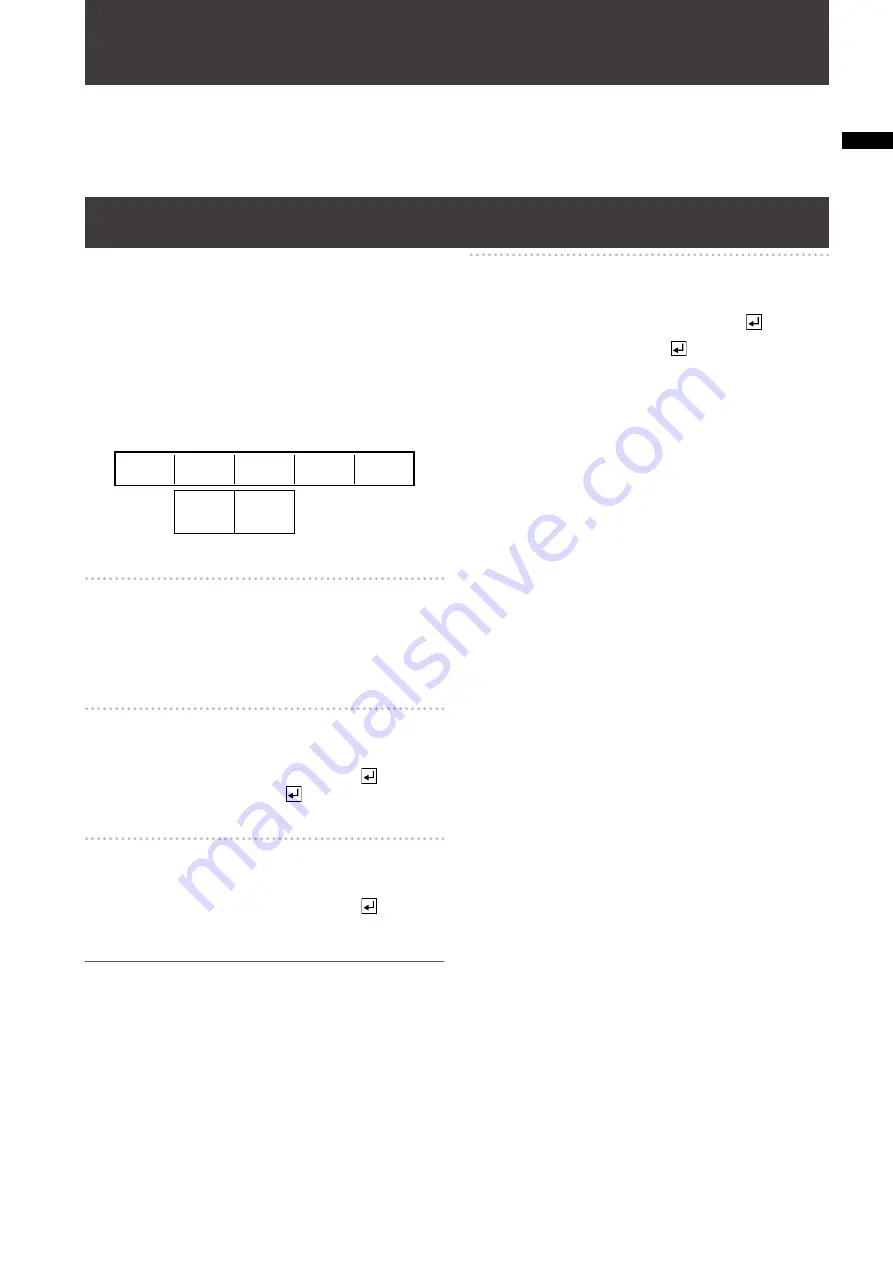
Rotary 1
Rotary 2
Rotary 3
Rotary 4
Rotary 5
1-8
SAVE
RECALL
ALL CLR
EMPTY
FILE
1
SAVE
To select a file to operate
Select the file number from [1] to [8] using the rotary 2
control.
When the file of the selected number is null, [EMPTY] is
shown. When the file is already saved, [SAVED] is shown.
To save the current settings in a file
Select [SAVE] using the rotary 3 control.
When the message [OK?] appears, press the key.
To cancel the file save, press the key while holding
down the SHIFT key.
To call a saved file
Select [RECALL] using the rotary 3 control.
When the message [OK?] appears, press the key.
The file of the selected number is called and the settings of
the [SETUP] menu are changed to those saved in the file.
NOTE
If an empty file is selected ([EMPTY] is displayed), [RECALL]
•
is not displayed.
When the unit must be restarted due to the system format
•
change caused by data call, the message “TURN POWER
OFF” appears. In this case, turn off the power and restart the
unit.
To clear a saved file
Select [ALL CLR] using the rotary 3 control.
When the message [OK?] appears, press the key.
To cancel the file clear, press the key while holding
down the SHIFT key.
Chapter 2
Registering Settings and Effects


