16-Channel Digital Video Recorder
23
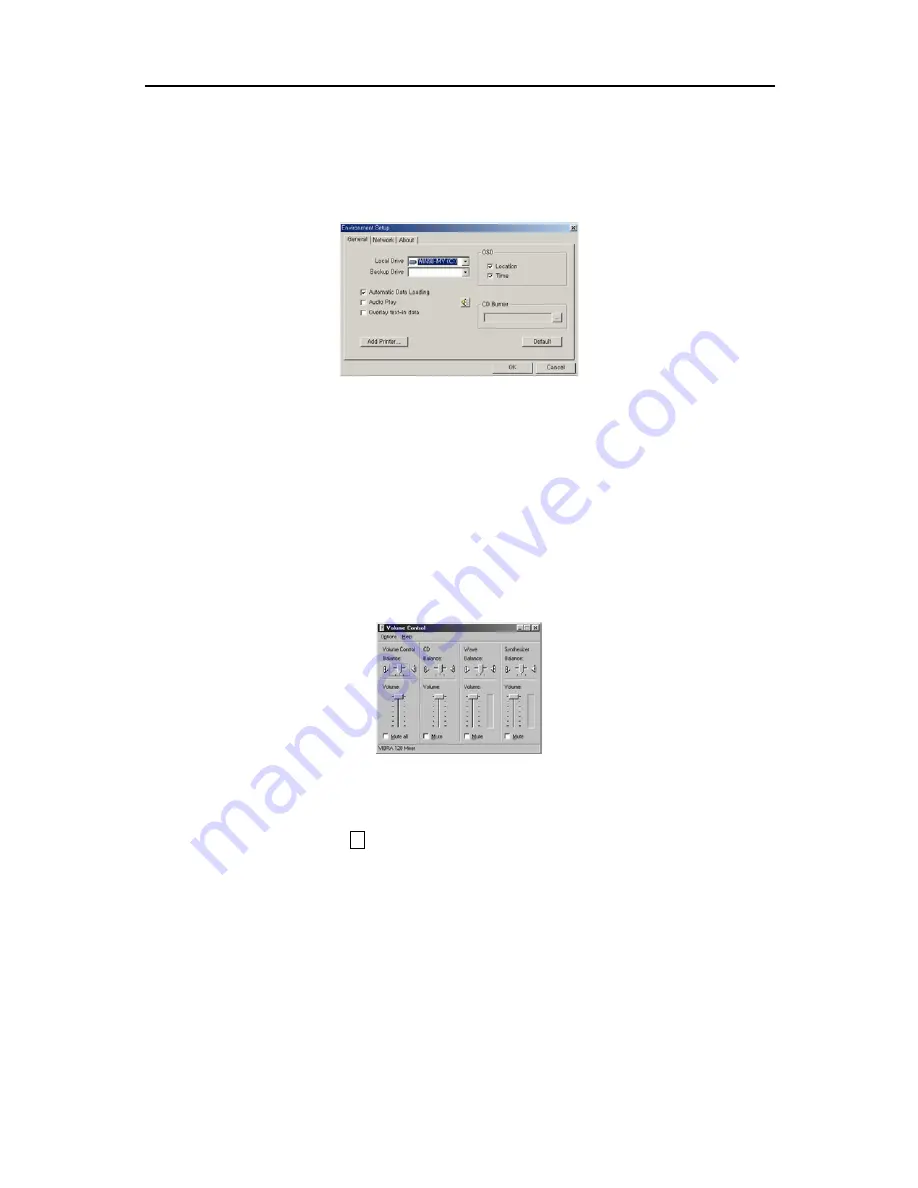
SmartSearch Environment Setup
Click the
Setup
button on the main GUI.
General
1. Move to
Local Drive
, and select the location of the local drive from the drop-down list. In most cases, the local
drive is
C:
. Even if the software is installed on more than one hard disk drive, the local drive will be C:, assuming
that the operating system (Windows) and the DVR program have been installed on the C: drive.
NOTE:
It is recommended that you keep the
C:
drive as the default unless you are using the DVR for the test
purposes.
2. Move to
Backup Drive
, and select the backup path from the drop-down list.
3. Move to
Automatic Data Loading
, and check the box to automatically load recorded data from the local hard disk
when SmartSearch is initiated. If this box is not checked, you will need to select the data loading path manually by
clicking the
Local
,
Remote
or
Backup
buttons whenever initiating SmartSearch. See the
Data Loading
section
for selecting a data loading path.
4. Move to
Audio Play
, and check the box to listen to recorded audio in the playback mode.
5. Click the speaker icon, and adjust the volume under
Wave
if you want to set the volume of an installed speaker.
6. Move to
Overlay text-in data
, and check the box to display the text-in information on the image. If this box is not
checked, the text-in information will be displayed on another dialog box.
7. Move to
OSD
, and select the OSD information to be displayed on the playback image by checking the box next to
desired options;
Location
and
Time
.
8. Move to
CD Burner
, and click the … button to register the location where the CD burning program is. Recorded
data can be saved on the CD-R or CD-RW drive using the CD burning program.
9. Click the
Add Printer...
button, and set up the printer. First, check that the printer attached to the DVR properly.
When you click the button, the Add Printer wizard window appears. Follow the instructions to install and set up
the printer.
Summary of Contents for PDR16-PC
Page 1: ......
Page 2: ...User s Manual ii ...
Page 6: ...User s Manual vi ...
Page 60: ...User s Manual 54 ...


