KIT CONTENTS
POWER UP AND REGISTRATION
4
25
ROW-CROP
OUTBACKGUIDANCE.COM
OUTBACKGUIDANCE.COM
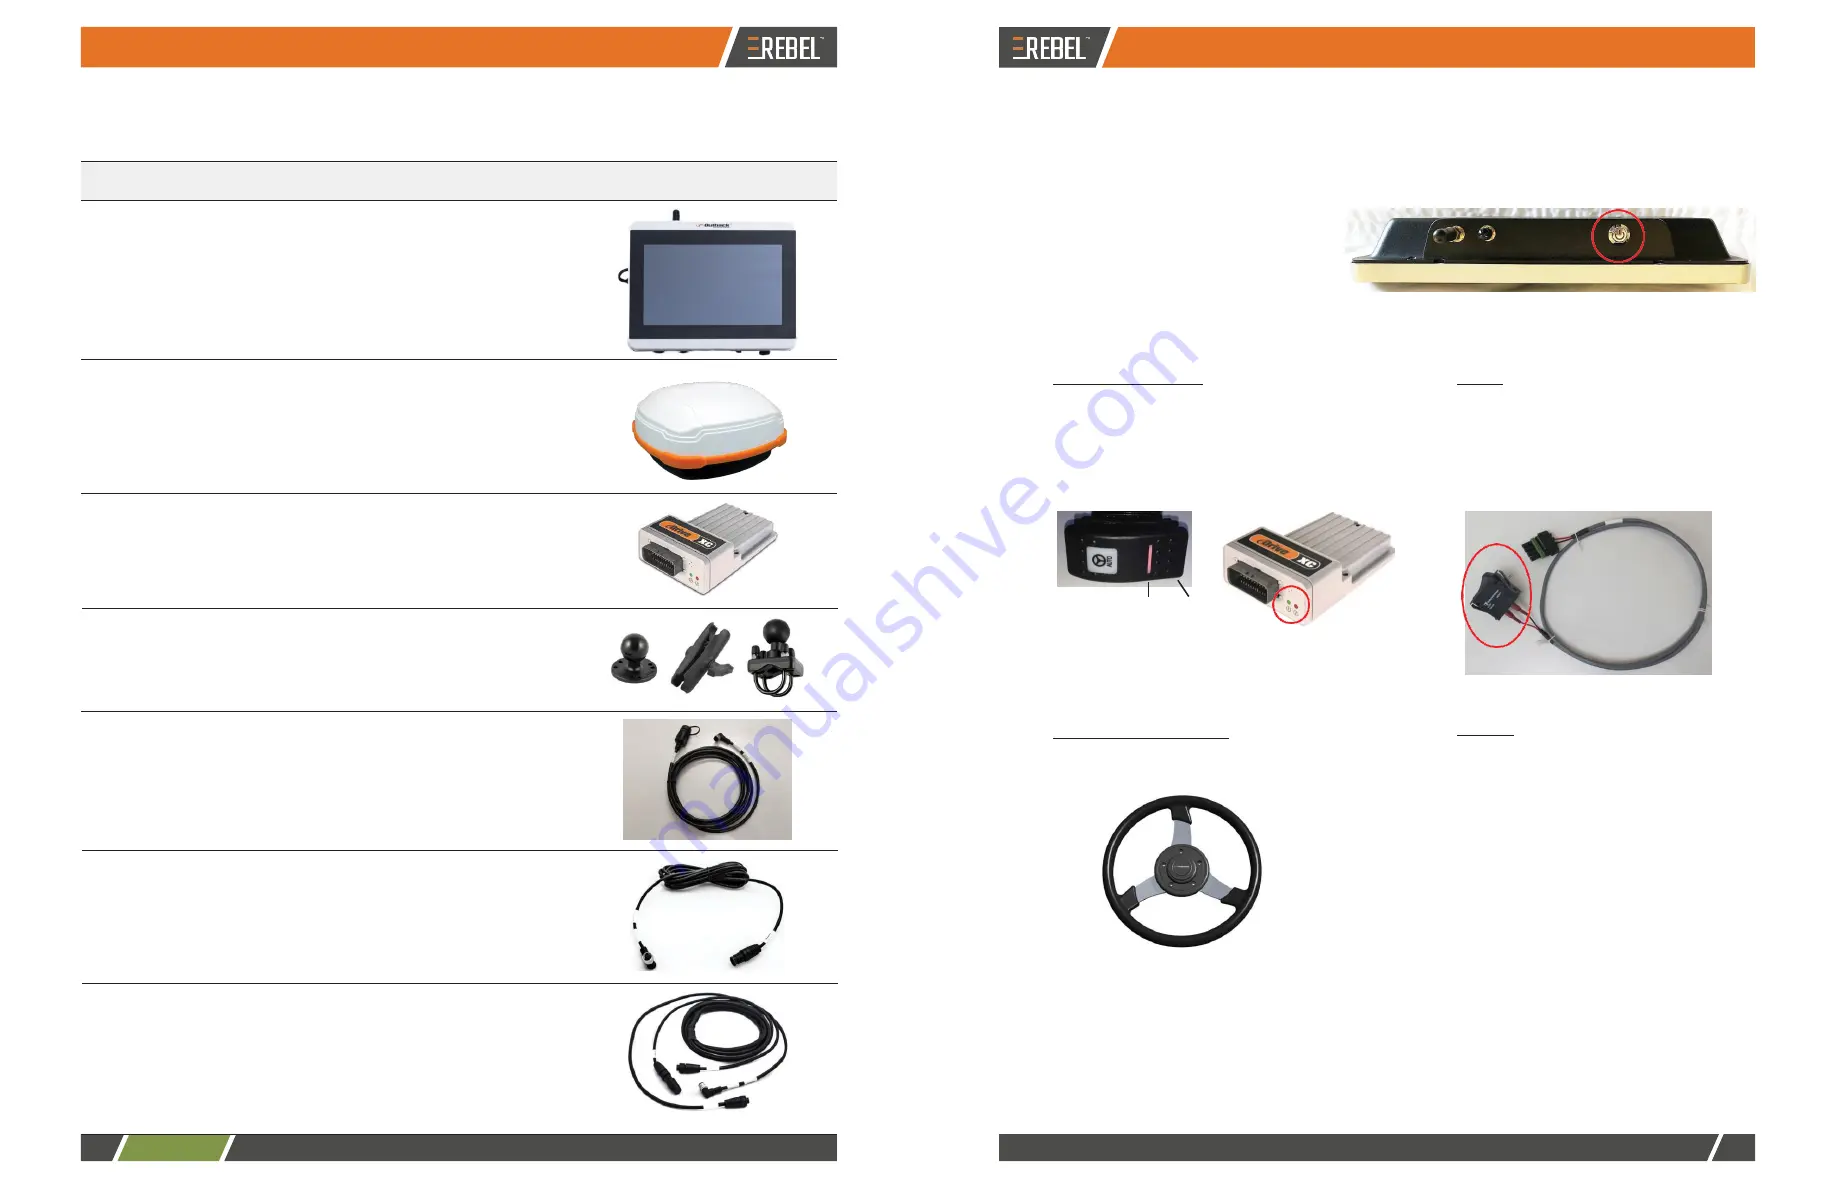
Row-Crop Kit Contents
Unpack your REBEL Row-Crop kit and identify the parts as shown.
752-0005-01
1
7" terminal
Powering REBEL
Powering Up and Registering Your Product
Depending on the components of your system you may have to power up more than one component. For example,
if your REBEL system includes eDriveXC you must power up both the REBEL terminal and the eDriveXC ECU.
1. Power up the REBEL terminal and any other components.
The REBEL terminal power button is
located on the top right behind the
touchscreen (circled at right). Press and
hold the power button for approximately
three seconds until the screen illuminates
and the Outback logo appears.
2. Power up any optional components. Refer to your installation documentation for detailed instructions on
installing optional components.
804-0155-0
1
A222 Smart Antenna
910-1064-000
1
eDriveXC autosteering controller
604-0015-000#
1
Terminal mounting hardware
• Round base (attach to terminal)
• Double socket arm mount
• Bar mount base with U-bolts/nuts
050-0020-01
1
LAN/USB cable
Connects LAN/USB port on terminal to
eDriveXC cable
050-0022-01
1
Power cable
Connects power port on terminal to power
adapter cable
050-0043-01
1
COM1 cable
Connects COM1 port on terminal to
switchbox, lightbar/AC110 cable, and
antenna cable
eDriveXC or eDriveXD
Turn the eDriveXC/XD power switch to the on (middle)
position-the long thin LED on the switch illuminates
red when on. eDriveXC/XD will establish
communication with the REBEL terminal and wait for
the DGPS signal to be acquired.
On
Off
(depressed)
ESi electric steering wheel
Power is supplied to eDriveESi by eDriveXC/XD.
AC110
Turn the AC110 power switch (at right) to
the ON position.
ISOBUS
The implement's ISOBUS ECU receives
power via the vehicle's IBBC connector or
the ISOBUS retrofit kit. See "Connecting to
Your ISOBUS ECU" on page 20 for more
information.
Note: For information on configuring your
ISOBUS implement refer to REBEL Help
installed on your terminal.
Part Number
Qty
Description
Photograph


