8
PB
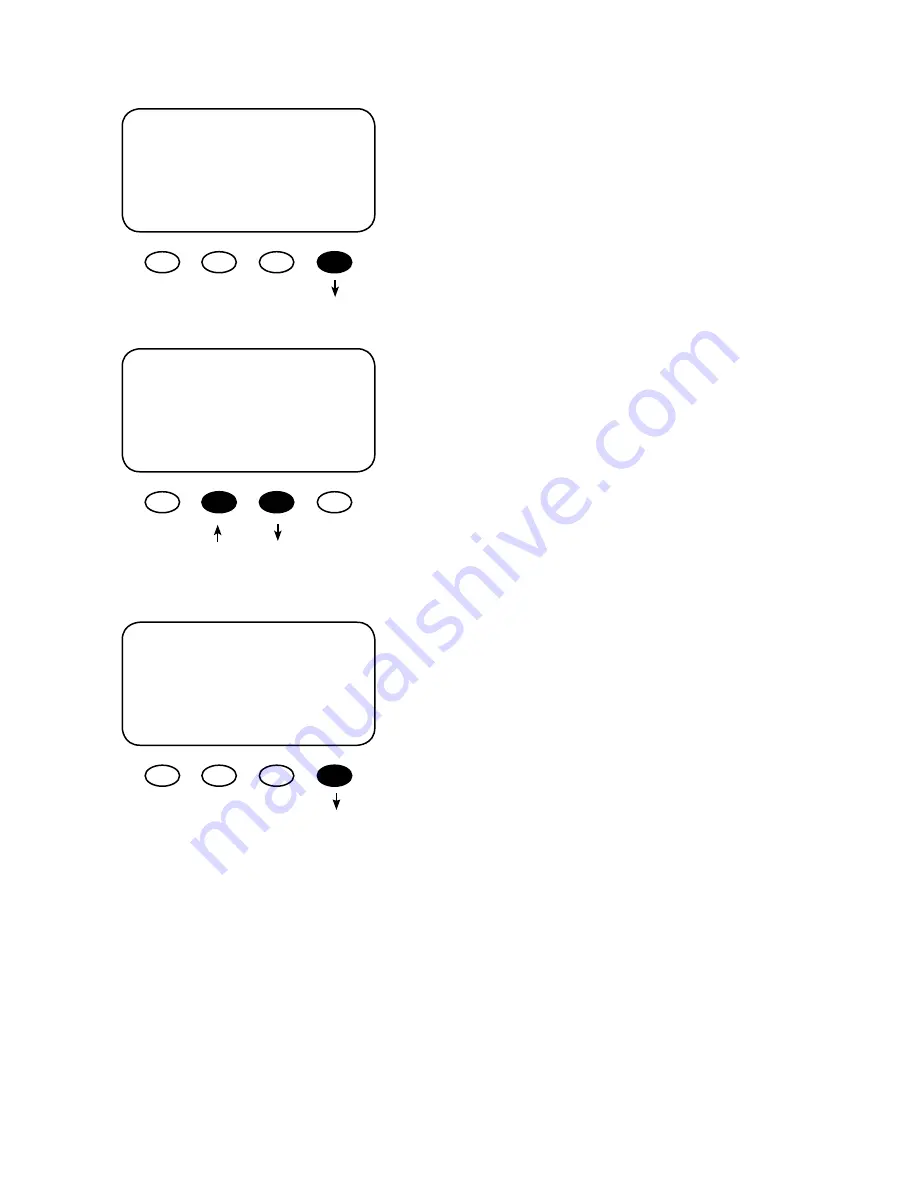
System Voltage Screen
Press the
<YES>
soft key to proceed if the selected
battery voltage is correct. If incorrect, press
<NO>
to re-
enter the correct voltage. The
<YES>
soft key will open
the STATUS screen.
SYTEM VOLTAGE
12 24 36 48 60
^^
g
ENTER
Are you sure?
12 24 36 48 60
^^
NO
Yes
NOTE:
Repeating the Powering Up sequence resets
the FLEXmax 80 Charge Controller to its factory default
settings (see page 76).
Are you sure?
USA
NO YES
Press the
<YES>
soft key to confirm your choice or
<NO>
to return to the
SELECT VERSION
screen.
The FLEXmax 80 auto detects the system’s battery
voltage. To confirm this voltage, press the
<ENTER>
soft
key. If incorrect, press the “
g
” soft key to select a battery
voltage. The FLEXmax 80’s default values are based on
a 12VDC system. Selecting a higher voltage system will
change all the default values (e.g., the values will double
with a 24VDC system, triple with a 36 VDC system, etc.).
“^^” indicates the chosen voltage. The FLEXmax 80 will
automatically accept the selected battery voltage if left
unattended for 5 minutes in this screen. After choosing
the voltage, press the
<ENTER>
soft key to proceed.
Verification Screen
Summary of Contents for FLEXMAX 80
Page 9: ...THE OUTBACK POWER SYSTEMS FLEXmax 80 Maximum Power Point Tracking Charge Controller...
Page 13: ...12 Figure 2 Single Charge Controller wiring diagram with 24 volt PV array...
Page 14: ...13 Figure 3 Charge Controller Wiring Diagram with an FX HUB 4 and an RTS...
Page 15: ...14 Figure 4 Charge Controller with PV array ground fault protection wiring digram...
Page 37: ...36 Figure 5 Diversion Load and AUX Wiring Set Up Illustrated...


