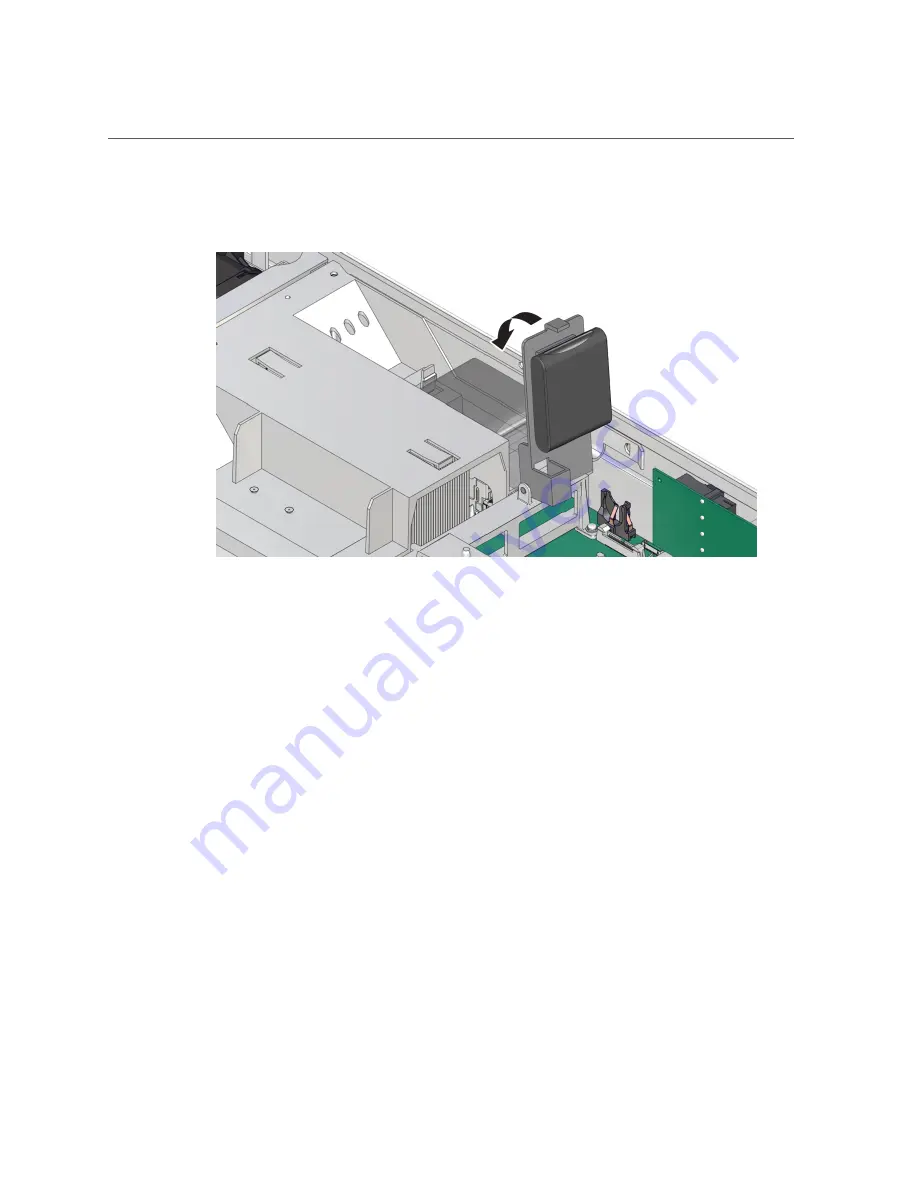
Install the Air Baffle
You will hear an audible click when the tray is properly secured to the air baffle.
4.
Consider your next step:
■
If you removed the air baffle as part of another procedure, return to that procedure.
■
Otherwise, continue to with this procedure.
5.
Return the server to operation:
a.
Install the server top cover.
“Install the Server Top Cover” on page 212
.
b.
Return the server to the normal rack position.
“Return the Server to the Normal Rack Position” on page 214
c.
Reconnect the power cords and data cables to the server.
“Reconnect Power and Data Cables” on page 216
d.
Power on the server.
“Power On the Server” on page 216
.
Verify that the power supply AC OK LED is lit.
Servicing the Air Baffle (CRU)
115
Summary of Contents for X7-2L
Page 1: ...Oracle Server X7 2L Service Manual Part No E72474 02 October 2017 ...
Page 2: ......
Page 12: ...12 Oracle Server X7 2L Service Manual October 2017 ...
Page 14: ...14 Oracle Server X7 2L Service Manual October 2017 ...
Page 48: ...48 Oracle Server X7 2L Service Manual October 2017 ...
Page 66: ...66 Oracle Server X7 2L Service Manual October 2017 ...
Page 84: ...84 Oracle Server X7 2L Service Manual October 2017 ...
Page 92: ...92 Oracle Server X7 2L Service Manual October 2017 ...
Page 110: ...110 Oracle Server X7 2L Service Manual October 2017 ...
Page 130: ...130 Oracle Server X7 2L Service Manual October 2017 ...
Page 138: ...138 Oracle Server X7 2L Service Manual October 2017 ...
Page 142: ...142 Oracle Server X7 2L Service Manual October 2017 ...
Page 156: ...156 Oracle Server X7 2L Service Manual October 2017 ...
Page 164: ...164 Oracle Server X7 2L Service Manual October 2017 ...
Page 172: ...172 Oracle Server X7 2L Service Manual October 2017 ...
Page 178: ...178 Oracle Server X7 2L Service Manual October 2017 ...
Page 218: ...218 Oracle Server X7 2L Service Manual October 2017 ...
Page 254: ...254 Oracle Server X7 2L Service Manual October 2017 ...


