Chapter 8: Maintenance
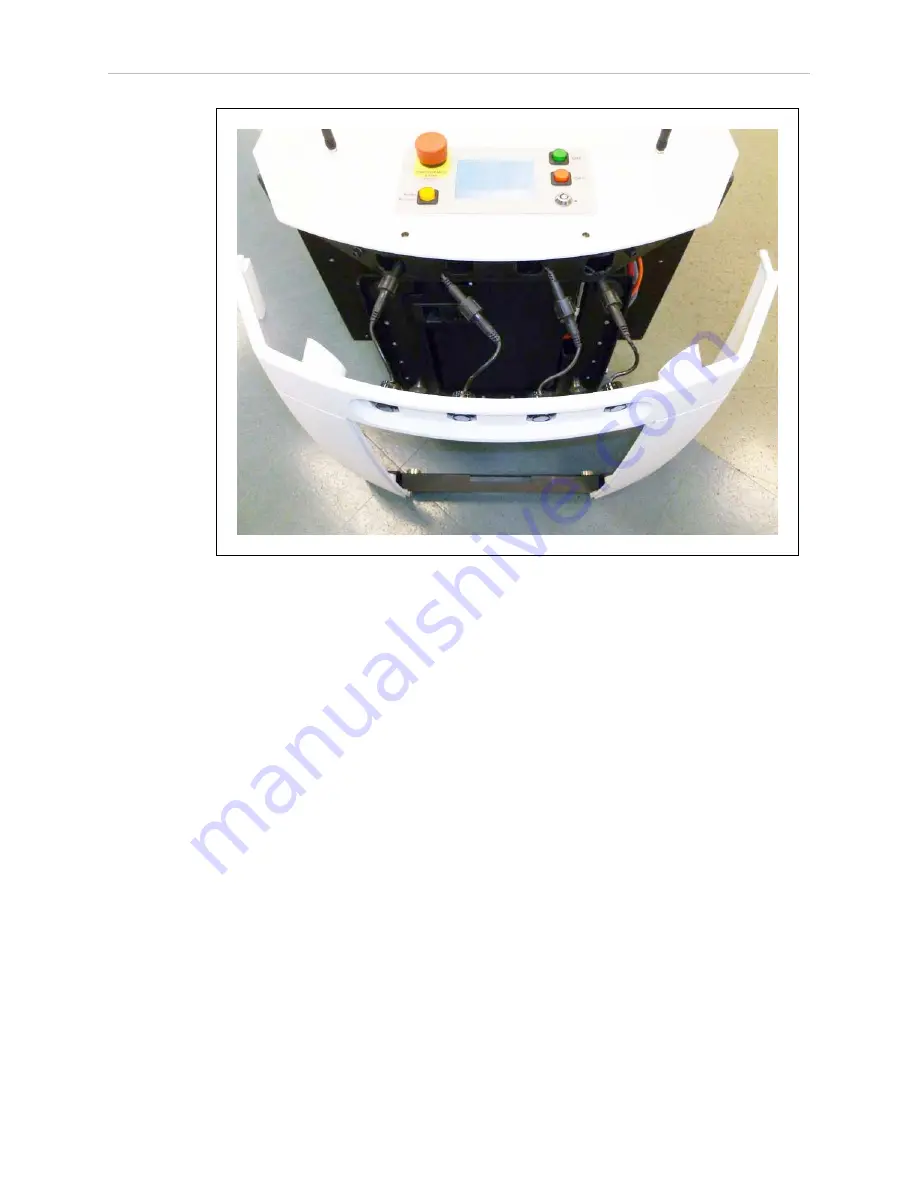
Figure 8-19. Sonar Connectors, with Connectors Exposed
4. Tilt the skin down to about 45°, and slide the brace on the bottom of the skin out of its
clip.
This will separate two pairs of magnets, so you will feel some resistance at first.
Installing Skins
Install the skins in the reverse of the order in which they are listed above.
l
You must install the front upper and rear outer skins first and second.
l
The access panel must wait for the left side skin.
Bumper Skin
This is the only skin that requires tools to install.
1. Place the skin on the bumper (held on with magnets and screws).
2. Install the screws (removed during the skin removal) at the sides of the skin.
Front Upper Skin
1. Grip the skin at the two outer edges.
2. Align the bottom edge of the skin so it slides under the chassis support.
3. Tilt the top of the skin into position.
11970-000 Rev H1
LD Platform OEM User's Guide
127


