background image

3. 

SAFETY

Attention to:


- USER


- OPERATOR / SPECIALIZED TECHNICIAN

3.1. 

Expected use

The function of the vehicle lift is to lift motorized vehicles, which have the distribution of the loading 

according norms in force.

Only move the vehicle on the lift in the fully down position.

The accessories indicated in the relating chapter can be used.

3.2. 

General safety regulations


For quick reference by operator, this manual must:


• be kept in a well known, easily accessible place


• be kept in good condition 


Before proceeding with installation and use of the machine, the user must read


the manual carefully, especially the safety rules.

The machine should be used by authorized, trained personnel only.

The user (owner and / or employee) must make sure that the installer has provided:


• all accessories


• the spares provided with the lift


• this use and maintenance manual

Use as described in this manual only. 

Always use the accessories 

recommended by the manufacturer .

O.M.E.R. N.A. declines all responsibility 

for non-compliance with the directions 

given in this manual

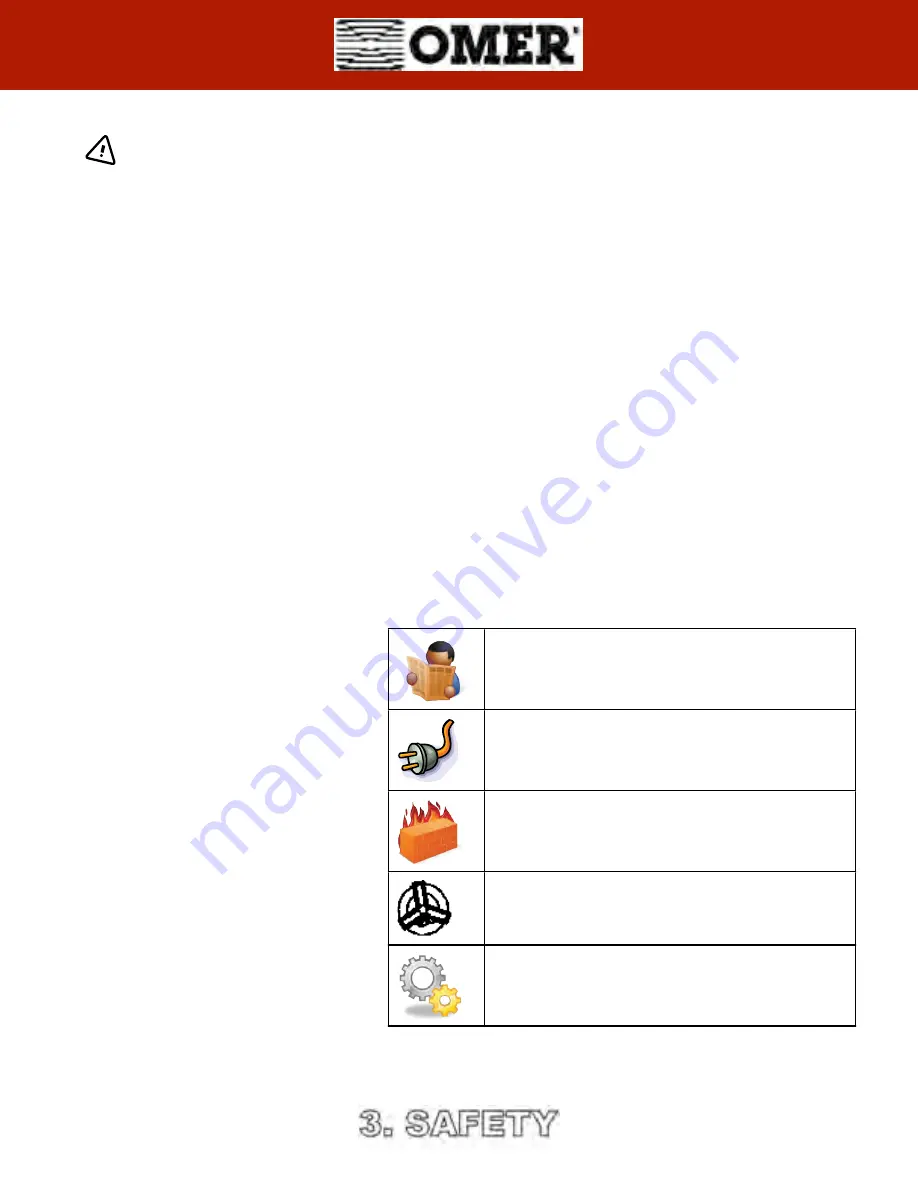
The main safety rules are shown to the 

right.

Read all instructions carefully

Put the main switch to the zero position when the 

machines is not in use. Never pull the electric cable

to remove the plug from the socket

To reduce the risk of fires, avoid using the lift close to

open drums of inflammable liquid (such as gas /oil)

and/or in explosive environments.

Makes sure the work area is adequately ventilated

when using internal combustion engines

Avoid contact between parts of the body and/or

clothing and moving parts.

Summary of Contents for Kar 350

Page 1: ...OPERATION AND MAINTENANCE MANUAL Mechanical Levelling OMER NA Inc 2300 Speers Road Oakville ON L6L 2X8 Tel 905 847 1198 Fax 905 891 1214 Kar 350 Capacity 35 000 Kg 77 162 Lbs Noiselevels 70dB A...

Page 2: ...4 4 3 Electric connections 4 5 Filling of The Circuit Master Slave 4 6 Lift Position 4 7 Check 4 8 Anchor Bolt Installation 4 9 Checks Before Use 4 10 Final Testing 5 Use 5 1 Operational Commands 5 2...

Page 3: ...1 General Information 1 1 Marketing data Table identification plate 1 2 Assistance OMER NA Inc Phone 877 799 LIFT 5438 Fax 905 891 1214 Email sales KarLiftSolutions comOMER NA Inc...

Page 4: ...isks present on the machine and the procedures to be followed to avoid damage to his herself or others during such maintenance operations EXPOSED PERSON any person wholly or partly in a hazardous area...

Page 5: ...V 220 240 440 480 220 240 440 480 ELECTRIC POWER SUPPLY Hz 60 60 TOTAL CURRENT DRAW MAX A 28 0 14 0 28 0 14 0 PNEUMATIC POWER SUPPLY bar 8 Filtered and lubricated PNEUMATIC POWER SUPPLY psi 116 Filte...

Page 6: ...2 Lower Leg 3 Upper Leg 4 Tension Rod 5 Hydraulic cylinder main lift 6 Base plate 7 Wheel Stop 8 Access Ramps 9 Electrical Controls 10 Hydraulic Pump 11 Flow Divider 12 Protective floor pipe covers 1...

Page 7: ......

Page 8: ...2 4 Loading Conditions...

Page 9: ...The user owner and or employee must make sure that the installer has provided all accessories the spares provided with the lift this use and maintenance manual Use as described in this manual only Al...

Page 10: ...ity shown on the ID plate on the lift Never lift people Any modifications to the lift must be authorized by the manufacturer The equipment must be used by specifically trained and authorized personnel...

Page 11: ...e event of poor operational or hazardous conditions Check the lift carefully after long periods of inactivity before putting it back into service The lift comes complete with an instruction manual war...

Page 12: ...e the stop A and the ramp overlay B They prevent the vehicle from coming off the platform Never lift vehicles using equipment other than that specified by the manufacturer Never lift vehicles that are...

Page 13: ...ol Device Photocell and reflectors Each end of the platforms Maximum misalignment of 2 inches between the platforms of the main or auxiliary lift The lift stops moving Hydraulic Failure Device Velocit...

Page 14: ...aintenance Technician MAINTENANCE Contact with high pressure oil on rupture ELECTRIC SHOCK Maintenance Technician MAINTENANCE Contact with live components PERSONAL INJURED Maintenance Technician MAINT...

Page 15: ...k of Fire Risk of Fire 5 Fuses indication Fuses indication 6 Air attachment Air attachment 7 Load distribution Load distribution 8 Serial number plate Serial number plate 9 GOLD LABEL CODE LIFT 9 GOLD...

Page 16: ...LIFT...

Page 17: ...19...

Page 18: ...LABEL 1 LABEL 2 LABEL 3 LABEL 4 LABEL 5 LABEL 5 SI CONNECT UN CIRCUIT PROT G PAR DES FUSIBLES UTILISER DES FUSIBLES UNE ACTION DIFFER E MARQU S D...

Page 19: ...LABEL 6 LABEL 7 LABEL 8 LABEL 9 LABEL 10...

Page 20: ...LABEL 11 LABEL 12 LABEL 13...

Page 21: ...LABEL 14 LABEL 15 LABEL 16 LABEL 17 LABEL 17 LABEL 18 LABEL 18 LABEL 19 LABEL 19 DO NOT USE BELOW GARAGE FLOOR OR GRADE LEVEL NE PAS UTILISER UN NIVEAU INF RIEUR CELUI DU PLANCHER DU GARAGE OU DU SOL...

Page 22: ...equipment is wrapped in bubble pack to protect the components Wooden crates or pallets are used in special cases PROCEED AS FOLLOWS protect the electric control panel from exposure to the elements pr...

Page 23: ...is usually sent in 4 packages Right platform Left platform Control unit Accessories The packages may vary according to the size of the lift the type of shipment the packaging used subject to customer...

Page 24: ...e following characteristics FOUNDATION Tamped THICKNESS OF CONCRETE 14 cm 6 in CONCRETE RESISTANCE CLASS C 25 IMPROVED ADHERENCE STEEL GIRDERS Type Feb 44 K REINFORCEMENT GIRDERS FOR LARGE SURFACES El...

Page 25: ...raw plugs at the correct distance and perfectly leveled see paragraphs Lift position and Anchorage capsule installation 4 Carry out all due tests before using the lift see paragraph Check and Checks b...

Page 26: ...JOIN THE HOSES RESPECTING THE NUMBERING HOLE FOR THE HOSE...

Page 27: ...oned in the immediate vicinity of the machine in full compliance with local regulations Power cables must have a suitable section for absorbing current without deviations for other utilities Electrica...

Page 28: ...adequately protected against the mechanical actions it may be exposed to during use Be passed through the dedicated cable glands 8 and connected to the terminal board 9 inside the electric panel resp...

Page 29: ...ening of the divider 5 Turn the taps on 6 For each cylinder a Push button PS UP till max height of the lift b Allow air to escape from the air valve till the lift leans on the mechanical safety locks...

Page 30: ...floor a aligned b in parallel 2 Mark on floor the position of the base frames 3 Lifting 4 Put the base frames again in the position alongside the marked line on floor 5 Fix the frames in the position...

Page 31: ...4 7 Check 1 Check that the gap is of X 2 Screw the nut up to the time that the high of the spring is of Y Y X Y X mm 6 Y mm 65...

Page 32: ...e with the prescribed tightening torque Tinst TYPE OF ANCHOR CAPSULE HVU M 16X125 TYPE OF ANCHOR ROD HAS M16X190 DRILL BIT DIAMETER d0 inch 0 75 MIN BORE DEPTH h1 inch 5 MIN THICKNESS OF CONCRETE h in...

Page 33: ...kage Pressure 6 Wiring Diagram see Wiring Diagram 7 Safety devices See Safety device features paragraph 8 The compressed air system must be powered by filtered and lubricated air Presence of a filteri...

Page 34: ...ximum valve calibration with distribution of the loads as described in the Loading conditions paragraph of the installations use and maintenance manual Test can be carried out with the following overl...

Page 35: ...tables are provided with photocells to check platform synchronization If there is a difference in height of more than 50 mm the photocells interrupt the electric circuit that powers the control unit 2...

Page 36: ...S OFF LUBRICATE GREASE MOLYCOTE G 4700 80 h HYDRAULIC CIRCUIT CYLINDER TUBE CONNECTIONS IN MOTION VISUAL INSPECTION 3 months STRUCTURE PHOTOCELLS IN MOTION CHECK OF THE CORRECT WORKING 12 months HYDRA...

Page 37: ...LUBRICATING POINTS repeat on all 4 legs...

Page 38: ...ckwise part B 4 Keeping the up command button pressed check the pressure on the pressure gauge 5 Adjust pressure with a screwdriver part C 6 When the pressure is equal to P fix the loosened nut at poi...

Page 39: ...o the reflector move downwards check when the RED LED is switched off mark the position POSITIONING CHECK with a sheet parallel to the reflector move upwards check when the RED LED is switched off POS...

Page 40: ...eneath the valve 3 Move the plate of the valve 4 closer or further away as desired checking the height with the dedicated thickness gauge 5 The calibration of the valve must be drive by an authorized...

Page 41: ...ing 1 Lift using the button of upward PS until max weight is reached 2 Turn the taps on 3 Push PS UP 4 Turn the taps off THE PROCEDURE OF PLATFORM LEVELLING MUST BE EXECUTED STRICTLY WITHOUT THE CAR O...

Page 42: ...as follows 1 Take the lift to its maximum height 2 Connect breather pipe of the first slave cylinders to a tank using a flexible PULLY hose 3 Open the breather pipe a little send oil to the volumetri...

Page 43: ...photograph and allow the table to lower Pump until the safety jacks move away from the block position Activate jack opening using the dedicated manual valve on solenoid valve EV2 turn screw A through...

Page 44: ...ressure value b 1 EV1 remains open c 1 limit valve broken d 1 Check that the motor turns in the direction shown by the arrow The lift does not lower and the pressure is normal PHOTOCELLS TRANSFORMER H...

Page 45: ...7 Accessories CODE DESCRIPTION PHOTOGRAPH 4033041400 LIGHTING SYSTEM NEON STRIPS only for standalone...

Reviews: