68
EPOCH 4PLUS
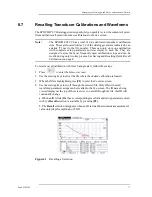
2. Press [CALIBRATION]. A Cal symbol appears to the right of the A-Scan, signifying
the EPOCH 4PLUS is in Auto-Calibration mode. To exit the Auto-Calibration
mode at any point, press [ENTER].
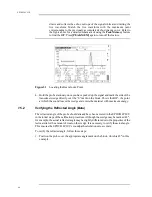
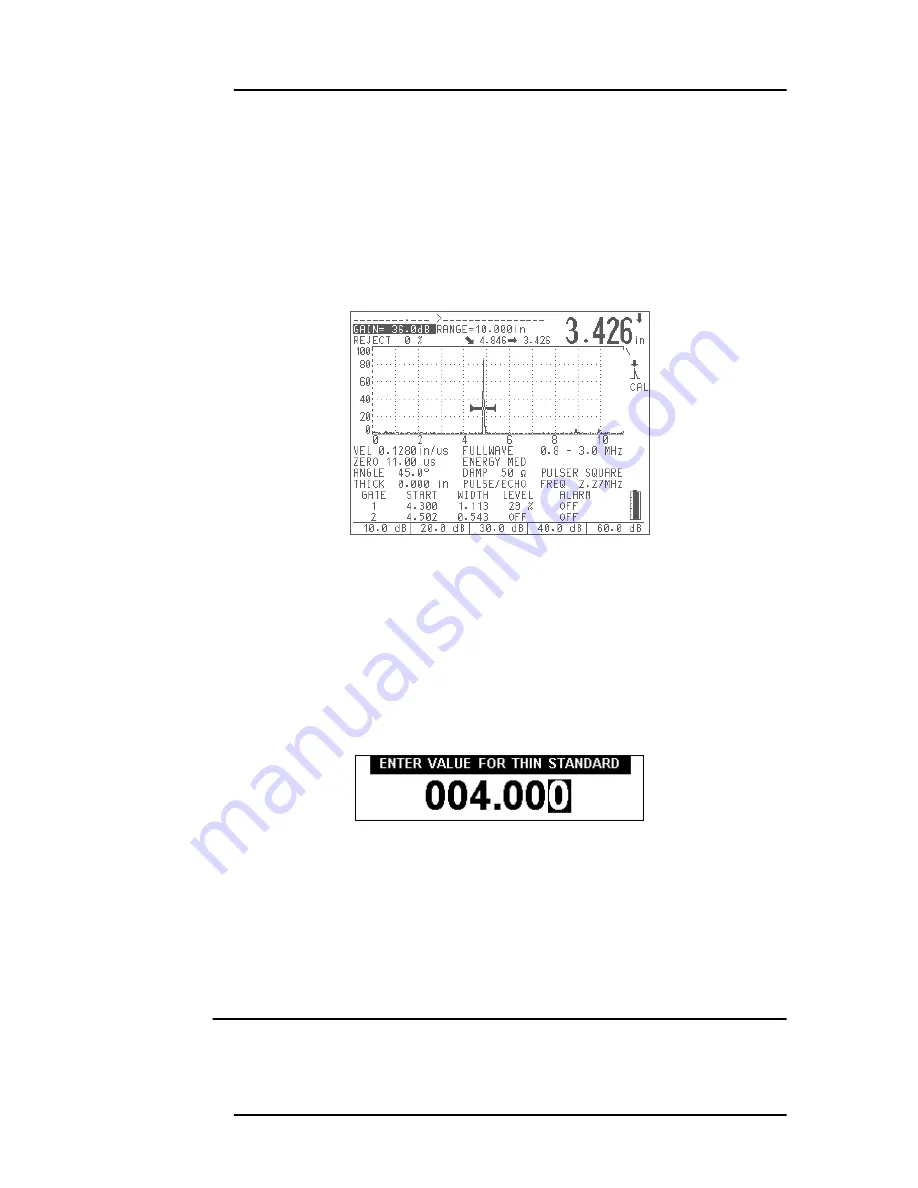
3. Position Gate 1 so that the echo reflection from the 4" arc (this should be the first large
echo after the Main Bang) is exceeding the gate threshold.
4. Adjust the gain setting so that the echo amplitude is approximately 80%. A thickness
reading appears in large text above the A-Scan.
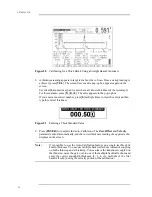
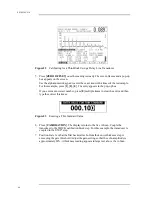
Figure 33
Calibrating for Distance
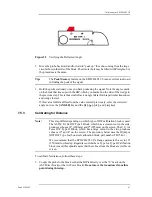
5. Press [ZERO OFFSET] once the reading is steady. The screen freezes and a pop-up
box appears on the screen.
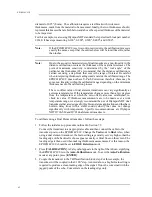
Use the alphanumeric keypad to enter the exact known soundpath distance for this arc.
For this example, press [4], [0], [0], [0]. The entry appears in the pop-up box.
If you enter an incorrect number, press [0] multiple times to clear the entry and then
type the correct thickness.
Figure 34
Entering a Thin Standard Value
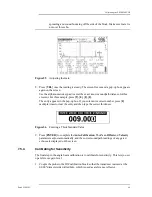
6. Press [CALIBRATION]. The display returns to the live A-Scan. Position Gate 1 so
that the echo from the 1" crescent is exceeding the gate threshold. This echo is
generally located at approximately the ninth or tenth screen division, and is usually the
3rd echo after the Main Bang.
7. Adjust the Gain setting so that this echo amplitude is approximately 40%. A thickness
reading appears in large text above the A-Scan.
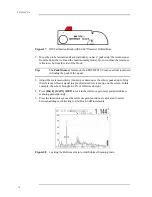
Note:
Another echo may be present on the screen at approximately the eighth or
ninth screen division. Disregard this echo as it is usually the result of beam
Summary of Contents for Panametrics Epoch 4 Plus
Page 4: ...EPOCH 4PLUS...
Page 10: ...EPOCH 4Plus...
Page 18: ...8 EPOCH 4PLUS...
Page 40: ...30 EPOCH 4PLUS...
Page 50: ...40 EPOCH 4PLUS...
Page 54: ...44 EPOCH 4PLUS...
Page 92: ...82 EPOCH 4PLUS...
Page 172: ...162 EPOCH 4PLUS...

