Using Software Options
Part # 910-250C
85
screen. An echo cannot be used in the curve if its amplitude is greater than 100%
screen height.
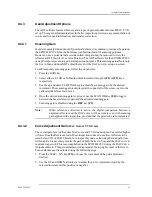
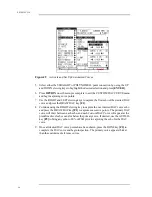
2. Press [OPTION].
3. Use the slewing keys to position the highlight bar over the DAC selection and press
[ENTER] to display the DAC setup choices.
4. Use the slewing and [ENTER] key to select the DAC standard (ASME, ASME-3, or
JIS) and also the signal amplitude units (% DAC or dB DAC).
5. Press [OPTION] to return to the A-Scan display.
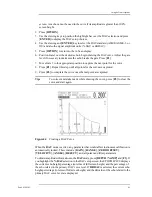
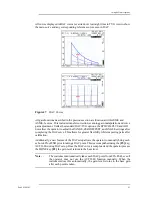
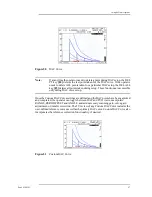
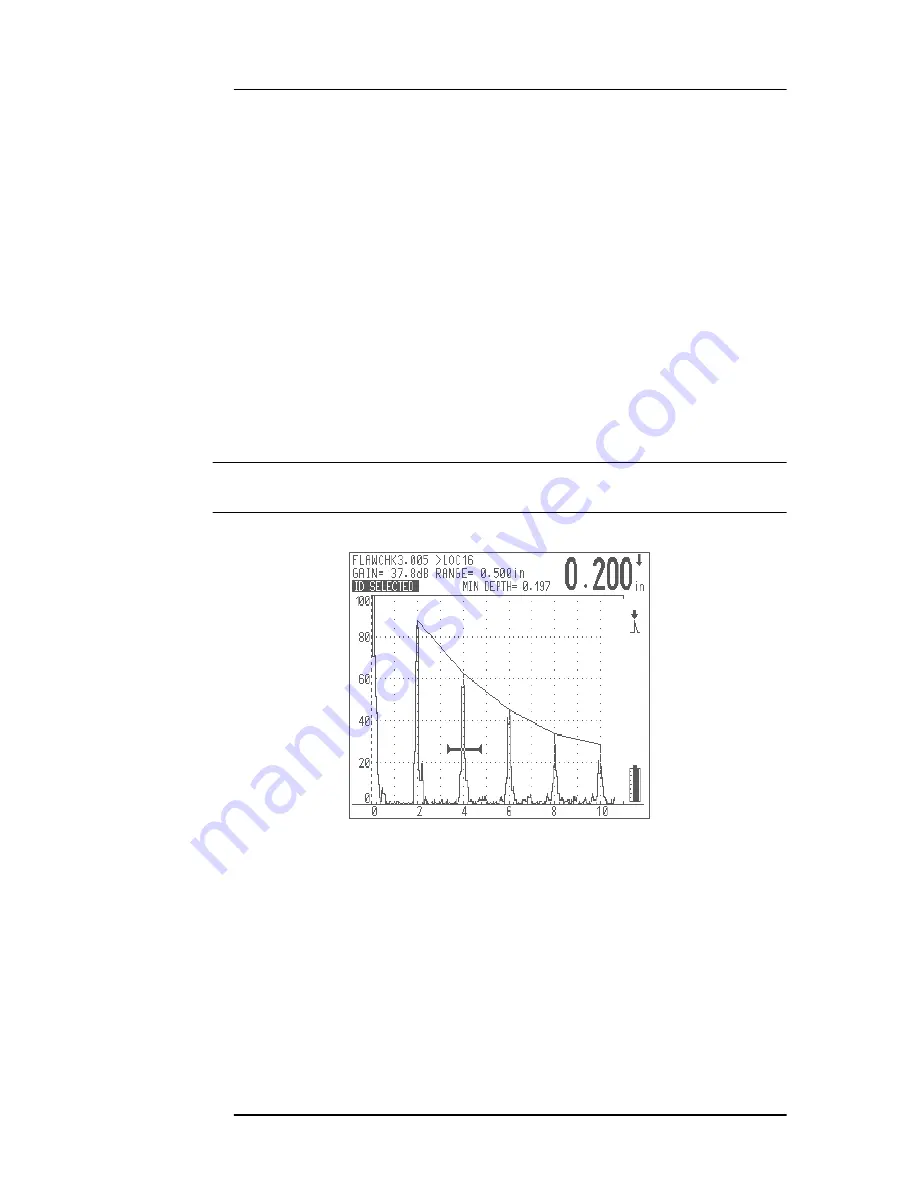
6. Position Gate 1 over the desired echo to begin drawing the DAC curve. Adjust the gate
level if necessary to make sure the echo breaks the gate. Press [F1].
7. Move Gate 1 to the appropriate position to capture the next point for the curve.
8. Press [F1]. Repeat this step until all points for the curve are captured.
9. Press [F2] to complete the curve once the last point are captured.
Tip:
To correct a mistake made while drawing the curve, press [F3] to clear the
curve and start again.
Figure 44
Creating a DAC Curve
When the DAC mode is active, any parameter that would affect instrument calibration is
automatically locked. These include: [GAIN], [RANGE], [ZERO OFFSET],
[VELOCITY], [ANGLE], [REJECT], and all pulser and filter parameters.
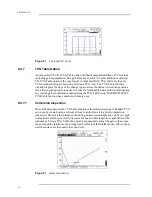
To obtain amplitude information in the DAC mode, press [DEPTH /%AMP] and [F3]. If
you highlight the % DAC selection in the DAC setup screen, the EPOCH 4PLUS displays
the current echo height percentage (in terms of full screen height) and the percentage of
the echo related to the primary DAC curve level. If DB DAC is selected, the current echo
height percentage (in terms of full screen height) and the dB value of the echo related to the
primary DAC curve level are displayed.
Summary of Contents for Panametrics Epoch 4 Plus
Page 4: ...EPOCH 4PLUS...
Page 10: ...EPOCH 4Plus...
Page 18: ...8 EPOCH 4PLUS...
Page 40: ...30 EPOCH 4PLUS...
Page 50: ...40 EPOCH 4PLUS...
Page 54: ...44 EPOCH 4PLUS...
Page 92: ...82 EPOCH 4PLUS...
Page 172: ...162 EPOCH 4PLUS...


