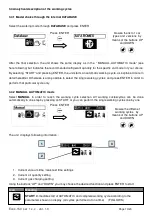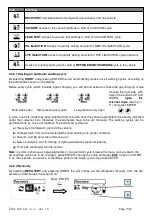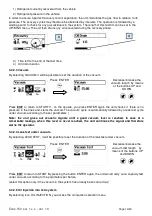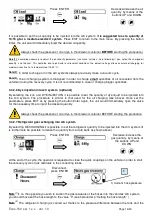
2.2.3 Connection of tubes and leak test
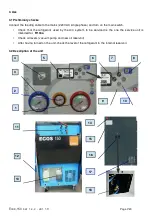
Connect the charging hoses to the unit (high pressure = RED, low pressure = BLUE). Make sure that the
quick couplings are in position “CLOSED”.
Carry out a vacuum cycle of one/two minutes followed by a leak test under vacuum. The above procedure
avoids that air residuals are left in the hoses and checks for eventual leaks. (see the relevant instructions)
The vacuum and the following leak test the test should be repeated whenever the charging hoses could
have been contaminated with air.
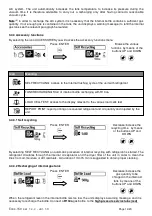
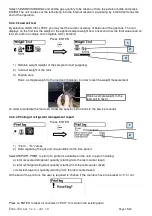
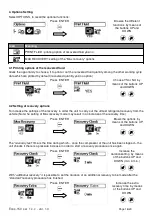
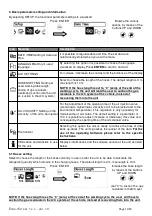
Check if the setting relevant to the length of the hoses is correct (select “OPTIONS AND SETTINGS” then
“HOSE LENGTH” and modify if needed , by means of the buttons “UP” and “DOWN”
If the hose length is set to “0” (zero), at the end of the working cycle, the unit will not
calculate the gas remaining in the hoses at the end of the working cycle. The user has to
suction the gas residuals in the A/C system of the vehicle, at the en of the working cycle.
Note: in case of a pressure test which is not preceded by a standard working cycle, the user has to recover
the gas residuals in the vehicle A/C sytem, regardless to thehose length setting.
2.2.4 Filling of internal bottle
The unit is delivered with the empty internal gas bottle for safety reasons. It is therefore necessary
to fill the bottle with a refrigerant g quantity not lower than 2 Kg and not higher than eighty percent
of the maximum nominal capacity of the reservoir (this percentage may vary according to local
safety rules). In order to fill the internal tank please follow the relevant instructions of the present manual.
2.2.5 Connecting to power feeding
Connect to proper power feeding according to the unit's technical specifications
2.2.6 Position on an even surface
During the operations, the unit must be located on a flat and leveled surface in order to correclty
perform the weight measurements and in order to comply to the safety rules.
Ecos-150 sw 1.x.x - ver. 1.0
Page 6/20


