SMART TERMINAL
INSTALLATION & COMMISSIONING
5
Setting the SmartTerminal in LoopMaster
This section assumes the engineer has experience in the use of LoopMaster and hence has an
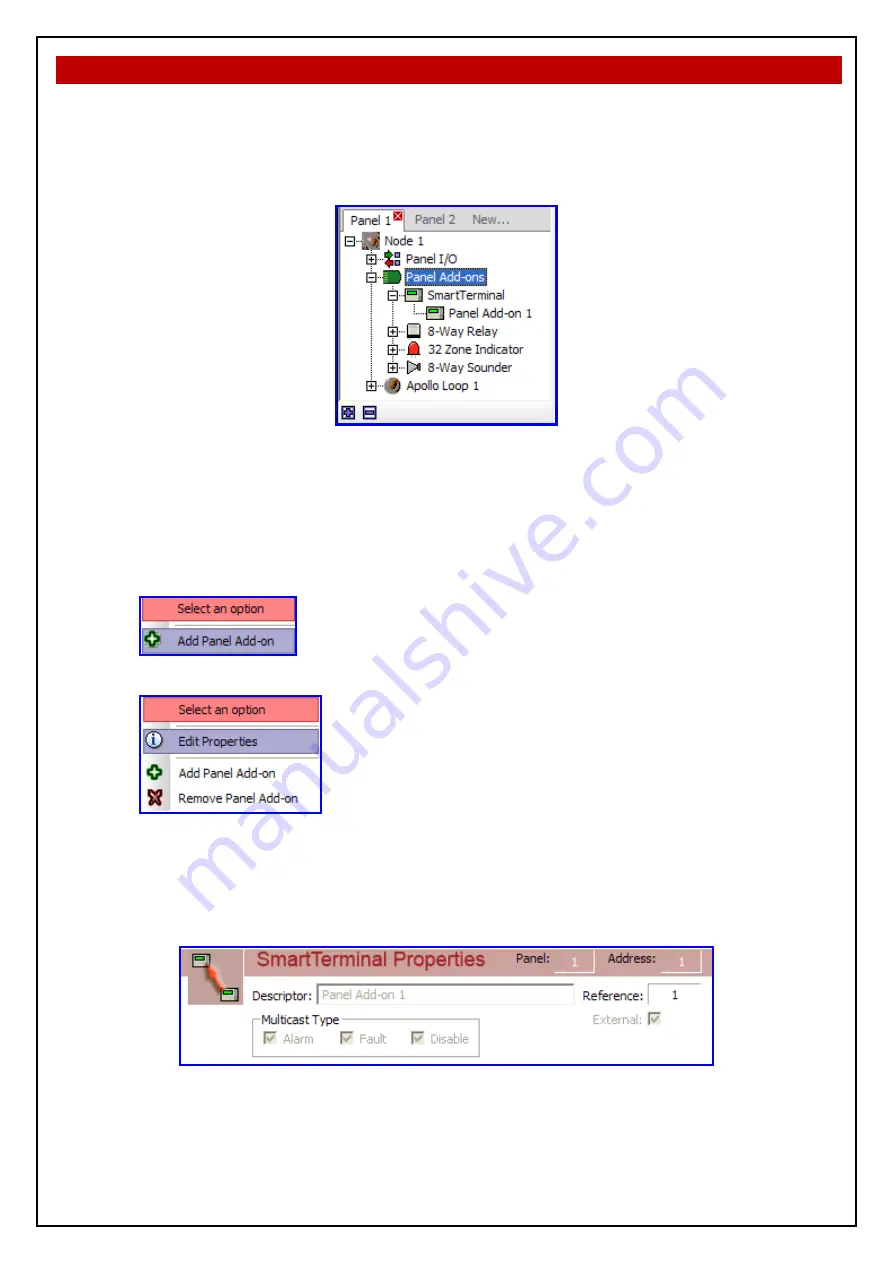
understanding of it operation. To commence the programming go to the “Tree View” within
LoopMaster as shown below.
The Tree View
Figure 6
The above shows the expanded view of the SmartTerminal add on type. In the case above the panel
in question has 1 SmartTerminal assigned to it, entitled ‘Panel Add-on 1’.
Selecting one of these add ons will update the Details Pane with the respective module’s
information, while double-clicking on the add-on will open its editing dialog box.
The
SmartTerminal
Menu
Right-clicking on the SmartTerminal add on parent item from the Tree View opens the menu,
It contains an option to add a panel Add-on to the panel.
Right-clicking on an existing
SmartTerminal
add on from the Tree View opens the menu,
It contains an option to add another or remove the current Add-on or via
the ‘Edit Properties’ option to open the Add on editing dialog box.
Note:
that it is possible to have a maximum of 30 SmartTerminal add ons per panel, however,
this value will reduce as other add-on types are added (the entire panel can have a maximum of 30
add-ons, of any type, at any one time).
The Details View
Figure 7
The above is displayed as part of the SmartTerminal Details Pane representation of the information
available to the configuration of the data. It is displayed at the top portion of the Details Pane and is
a non-editable, accurate representation of editable fields for a SmartTerminal.
The List View


