


Delete print jobs
Locations from which jobs can be deleted
You can delete jobs from the following locations.
• List of 'Printed jobs' (if this function is enabled in the Settings Editor).
• List of 'Scheduled jobs'.
• List of 'Waiting jobs'.
Note:
You can only delete the active print job in the list of 'Scheduled jobs' when the
printer is on hold. If necessary, press the Hold key 2x to put the printer on hold.
Select the jobs you want to delete
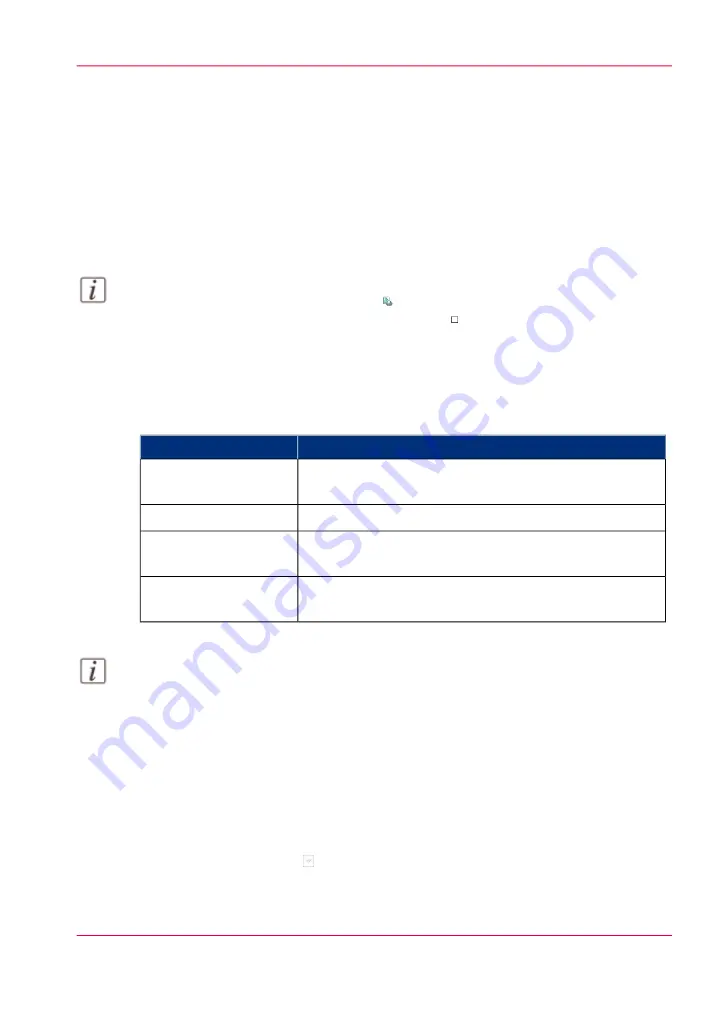
The table below describes your options to select one or more jobs.
Select one or more jobs that you want to delete
#
How to do?
What to delete?
Go to the correct location described above, then touch the
jobs one by one.
One or more separate
jobs
Go to the correct location, then touch 'Select' -> 'All'.
All jobs
Go to the correct location, then touch 'Select' -> 'Jobs with
available media'.
'Jobs with available me-
dia'
Go to the correct location, then touch 'Select' -> 'Jobs with
label'.
'Jobs with label'
Note:
For the list of 'Printed jobs', you can indicate in the Settings Editor that the list must
be cleaned automatically at specified times. The factory default is 1 day. Furthermore,
in the Settings Editor you can manually clean up the jobs in the lists of 'Printed jobs',
'Scheduled jobs' and 'Waiting jobs'.
How to delete the jobs
1.
Go to one of the following locations.
Touch 'Jobs' -> 'Queues'
If collapsed, first touch to expand the list of 'Scheduled jobs' or 'Waiting jobs'.
•
• Touch 'Jobs' -> 'Printed jobs'
Chapter 5 - Working with the operator panel
67
Delete print jobs
Summary of Contents for VarioPrint 6000 MICR series
Page 1: ...o Oc VarioPrint 6000 Ultra Line Experience ultra speed User manual Operating information...
Page 7: ...Chapter 1 Preface...
Page 14: ...Chapter 1 Preface 14 Online support for your product...
Page 15: ...Chapter 2 Introduction...
Page 18: ...Chapter 2 Introduction 18 Available documentation...
Page 19: ...Chapter 3 Power information...
Page 25: ...Chapter 4 Overview of the system components...
Page 38: ...Chapter 4 Overview of the system components 38 The paper modules...
Page 39: ...Chapter 5 Working with the operator panel...
Page 178: ...Chapter 5 Working with the operator panel 178 Create a transaction setup...
Page 179: ...Chapter 6 Optional finishers and other devices...
Page 237: ...Chapter 7 Keeping the printer run ning...
Page 251: ...Appendix A Miscellaneous...


