


Network Video Recorder
UI System Setting
User Manual
Issue: V4.6.X(2022-04-24)
77
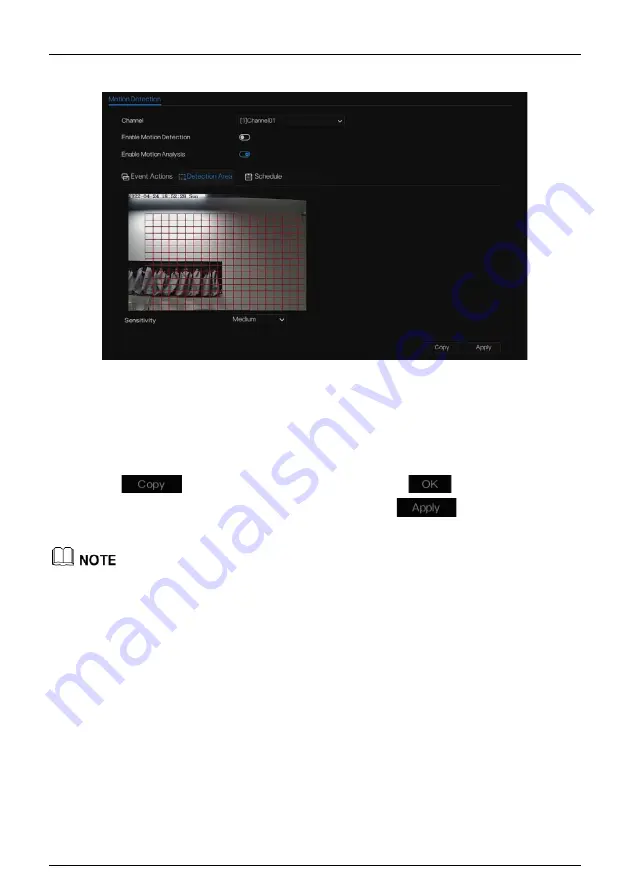
Figure 7-27
Motion detection area setting screen
Area :
1. Hold down and drag the left mouse button to draw a motion detection area.
2. Select a value from the drop-down list next to
Sensitivity
.
Step 6
Click
Schedule
page to access the schedule screen. For details, please see 7.2.1 Record
Schedule Figure 7-14Step 5 Set the record schedule.
Step 7
Click
and select channels or tick
all
, then click
to apply the motion
detection settings to cameras in selected channels, click
to save motion
detection alarm settings.
Double click to delete the selected area.
The default area is whole area.
If you leave the page without applying, the tip “Do you want to save?” would show. Click save to
save the settings. Click cancel to quit the settings.
Enable the alarm out, users need to set alarm time and output ID, four ID are corresponding to back
panel’s alarm out, 1 A and 1 B, 2 A and 2 B, 3 A and 3 B, 4 A and 4 B.
Channel alarm out is corresponding to alarm port of camera.


