4. Installation
4. Installation
.8.
.9.
NOTE:
Nothing should be stored on or placed against the inverter.
WARNING:
The inverter must be mounted vertically.
Install on a wall or strong structure capable of bearing the weight of the inverter (15kg).
Install vertically with a maximum incline of +/- 5 degrees, exceeding this may cause output
power derating.
To avoid overheating, always make sure the flow of air around the inverter is not
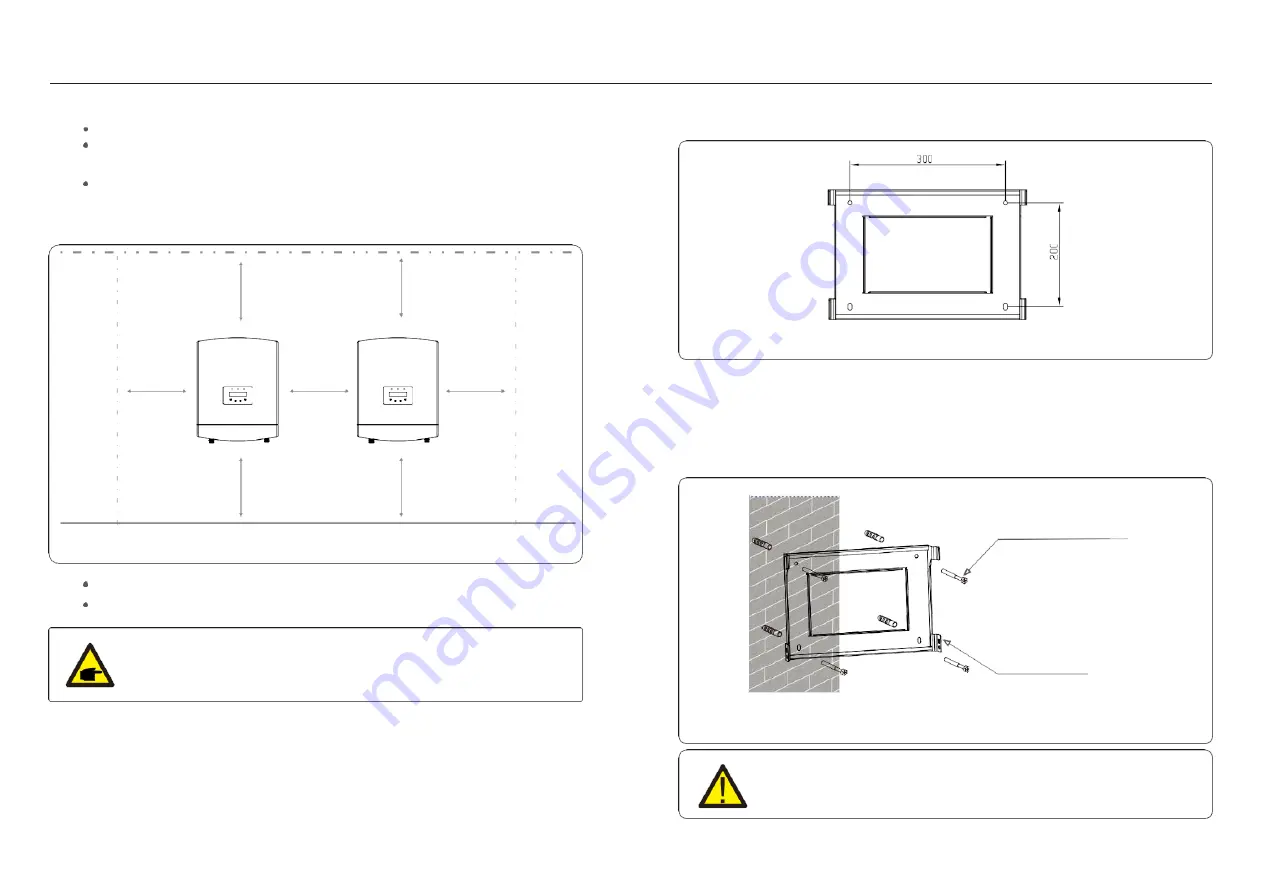
blocked. A minimum clearance of 300mm should be kept between inverters or objects
and 500mm clearance between the bottom of the inverter and the ground.
4.2 Mounting the Inverter
Dimensions of mounting bracket:
Once a suitable location has be found according to 4.1, please refer to figure 4.3 and figure
4.4 and mount the wall bracket to the wall.
The inverter shall be mounted vertically.
The steps to mount the inverter are listed below:
1. Select the mounting height of the bracket and mark the mounting holes.
For brick walls, the position of the holes should be suitable for the expansion bolts.
Visibility of the LEDs and LCD should be considered.
Adequate ventilation must be provided.
300mm
300mm
300mm
Figure 4.2 Inverter mounting clearance
Suitable fixing screws
Bracket
Figure 4.4 Fix bracket on the wall
Figure 4.3 Inverter wall mounting
5
0
0
mm
3
0
0
mm
5
0
0
mm
3
0
0
mm


