- 39 -
Setting the Black Point
The Black Point represents the darkest point in the image.
Since the density range of the original media might exceed the
dynamic range of the scanner, the scanner’s tonal range needs
to be used as efficiently as possible. The Black Point is typically
selected so that all values in the image that are darker than this
point can be mapped, or converted to black without affecting
the quality of the image.
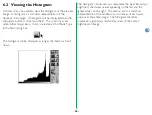
For example, suppose that the darkest area within the image,
that you know to represent a true black
, has a value of 10 in the
scanned data. Values 0–9 would be wasted since no pixel in
the image would have a value lower than 10. By setting the
Black Point to 10, the data would be re-mapped so that a value
of 10 from the scanner would produce a 0. All the data values
would then be meaningful.
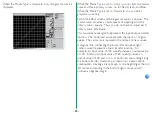
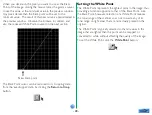
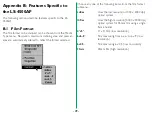
To set the Black Point, click the
Black Point
button.
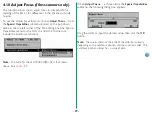
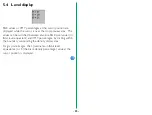
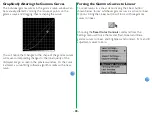
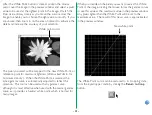
After the Black Point button is clicked, position the mouse
cursor over the image in the preview window and select a pixel
value to be used as the darkest point in the image. Watch the
Pixel Value display closely as you move the cursor across the
image to enable you to choose the right value to modify. If you
are unsure, then zoom in on the area of interest to enhance the
detail and increase the accuracy of your selection.
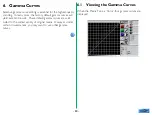
The pixel you select will be mapped to the new Black Point, or
reference point for maximum black (often called ‘dmax’, for
‘maximum density’). When the Black Point is selected, the
active gamma curve is automatically adjusted to reflect this
selection. This tool can be used with any gamma curve,
although it is most effective when used with the master gamma
curve, as it provides a ‘neutral’ black point, which is normal for
many images.
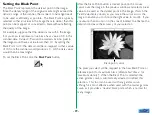
Black point cursor

