30
Connecting to a Smart Device (SnapBridge)
Connecting the Camera and a Smart Device
C
To Learn More About the SnapBridge App
See the online help for details on how to use the SnapBridge app (after connecting, refer to
the SnapBridge app menu
M
Help
).
https://nikonimglib.com/snbr/onlinehelp/en/index.html
C
If the Connection Is Unsuccessful
•
If the camera displays
Could not connect.
when connecting
- Press flexible button 3 (
R
Reconnect
) and repeat the procedure from step 2 (
“Connecting the Camera and a Smart Device” to connect again.
- Press flexible button 4 (
S
Cancel
) to cancel the connection.
•
The issue may be solved by relaunching the app. Close the SnapBridge app completely
and then tap the app icon again to launch it. When the app launches, repeat the
procedure from step 1 (
27) in “Connecting the Camera and a Smart Device.”
•
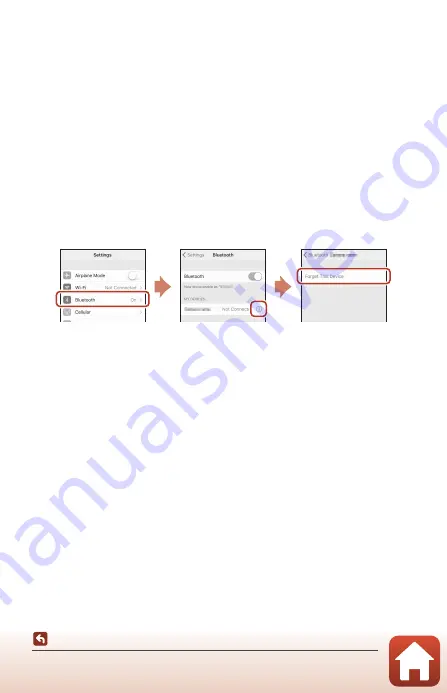
If the camera cannot connect and an error occurs in iOS, the camera may be registered as
a device in iOS. Launch the iOS settings app and deregister the device (camera name) in
such cases.
Disabling or Enabling the Wireless Connection
Use any of the following methods to disable or enable the connection.
•
Switch the setting in the camera settings menu
M
Network menu
M
Airplane
mode
. You can set it to
On
to turn off all communication functions in places where
wireless communication is prohibited.
•
Switch the setting in the camera settings menu
M
Network menu
M
Bluetooth
M
Connection
.
•
Switch the setting in the
A
tab
M
Auto link options
M
Auto link
in the
SnapBridge app.
You can reduce battery consumption of the smart device by disabling this setting.


