Control
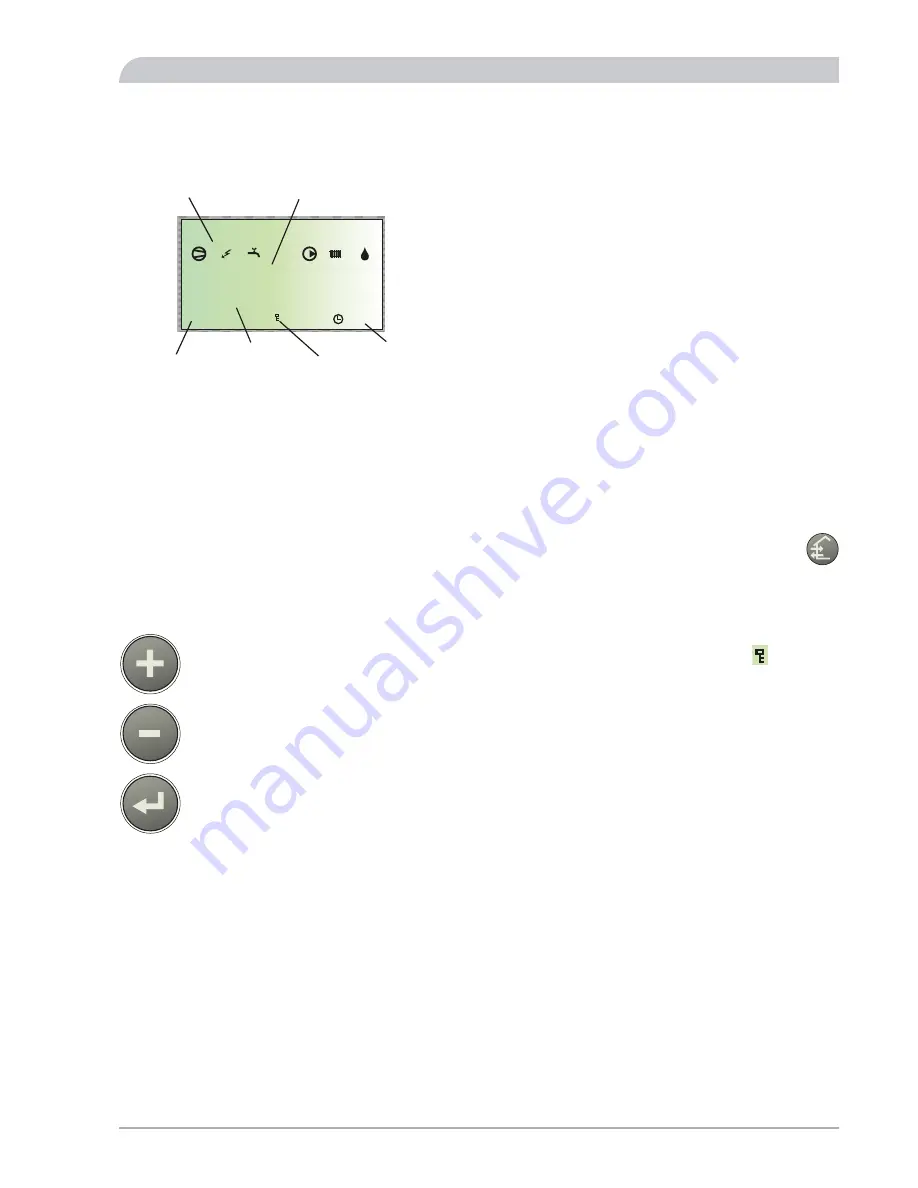
Display
A B
I II III
I II
13.43
1.0
A
5 0 . 0 ° C
+RW ZDWHU WHPS
0HQX QXPEHU
0HQX QDPH
.H\ ORFN
&ORFN
2SHUDWLQJ V\PEROV
9DOXH RI WKH FXUUHQW SDUDPHWHU
Menu types
Control is divided into different menu types depending
on how ”deep” into the controls you need to go.
႑
Normal [N]:
The settings you as a customer often
need.
႑
Extended [U]:
Shows all detailed menus except the
service menus.
႑
Service [S]:
Shows all menus.
Changing of menu type is done from menu 8.1.1
Menu management
The Plus button is used to move forward to the
next menu on the current menu level and to in-
crease the value of the parameter in menus
where this is possible.
The Minus button is used to move back to the
previous menu on the current menu level and to
decrease the value of the parameter in menus
where this is possible.
The Enter button is used to select submenus of
the current menu, to permit parameters to be
changed and to confirm any changes to paramet-
ers. When the menu number ends with a zero
this indicates that there is a submenu.
Changing parameters
႑
Changing a parameter (value):
႑
Access the required menu.
႑
Press the enter button, the numerical value starts to
flash.
႑
Increase or decrease using the Plus/Minus buttons.
႑
Confirm by pressing the enter button.
႑
Menu 1.0 is automatically displayed again 30 minutes
after the last button press.
Example
Changing the curve slope, menu 2.1.
႑
The starting point is menu 1.0.
႑
Press the plus button to move to menu 2.0.
႑
Press the enter button to move to menu 2.1.
႑
Press the enter button to change the value.
႑
Change the value by pressing the plus or minus buttons.
႑
Confirm the selected value by pressing the enter button.
႑
Press the quick movement button to access menu 1.0.
Quick movement
To quickly return to the main menu from a sub menu,
press one of the following buttons:
Key lock
A key lock can be activated in the main menus by simultan-
eously pressing the plus and the minus buttons. The key
symbol will then be shown on the display.
The same procedure is used to deactivate the key lock.
41
NIBE™ SPLIT
Miscellaneous
Control
Summary of Contents for AMS 10-16
Page 2: ...HE 30 LEK LEK LEK LEK LEK HEV 300 LEK HEV 500 LEK LEK AMS 10 16 LEK HBS 16 ...
Page 70: ...Electrical circuit diagram HBS 16 NIBE SPLIT 68 Miscellaneous Electrical circuit diagram ...
Page 71: ...69 NIBE SPLIT Miscellaneous Electrical circuit diagram ...
Page 72: ...NIBE SPLIT 70 Miscellaneous Electrical circuit diagram ...
Page 73: ...71 NIBE SPLIT Miscellaneous Electrical circuit diagram ...
Page 74: ...NIBE SPLIT 72 Miscellaneous Electrical circuit diagram ...
Page 75: ...73 NIBE SPLIT Miscellaneous Electrical circuit diagram ...
Page 76: ...AMS 10 16 NIBE SPLIT 74 Miscellaneous Electrical circuit diagram ...
Page 100: ...NIBE SPLIT 98 ...
Page 101: ...99 NIBE SPLIT ...
Page 102: ...NIBE SPLIT 100 ...
Page 103: ......


