NTI VEEMUX DVI VIDEO MATRIX SWITCH
34
Administration
The Administration section provides links to pages for all configuration options in the VEEMUX switch. Only
the user ROOT and users with administrative privileges have access to this section. The administration
section is broken up into 10 topics:
System
Assign the switch name and serial port communication settings
Network
Assign all network settings for connection to LAN
Video Input Names
Assign port names to each cable connection from video sources for easy reference
Video Output Names
Assign port names to each cable connection from display devices for easy reference
Scanning Sequence
Assign dwell times for each input as it is assigned to each output’s scanning
sequence
User Config
Add, edit, and delete users and control user privileges
DDC Options
Configure how each input will receive EDID information
DDC Mix
Select outputs/displays to be used for EDID mixing for each input
Video Optimization
Fine tune the video quality viewed on a monitor (not applicable to 8X8 model)
Firmware
Update the firmware as new versions become available
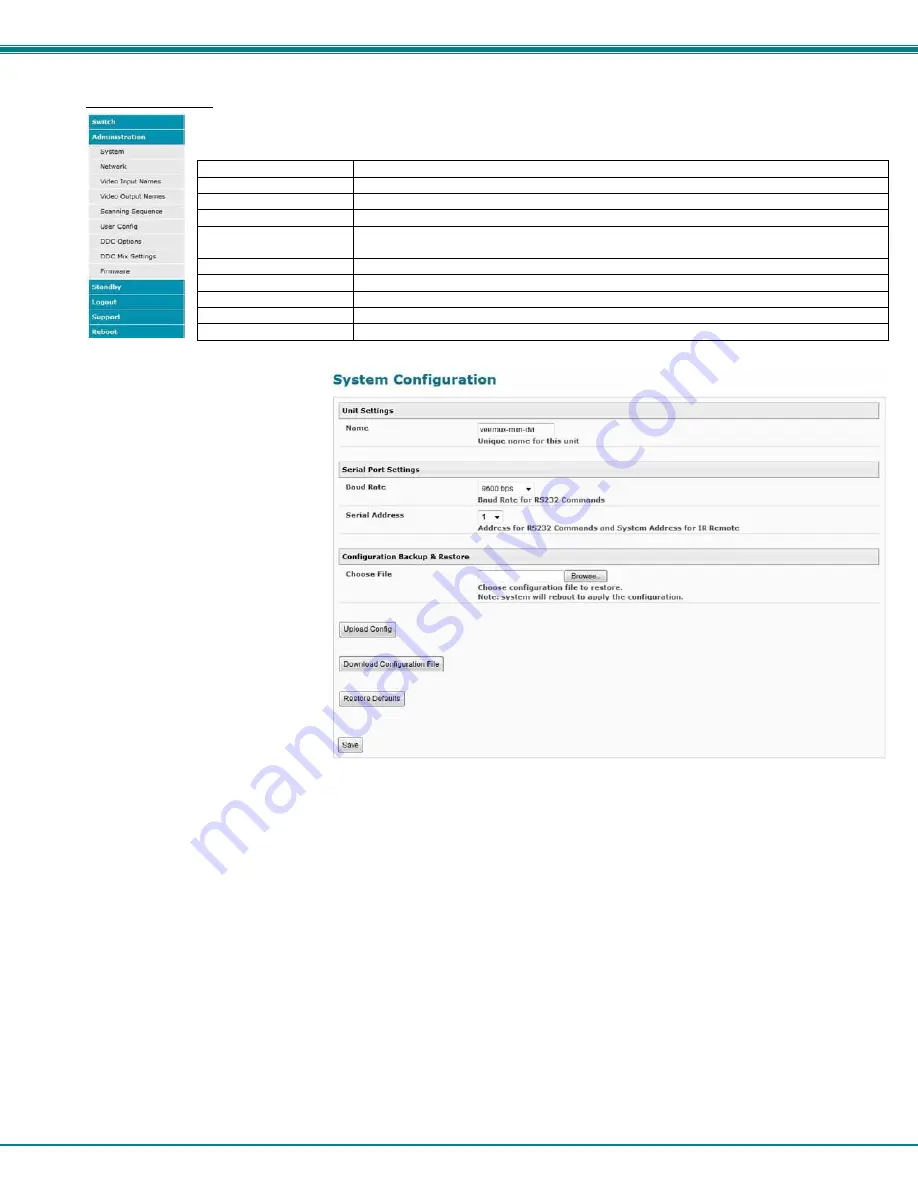
System Configuration
On the System Configuration page,
under Administration, fields are
provided to assign a unique name to
the VEEMUX, set the baud rate for
serial communications, and the serial
address to be used in RS232
commands.
After applying the desired settings,
press “
Save
” to finish.
Figure 17- System Configuration page
(Applicable to models 4x4, 16x16, and 32x32 only)
Download Configuration File
- To save VEEMUX configuration and DDC settings for a future reload or to save time in
configuring multiple VEEMUX switches, the configuration file for the VEEMUX can be downloaded
to your PC using “
Configuration Backup & Restore
”. Click on “
Download Configuration File
”
to save the VEEMUX configuration to your PC.
From your PC the downloaded configuration file can be edited using any text editor or html editor. Using an editor you
can change settings, change IP address, etc. and then upload the result into an additional VEEMUX switch to save time.
Upload Config
- Click on the
Browse
button to browse to the file, click on “
Upload Config
”, and restore the VEEMUX to the
configuration stored in the uploaded file.
Restore Defaults
- Click on “
Restore Defaults
” to remove all user-configured settings and restore the VEEMUX to a factory
default configuration.
Note: Before restoring defaults, we recommend you download the existing configuration file to your PC.
Summary of Contents for VEEMUX SM-nXm-DVI-LCD
Page 5: ...iv...


