- ITALIANO -
- 17 -
INSTALLAZIONE E CONFIGURAZIONE
S
ETTAGGIO DEI JUMPER
Agendo opportunamente sui jumper presenti sulla scheda è possibile:
attivare o disattivare l‟autonegoziazione della velocità e della modalità di trasmissione della
rete ethernet (JP7, JP8, JP9)
selezionare la velocità di trasmissione10/100Mbps o 10Mbps (JP7, JP8, JP9)
selezionare la modalità di trasmissione half duplex o full duplex (JP7, JP8, JP9)
attiv
are il netboot automatico all‟accensione (JP14)
abilitare i sensori ambientali (JP6, JP10)
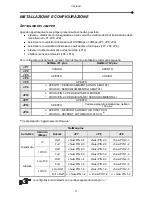
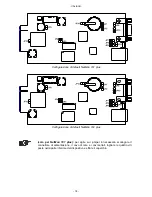
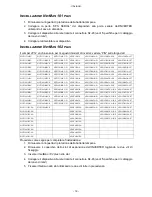
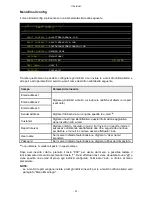
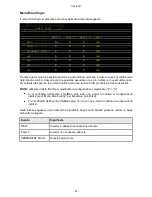
Per configurare correttamente i jumper, fare riferimento alle tabelle ed immagini seguenti.
NetMan 101 plus
NetMan 102 plus
JP1
CHIUSO
APERTO
JP2
JP3
APERTO
CHIUSO
JP4
JP5
APERTO
JP6
APERTO = SENSORI AMBIENTALI NON ABILITATI
CHIUSO = SENSORI AMBIENTALI ABILITATI
JP10
CHIUSI PIN 1-2 PER ABILITARE IL MODEM
CHIUSI PIN 2-3 PER ABILITARE I SENSORI AMBIENTALI
JP11
APERTO
JP12
APERTO
Vedere paragrafo installazione netman
102 plus
JP14
APERTO = NETBOOT AUTOMATICO DISATTIVO
CHIUSO = NETBOOT AUTOMATICO ATTIVO
(1)
(1)
Vedi paragrafo “Aggiornamento firmware”
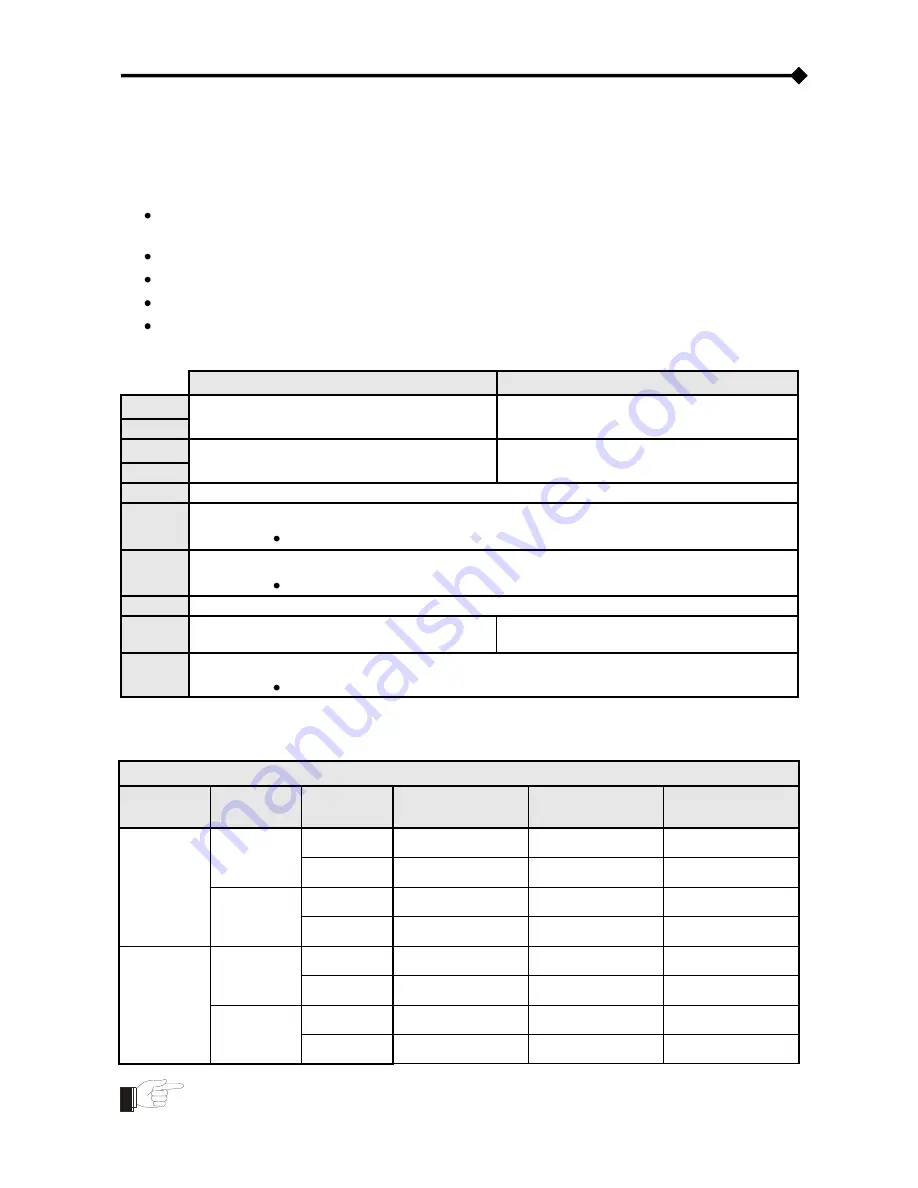
NetMan plus
A
UTO
-N
EG
V
ELOCITÀ
(Mbps)
D
UPLEX
JP7
JP8
JP9
Disattivata
10
Half
chiusi PIN 2-3
chiusi PIN 2-3
chiusi PIN 2-3
Full
chiusi PIN 2-3
chiusi PIN 2-3
chiusi PIN 1-2
10/100
Half
chiusi PIN 2-3
chiusi PIN 1-2
chiusi PIN 2-3
Full
chiusi PIN 2-3
chiusi PIN 1-2
chiusi PIN 1-2
Attivata
solo 100
Half
chiusi PIN 1-2
chiusi PIN 2-3
chiusi PIN 2-3
Full
chiusi PIN 1-2
chiusi PIN 2-3
chiusi PIN 1-2
10/100
solo Half
chiusi PIN 1-2
chiusi PIN 1-2
chiusi PIN 2-3
Full o Half
chiusi PIN 1-2
chiusi PIN 1-2
chiusi PIN 1-2
le configurazioni di default sono contrassegnate dal simbolo “
”

