The BASIC Home page displays.
4.
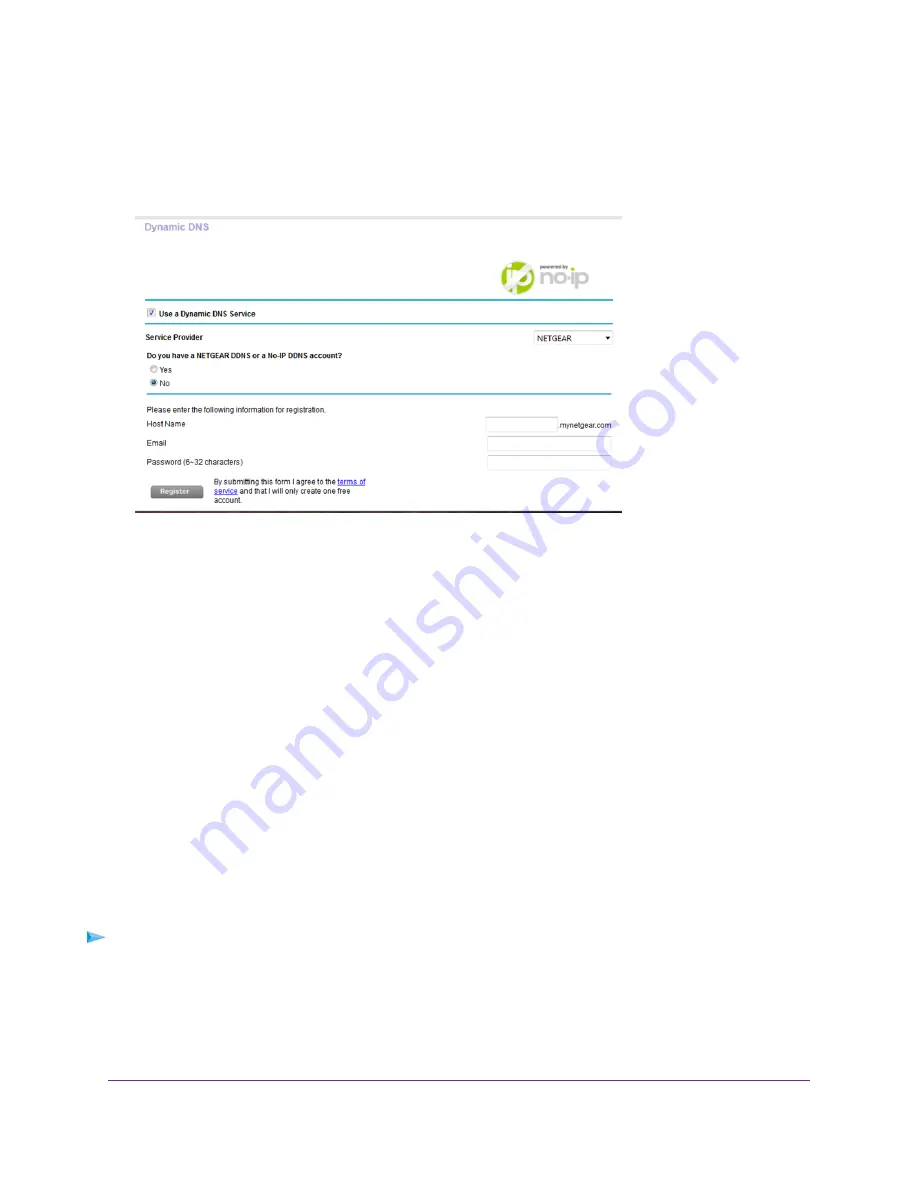
Select ADVANCED > Advanced Setup > Dynamic DNS.
5.
Select the Use a Dynamic DNS Service check box.
6.
From the Service Provider menu, select NETGEAR.
7.
Select the No radio button.
8.
In the Host Name field, type the name that you want to use for your URL.
The host name is sometimes called the domain name. Your free URL includes the host name that you specify
and ends with mynetgear.com. For example, specify MyName.mynetgear.com.
9.
In the Email field, type the email address for your account.
10.
In the Password (6-32 characters) field, type the password for your account.
11.
Click the Register button.
12.
Follow the onscreen instructions to register for your NETGEAR Dynamic DNS service.
Specify a DNS Account That You Already Created
If you already created a Dynamic DNS account with NETGEAR, No-IP, or Dyn, you can set up the router to use
your account.
To set up Dynamic DNS if you already created an account:
1.
Launch a web browser from a computer or WiFi device that is connected to the network.
2.
Enter http://www.routerlogin.net.
A login window opens.
Use Dynamic DNS to Access USB Storage Devices Through the Internet
138
Nighthawk X8 AC5000 Tri-Band WiFi Router


