Digital Video Recorder
53
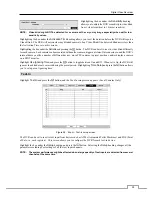
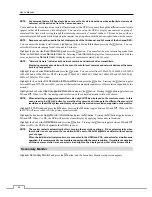
Proper registration and authentication settings will display registered devices in the list of the Network Camera setup screen.
Highlighting the box under the
Settings
heading and pressing the
button allows you to change the device settings.
NOTE: The Settings screen will differ depending on the type of protocol that you selected. The following
description is for a network device using the iNEX protocol.
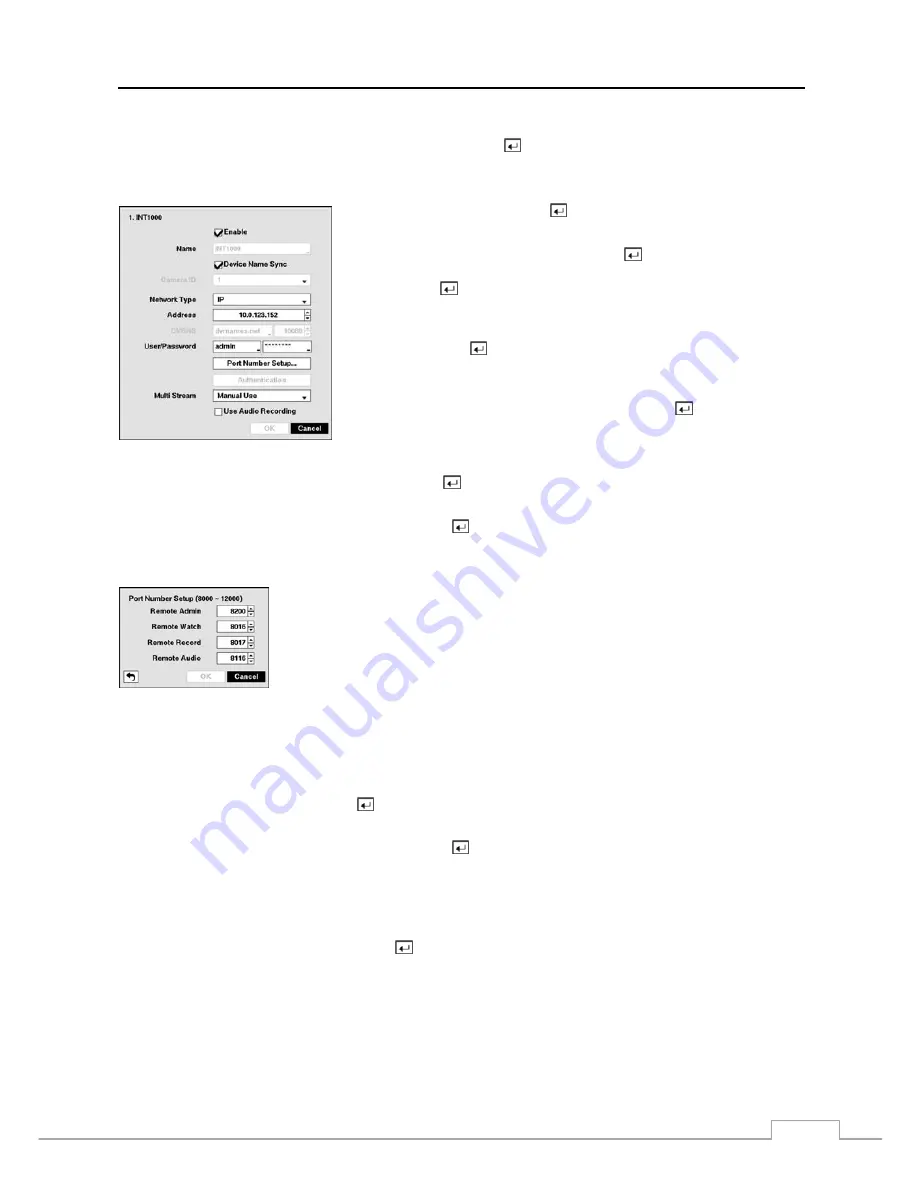
Network Device using iNEX Protocol
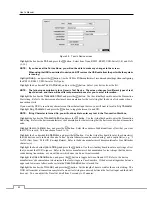
Highlight
Enable
and press the
button to toggle between On and Off.
When it is On, you will be able to change the device settings.
Highlight the box beside
Name
and press the
button. A virtual keyboard
appears allowing you to edit the device name. Highlight
Device Name Sync
and press the
button to toggle between On and Off. When it is On, the
DVR will automatically update the name based on the settings in the device.
You can assign IDs to each camera by highlighting the box beside
Camera
ID
and pressing the
button. Change the number by highlighting it and using
the
Up
and
Down
arrow buttons to increase and decrease the number. (4-ch
Network Video Transmitter Only)
Highlight the box beside
Network Type
and press the button. Selecting
IP
allows you to change the IP address of the device, and selecting
DVRNS
allows you to change the IP address or domain name of the device.
Highlight the box beside
User
/
Password
and press the button. A virtual keyboard appears allowing you to enter
the user ID and password used when changing device settings.
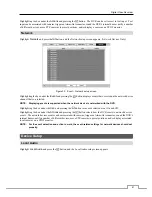
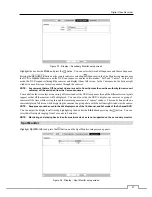
Highlight the
Port Number Setup…
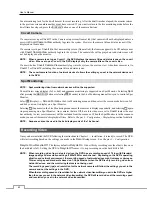
box and press the button. The
Port Number Setup
screen appears.
NOTE: You will need to get the appropriate Port Numbers for each program (Admin, Watch, Record and Audio)
from your network administrator.
Change the numbers by highlighting them and using the
Up
and
Down
arrow buttons to
increase or decrease the number. The factory default Port settings are:
Remote
Admin:
8200
Remote Watch:
8016
Remote
Record:
8017
Remote
Audio:
8116
NOTE: Do NOT use the same port number for two different programs, otherwise, the DVR cannot connect to
the network device.
CAUTION: When changing port settings, you must change the port settings on the network device.
Refer to the network device manual for details.
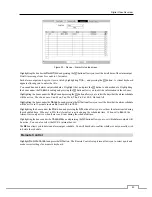
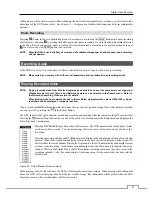
Highlight
Authentication
and press the button. An Authentication screen appears, and entering Authentication
information is required to change the device settings.
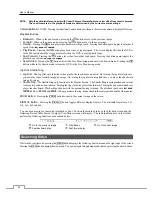
Highlight the box beside
Multi Stream
and press the
button to select which stream will be applied for live
monitoring when in the multi-view display format. Selecting
Manual Use
allows you to select the desired stream
manually in the Live Monitoring – Camera, Multi Stream Menu.
NOTE: When the network device has more than one stream, a different stream can be used depending on the
screen display format. Refer to the network device manufacturer’s instructions for details.
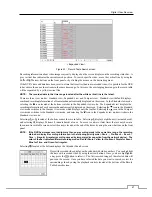
Highlight
Use Audio Recording
and press the button to toggle between On and Off. When it is On, the DVR will
record audio from the associated channel when the video from the network device is recording.
NOTE: The following description is for a network device using the ONVIF
TM
Conformance protocol.
Summary of Contents for 16-channel models
Page 1: ......
Page 2: ......
Page 16: ...User s Manual 8 ...

