


3-8 Option Installation
3.
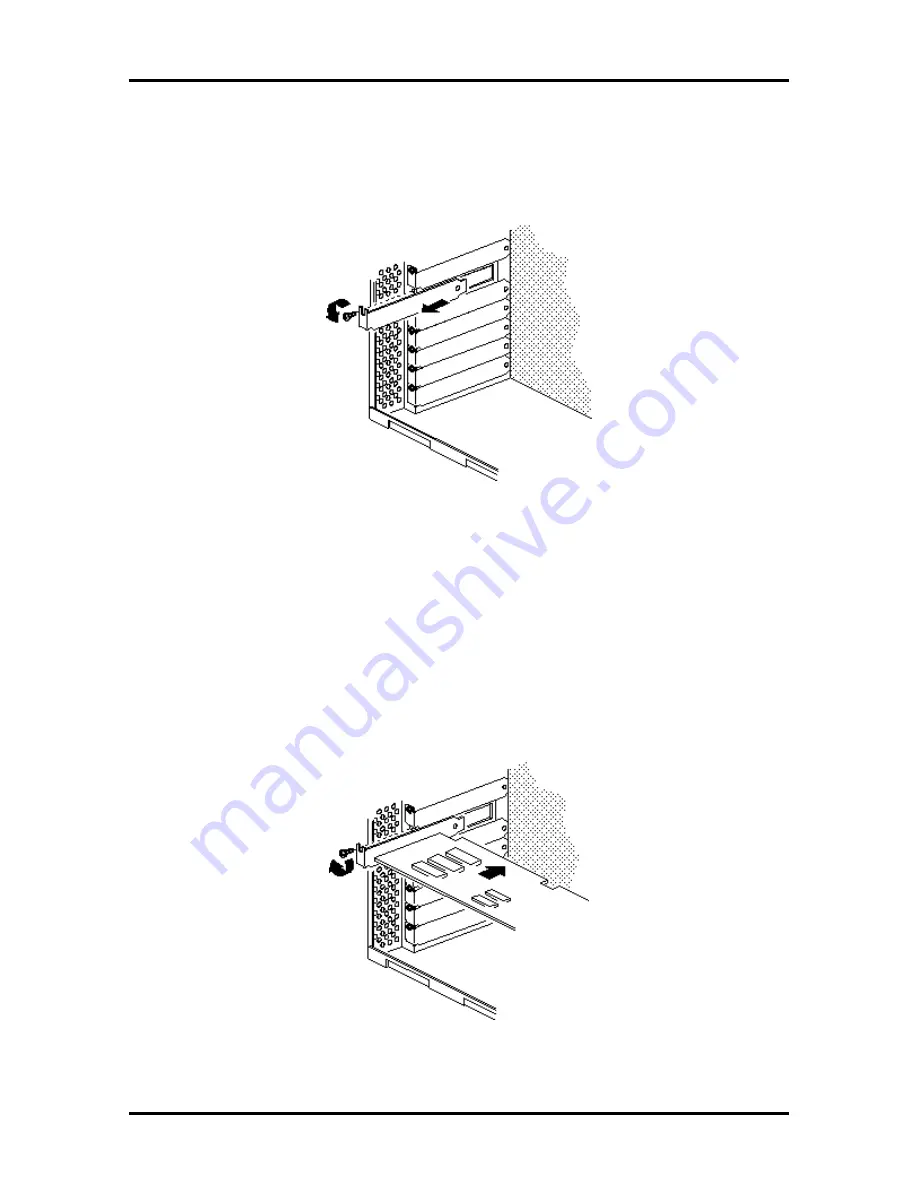
Remove the screw securing an expansion slot cover and remove the cover.
Save the screw for installing the expansion board. Store the slot cover in case you
choose to remove the expansion board in the future.
Figure 3-4 Removing a Slot Cover
4.
Hold the board by its edges and insert it into the expansion slot. Align full-size
expansion boards with the guide rail at the front of the system unit.
Press the board firmly into the expansion slot connector. You might have to gently
rock the board from side-to-side to seat it into the connector.
5.
Insert the screw removed earlier to secure the expansion board to the support
bracket.
Figure 3-5 Inserting the Expansion Board
Summary of Contents for POWERMATE PRO150
Page 152: ...A 16 Connector Pin Assignments ...
Page 160: ...B 8 System Board Settings ...


