1. Installing Internal Optional Devices
Express5800/R120d-2E User’s Guide
121
Chapter 2 Preparations
1.21.2
Removal
Remove a Hard Disk Drive, reverse the installation procedure.
If you transfer or dispose of the removed hard disk drive, refer to
Chapter 1 (1. Transfer, Movement, and
Disposal) in “Maintenance Guide”
to erase data.
Important
NEC assumes no liability for data leakage should the product be
transferred to a third party without erasing the data.
Note
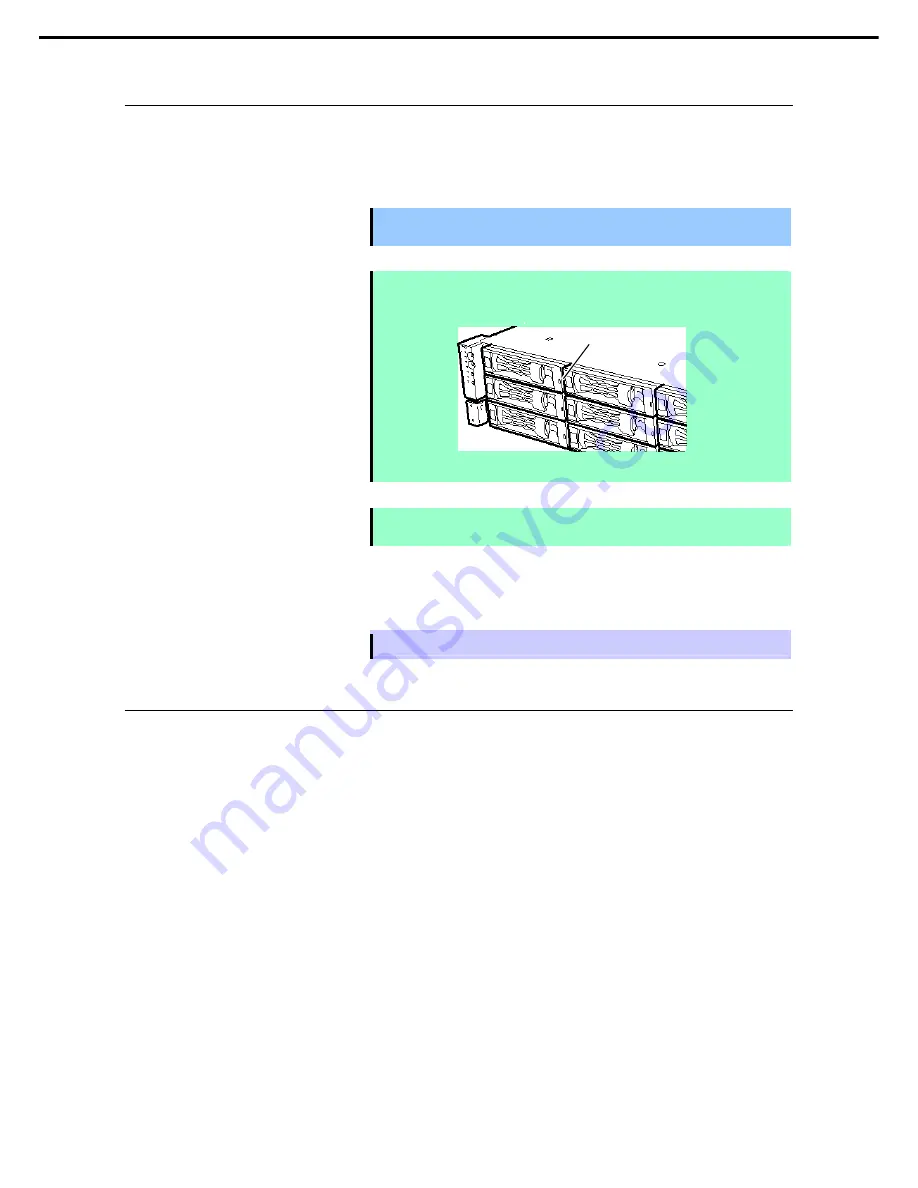
If you have to remove a disk due to a hard disk drive failure, check the slot with its
DISK LED lit in amber.
Note
Do not pull the handle to remove the hard disk drive.
Doing so may damage the handle.
Run SETUP utility, and then specify the boot order from the
Boot
menu. For details about the
Boot
menu,
refer to
Chapter 2 (1. System BIOS)
in "
Maintenance Guide
".
Tips
The saved boot order is cleared when a hard disk drive is added.
1.21.3
Replacing a Hard Disk Drive in the RAID System
In the RAID System, you can use the auto rebuild feature to restore data back to the state before a failure
occurred by writing the data saved before the replacement to a new Hard Disk Drive after replacing the
broken Hard Disk Drive.
The auto rebuild feature is enabled in logic drives set to RAID 1, RAID 5, RAID 6, RAID 10, RAID 50, and
RAID60.
The disk is automatically rebuilt when hot swapping (replacing a disk while the power on) a failed Hard Disk
Drive.
During the auto rebuild, the DISK LED on the Hard Disk Drive flashes green and amber alternately to
indicate that the autorebuild is being performed.
Observe the following precautions whenever executing the auto rebuild
•
Do not turn off the server until the auto build completes after a Hard Disk Drive fails.
•
Leave an interval of at least 90 seconds between a Hard Disk Drive removal and a Hard Disk Drive
installation.
•
Do not replace a disk during the auto rebuilding of another Hard Disk Drive (during an auto rebuild, the
DISK LED on the Hard Disk Drive flashes green and amber alternately).
DISK LED


