Maintenance Instructions
2.
Wipe the inside of the air cleaner housing with a clean,
damp cloth. Be sure to clean the gasket sealing surface.
Be sure to wipe out any dust that has fallen into the port
to the turbocharger. DO NOT use compressed air for
this cleaning!
3.
Visually inspect the air cleaner housing for damage or
distortion, which could allow unfiltered air to enter the
engine. Inspect to be sure that the rubber dust unloader
valve at bottom of housing is in place, free of debris, and
not cracked.
4.
Inspect the new air filter element for a damaged or
nonresilient rubber gasket. Inspect the air filter element
body for dents or excessive pleat bunching. If any of
the mentioned conditions exist, obtain and install an
alternate new air filter element from your International
dealer.
5.
Carefully install the new air filter element into the air
cleaner housing.
6.
With the air cleaner cover latch at the 1 o’clock position,
align cover tabs with corresponding slots.
Push the
cover into the slots.
Rotate the cover clockwise (in
direction of lock on cover) until the locking tab snaps
into its locked position.
7.
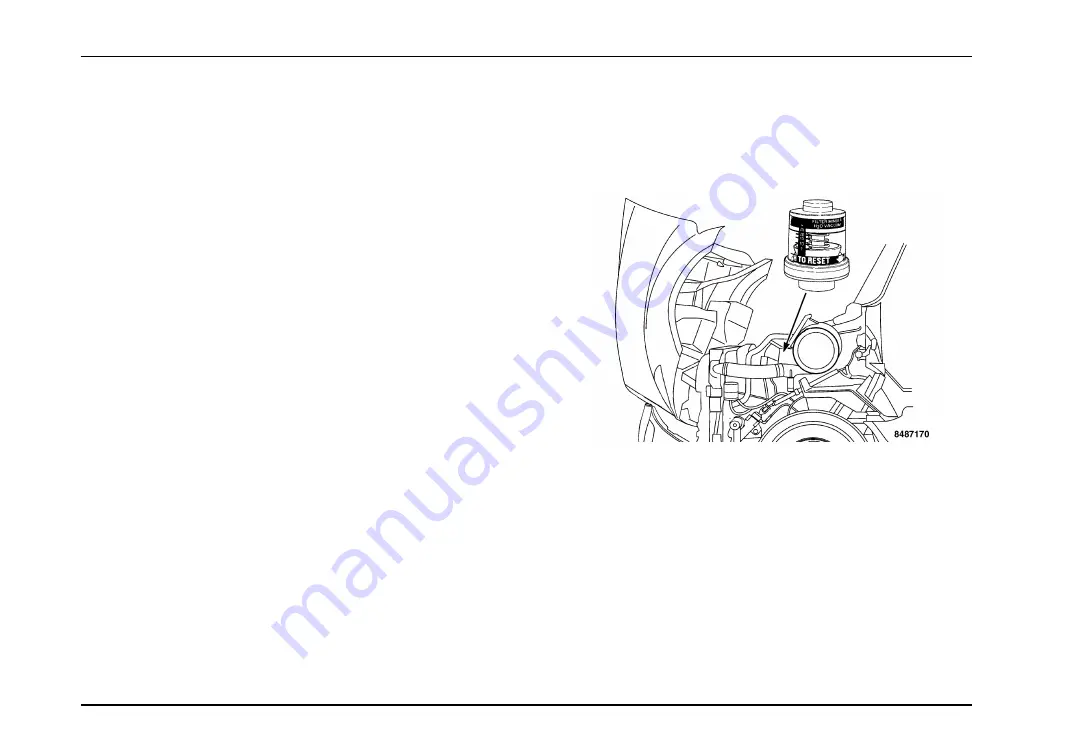
When servicing is completed, reset air restriction gauge
by pushing and holding the reset button and releasing it.
The YELLOW indicator will drop below the window. The
air restriction gauge is now ready for the next operating
cycle.
NOTE: After starting engine, the indicator may be seen in
the lower part of the window. This is normal and should not
be mistaken as a signal for element service.
222
Summary of Contents for ProStar+
Page 4: ......
Page 24: ...Foreword 12...
Page 38: ...Model Description 26...
Page 74: ...Controls Features Declination Zone Map 62...
Page 98: ...Controls Features Center Dash Panel Wing Panel 86...
Page 118: ...Controls Features 106...
Page 243: ...Maintenance Instructions 231...
Page 286: ...Maintenance Intervals and Specifications 274...


