User’s manual NAVIGON 12xx | 22xx
- 34 -
Navigation
The
R
OUTE
P
OINT
menu opens.
2. Tap on the button for how you want to enter the destination.
3. Enter the route point. (Refer to the corresponding section of chapter
"Specifying a destination" on page 23 ff.)
4. Tap on Add.
The selected route point is now shown next to its flow number.
Repeat these steps for each destination that you want to add to your
route.
5.4.3
Editing route points
Route points can be deleted from a route. The order of the route points
can be changed as you wish.
Note:
The starting point (flow number "0") can be neither moved nor
deleted. However you can make another route point into the starting
point.
►
Tap on the route point that you want to edit.
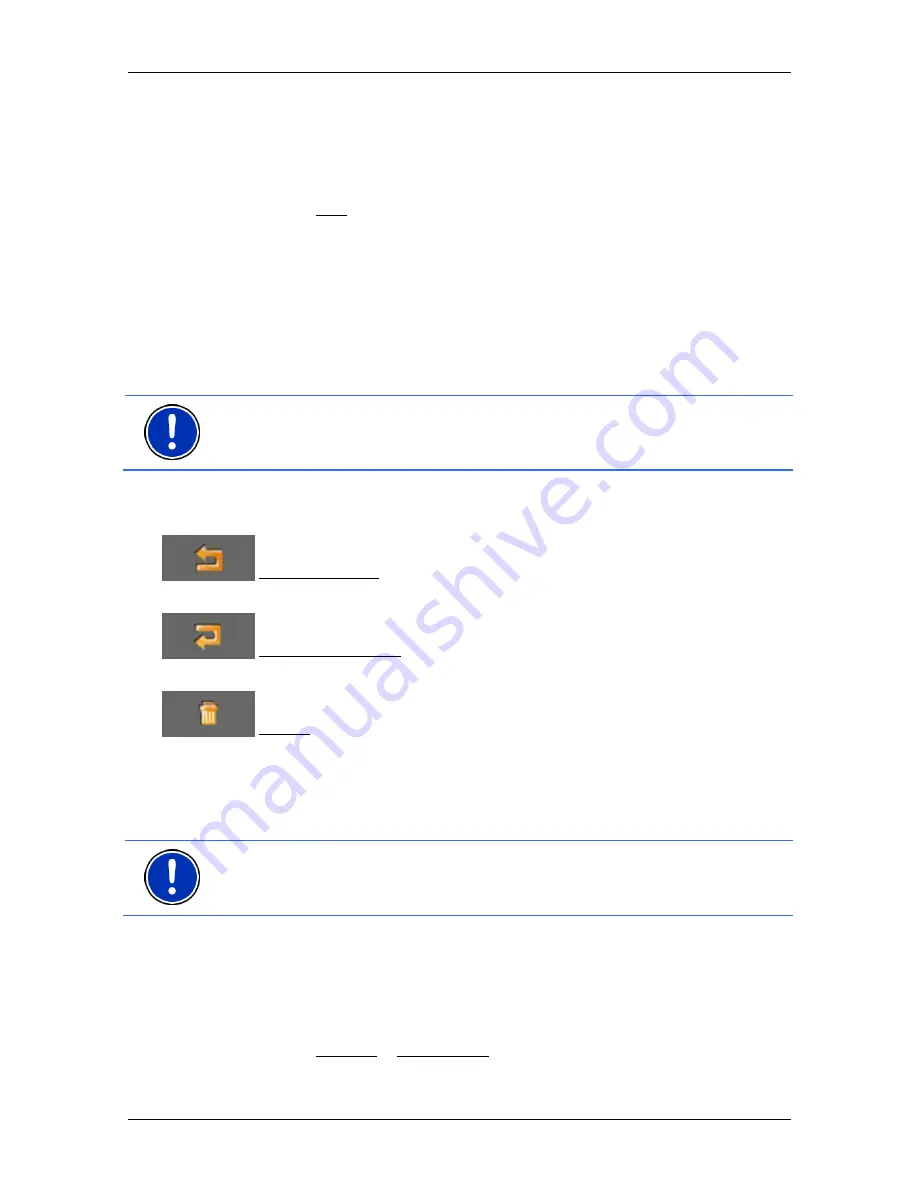
The context menu contains the following buttons:
Route Point Up: Moves the selected route point further to the front.
(Example: route point 2 becomes route point 1)
Route Point Down: Moves the selected route point further to the
back. (Example: route point 2 becomes route point 3).
Delete: Deletes the selected route point. A dialog window prompts
you to confirm deletion.
5.4.4 Managing
routes
You can save each planned route under a particular name.
Note:
Only the start point and route points will be saved, not the
calculated route. When you load a saved route, it must be recalculated
before navigation can start.
You can load, rename or delete stored routes.
Saving routes
The
R
OUTE
P
LANNING
window is open. You have entered the starting
point and at least one route point.
1. Tap
on
Options > Save Route.
2. Enter a name for the route.

