66 Setup 1: User Type
PF Adjust 3: Confirm Print
• After the confirmation adjustment printing, cut the media.
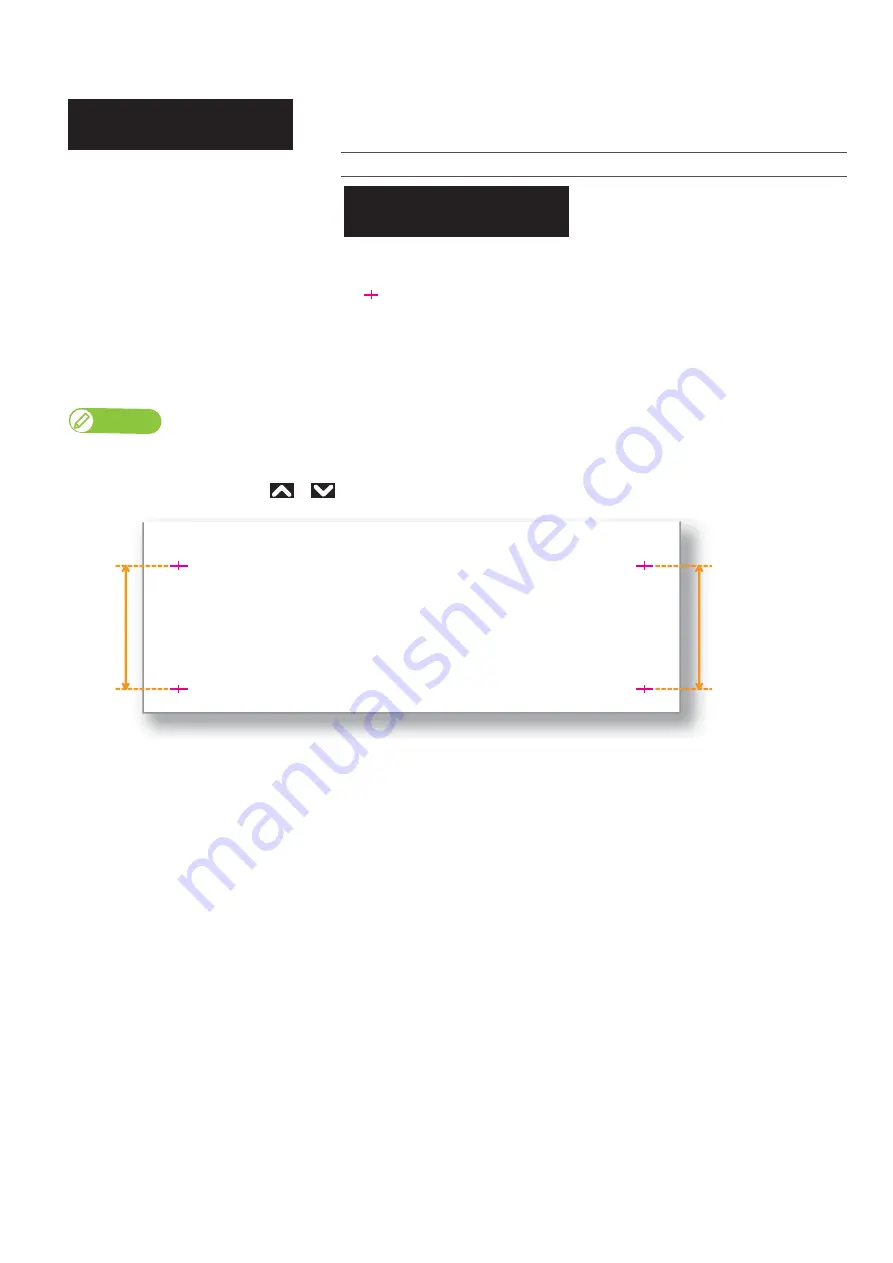
• With a ruler, measure the length between “
” in the pattern. In the example below, the measured place is shown in
orange dotted lines and arrows (the orange parts are not actually printed).
• If the measured length does not match the feeding length, re-correct with
.
• If the measured length matches the feeding length, proceed to
.
Performs Confirm Print.
Enter the “Feed Length” and tap [Enter].
Setting values
100 mm to <250 mm> to 500 mm
<> indicates the initial value.
Note
The length of media that is fed (feeding length) for initial adjustment printing is normally set at 250 mm.
If you increase the feeding length, the accuracy of the Media feed adjustment improves.
To change the feeding length, tap
or
on the front panel and change the set value.
** : PF Adjust 3
Confirm Print
** : Initial Print :
Feed Length:
250 mm
Summary of Contents for XPJ-1682WR
Page 8: ...8 ...
Page 136: ...136 Performing initial charging after head cleaning ...
Page 152: ...152 The media is jammed Note ...
Page 157: ...List of specifications 157 ...
Page 158: ...XPJ16xxWRE A 01 ...


