TalkAnytime User Guide
Operation & Maintenance
181
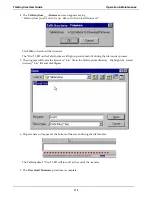
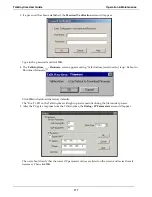
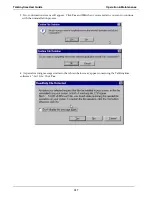
4. A confirmation screen will appear indicating that this action will entail rebooting the TalkAnytime.
Click
OK
.
5. Progress bars will appear during the file transfer process.
6. When the file transfer process is complete, the
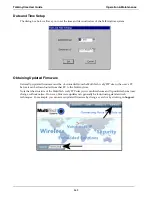
Dialog-- IP Parameters
screen will appear.
7. Set the IP values per your particular VOIP system. Click
OK
. Progress bars will appear as the
TalkAnytime reboots itself.
Summary of Contents for TalkAnytime TA2410
Page 6: ...6 Chapter 1 Overview ...
Page 20: ...20 Chapter 2 Quick Start Instructions ...
Page 48: ...48 Chapter 3 Mechanical Installation and Cabling ...
Page 56: ...56 Chapter 4 Software Installation ...
Page 65: ...65 Chapter 5 Technical Configuration ...
Page 116: ...Technical Configuration TalkAnytime User Guide 116 ...
Page 123: ...123 Chapter 6 Phonebook and URL Configuration ...
Page 143: ...143 ...
Page 144: ...144 Chapter 7 Operation and Maintenance ...
Page 205: ...205 Chapter 8 Warranty Service and Tech Support ...
Page 208: ...208 Chapter 9 Regulatory Information ...
Page 213: ...213 Appendix A Cable Pinouts ...
Page 217: ...217 Appendix B TCP UDP Port Assignments ...
Page 219: ...219 Appendix C Expansion Card Installation TA24 48 TA30 60 ...
Page 234: ......
Page 235: ...235 S000424A ...

