210
www.evolutionpowertools.com
®
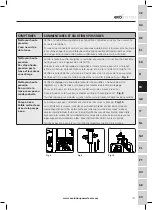
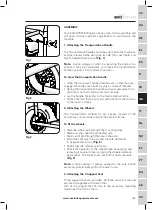
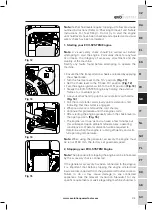
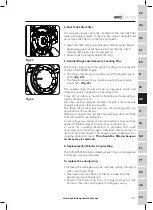
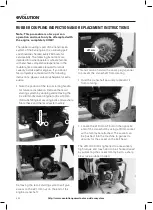
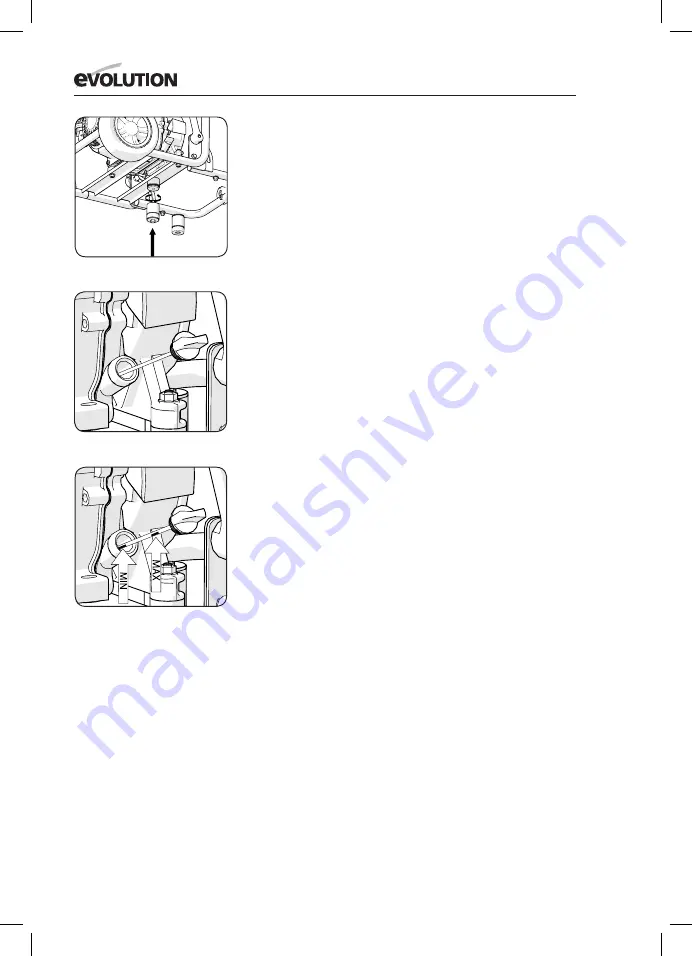
The third support foot fits onto a boss located under the front
bottom cross member of the external frame.
To fit the support feet:
• Insert ø8mm bolts through the support feet with the bolt
heads positioned within the domed rubber feet.
• Screw the bolts into the captive nuts at the three locations
mentioned.
• Tighten the bolts securely using a suitable spanner
(not provided).
Note:
Access to the boss under the frame cross member may
be gained by tipping the machine backwards. Enlist competent
help to tilt the machine, and ensure that the wheel brake is
applied before the machine is tipped backwards.
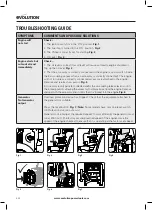
(Fig. 4)
4. Initial filling & checking the oil level
The machine does not come filled with oil.
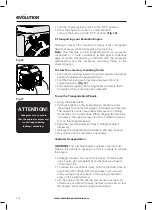
Oil should be poured into the machine through one of the 2
Oil Filler/Level Caps.
Note:
Only one oil filler may be accessible. Oil capacity is
approximately 0.6L of 10w 40 mineral oil.
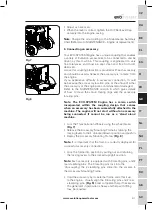
These Caps unscrew from the machines engine casing and
incorporate an oil level dip stick.
(Fig. 5)
Take care not to spill
any oil.
Note:
It is important that when checking the oil level the
machine is on a stable, horizontal and level surface with the
engine stopped and cold.
Note:
The Mitsubishi Engine is fitted with a low oil shut down
feature which protects the engine from damage due to lack of
lubrication. This feature could be activated if the machine is
sited on a slope of greater than 10
0
.
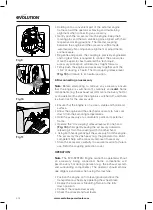
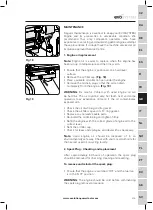
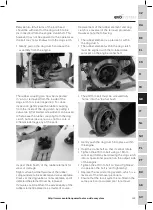
Two index marks are provided on the dipstick. The oil level should
be maintained very near to the upper index mark.
(Fig. 6)
• Remove the relevant Oil Filler/Level Cap and wipe the
dipstick with a clean dry cloth.
• Pour in the required amount of oil.
• Allow the oil to settle for a 10
+
seconds.
• View the oil level through the oil filler orifice. The oil level
should be very near the top of the threads with oil just
about to spill out from the crankcase (the machine must be
on a level horizontal surface)
• As a second check insert the dipstick and screw the cap
fully ‘home’. Unscrew the filler cap and withdraw the
dipstick. Visually check the oil level on the dipstick.
Fig 4
Fig 5
Fig 6
Summary of Contents for Evolution EVOMITS
Page 2: ......
Page 449: ...Notes 449 www evolutionbuild com SV SK RU PT PL NO NL IT GB FR FI ES EL DE DA CZ ...
Page 450: ...Notes 450 www evolutionbuild com ...
Page 451: ...Notes 451 www evolutionbuild com SV SK RU PT PL NO NL IT GB FR FI ES EL DE DA CZ ...
Page 452: ... www evolutionpowertools com ...

