


54
1
1
1
1
1
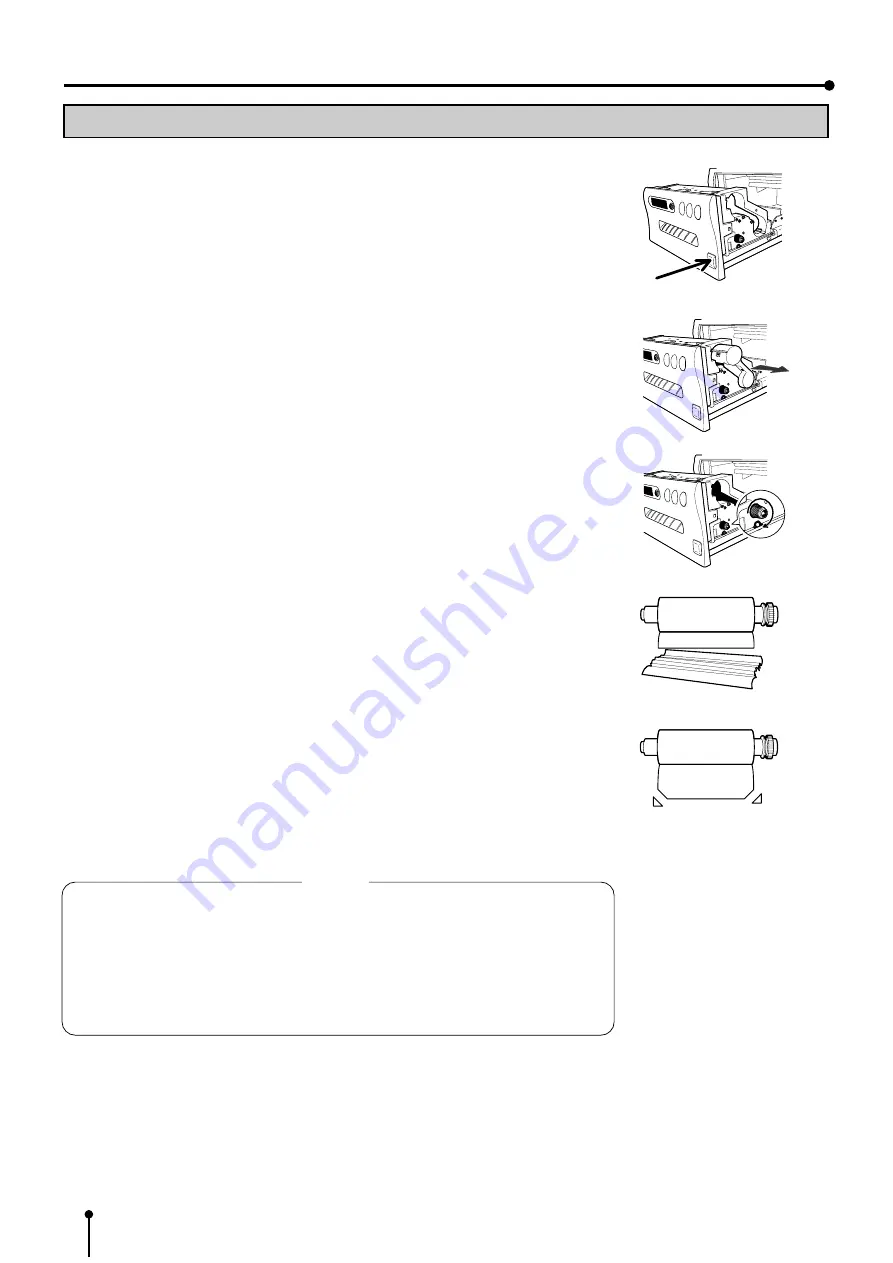
Press OPEN button to pull out the printing unit.
When it is not working, turn off the power once. Then try to press OPEN button again.
2
2
2
2
2
Remove the ink cassette.
Unlock the ink cassette by pushing the cassette locking lever to inside.
3
3
3
3
3
Turn the knob on the right side of the printing unit clockwise.
Roll up the print paper completely.
4
4
4
4
4
Remove the print paper.
5
5
5
5
5
Cut the defective part of the print paper with scissors.
6
6
6
6
6
Cut both edges of the print paper.
7
7
7
7
7
Install the print paper. (Refer to pages 15-16.)
NOTE
To feed the print paper, press MEMORY button while pressing MONITOR button.
When carrying out this procedure, make sure to press MONITOR button first.
If MEMORY button is pressed first, a new image will be stored in memory and the previously
memorized image will be erased. When using the remain warning functions (except
SERVICE MENU REMAINING: 0), feed and cut the print paper by pressing MEMORY
and MONITOR buttons initializes the remaining counter. Press MEMORY and PRINT
buttons to feed and cut the print paper so that the counter is not initialized.
ERROR MESSAGES & COUNTERMEASURES
OVERCOMING PAPER JAMS


