


20
2
Select the function item titled BRIGHT.
3
To change the brightness level, Press
key or turn the knob.
4
The display brightness will remain at the level last displayed.
Note: For the 25% option, the instrument consumes less current and consequently increases the
operating time in battery operation.
4.27 Setting the Display Color
The SYS COLOR value determines the color of the background, the gate and the DAC/AVG curves. All
color schemes are recommended for indoor operation while S0 and S3 are best suited for outdoor
operation.
1
Activate the LCD submenu (located in the CFG menu) by pressing the menu key below it. Four
functions will appear down the right side of the display screen.
2
Select the function titled SYS COLOR. There are nine preset color schemes.
3
To change the display’s color scheme, turn the knob.
4
The display color will remain at the scheme last displayed.
4.28 Setting the A-scan Color
1
Activate the LCD submenu (located in the CFG menu) by pressing the menu key below it.
2
Select the function titled WAV COLOR. There are seven A-Scan color options.
3
To change the A-Scan’s color, turn the knob.
4
The A-Scan echo will remain the color last displayed.
4.29 Setting the Menu Color
1
Activate the LCD submenu (located in the CFG menu) by pressing the menu key below it.
2
Select the function titled MNU COLOR. There are ten color options.
3
To change the menu’s color, turn the knob.
4
The menu will remain the color last displayed.
4.30 Key Sound
The key sound can be turned on/off using the KEY SOUND function located in the HORN submenu
(CFG
→
HORN
→
KEY SOUND).
4.31 Date and Time Setting
For a correct documentation you should always make sure that you are using the correct date and time
setting.
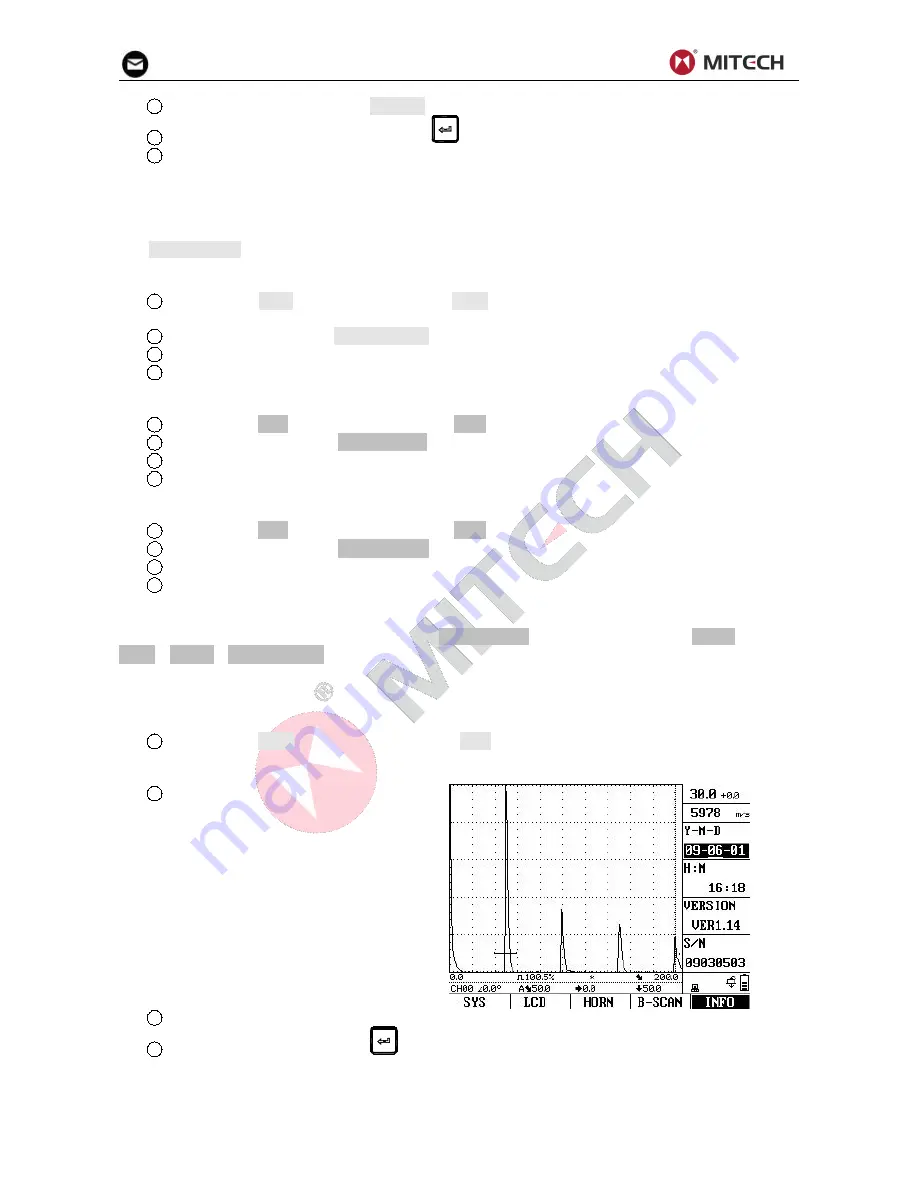
1
Activate the INFO submenu (located in the CFG menu) by pressing the menu key below it. Four
items will appear down the right side of the display screen.
2
Select the function Y-M-D. The
date is displayed in Year-Month-Day format.
Note that the first time you press the knob,
the year item is highlighted. The next time
you press the knob, the month item is
highlighted. Finally, pressing the knob will
cause the day item to be highlighted.
3
To change the year, month or days, turn the knob while the desired item is highlighted.
4
When complete, press the
one more time. The current date will be set to the date
displayed.
Time is displayed in Hour-Minute format. And the time setting procedure is similar to that of the date.


